Grind and sand smooth the hammer end of a finishing nail, bend it 15 to 40 degrees and chuck in your hand drill. Run at slow speed you have a dent-O-matic!(https://www.largescalecentral.com/externals/tinymce/plugins/emoticons/img/smiley-money-mouth.gif)
John Caughey said:
Grind and sand smooth the hammer end of a finishing nail, bend it 15 to 40 degrees and chuck in your hand drill. Run at slow speed you have a dent-O-matic!(https://www.largescalecentral.com/externals/tinymce/plugins/emoticons/img/smiley-money-mouth.gif)
Sounds very nasty. I’m not sure what would happen to wood if you try to dent it!
If you reread the part about going slow, it will dent the wood, a smooth ball end won’t grab.
A polished nail makes an effective burnisher, with a light touch, one allows he tool to do the job.
John Caughey said:
Grind and sand smooth the hammer end of a finishing nail, bend it 15 to 40 degrees and chuck in your hand drill. Run at slow speed you have a dent-O-matic!(https://www.largescalecentral.com/externals/tinymce/plugins/emoticons/img/smiley-money-mouth.gif)
Nice tool tip John. Thank you (https://www.largescalecentral.com/externals/tinymce/plugins/emoticons/img/smiley-cool.gif)
First thing this morning I had a look and took this pic of the cans. The one on the right (filler+sandable) is what did the strange coat - it may have been the humidity as the paint definitely wasn’t sandable (see posts below.) The middle can made a very smooth surface - I have used it before.
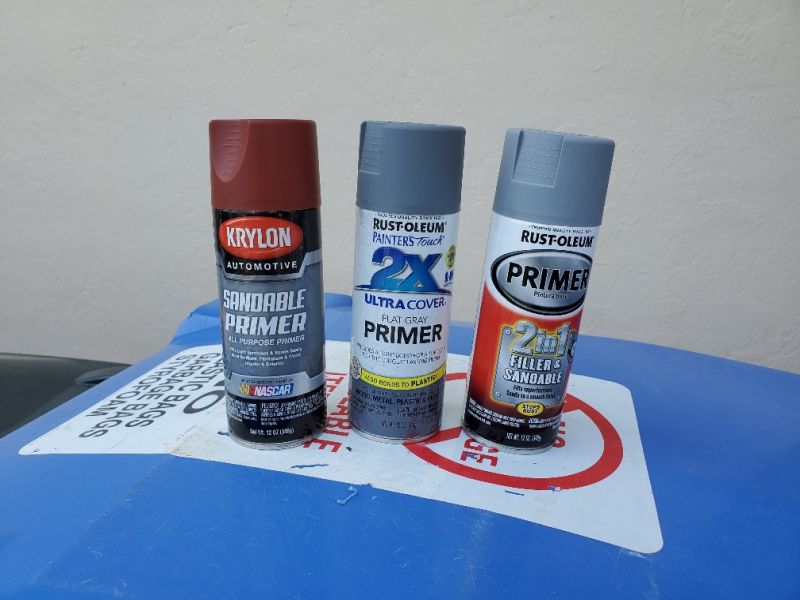
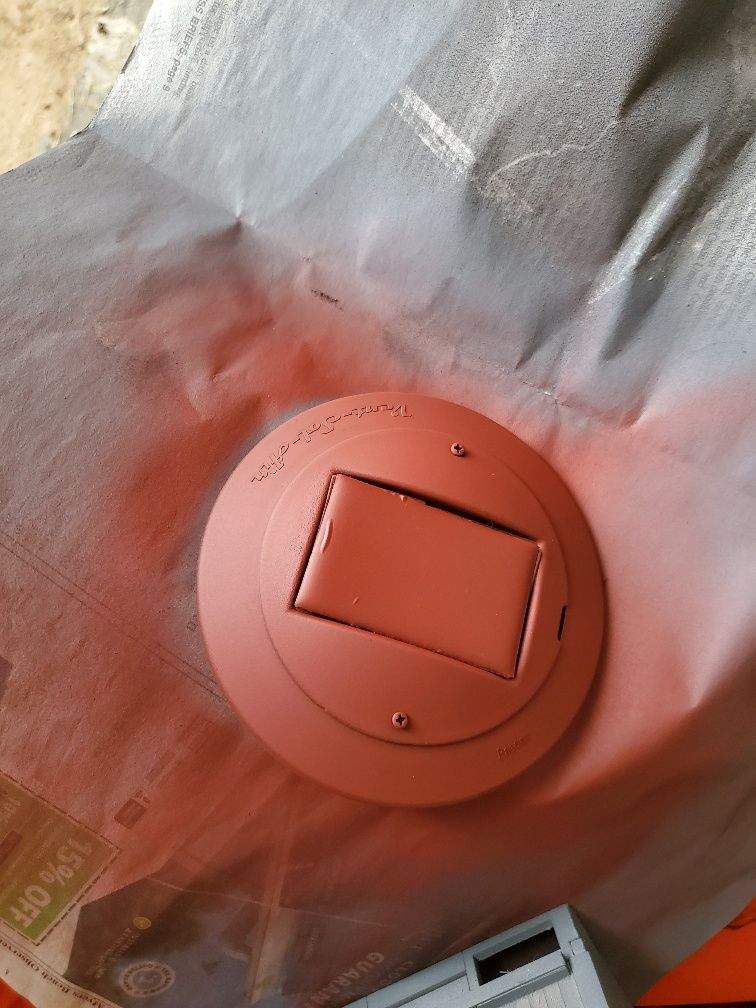
Interesting that the one on the left (Krylon) didn’t have a problem with the heat or humidity. I used it today on a vent cover (nothing to do with this RR project!) It went on nice and smooth.
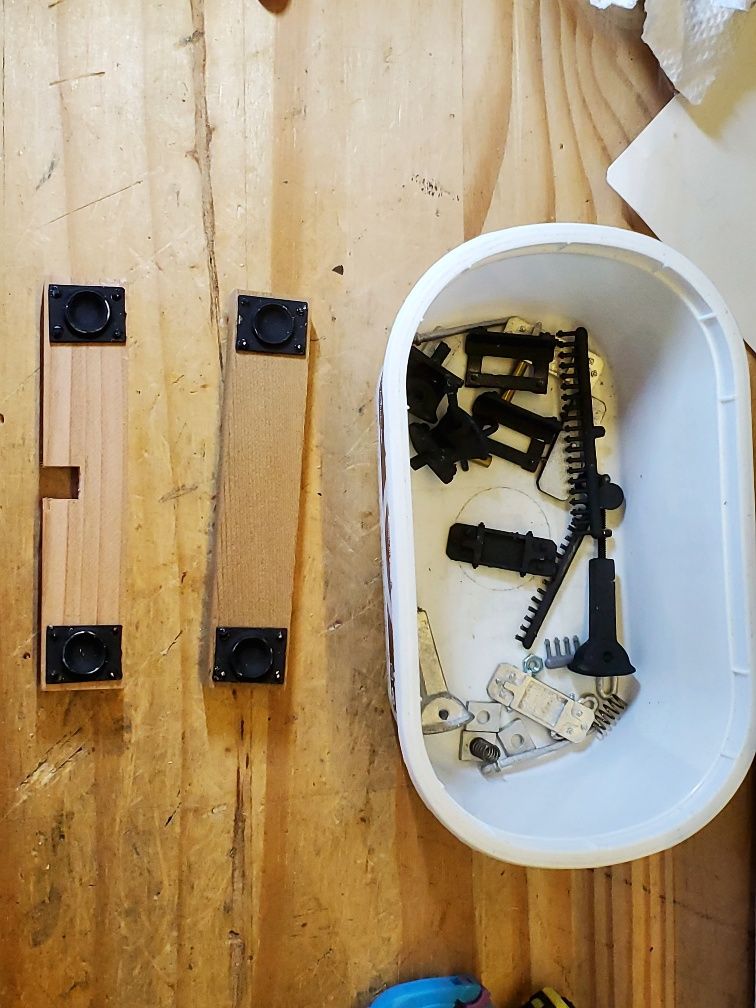
I used the plastic nbws from the draft gear to attach the poling pockets to the end beams. These smell nicely of cedar and they are staying unpainted, nut will probably be dirtied.
I stole a scouring pad from the kitchen sink and used it to clean off the strange paint surface. In many places it went right to the wood.
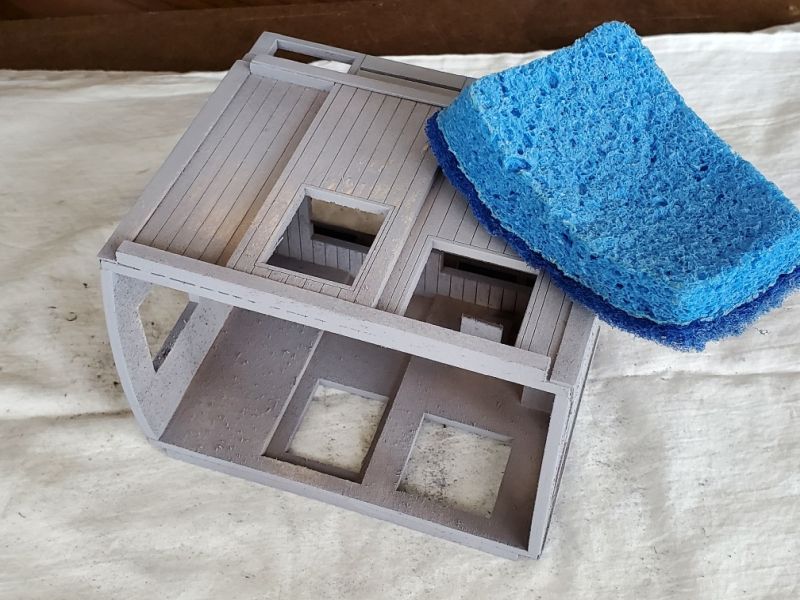
The body then got a touch-up coat with my regular primer (see post above.)
And with some masking, I got out the “wildflower blue”. Wow.
.jpg)
P.S. Jerry found me a radiator in among Bruce’s stuff. Thanks guys!
If you reread the part about going slow, it will dent the wood
John, I think I am confused about what you call a “hand drill”. Powered?
Yes powered, but variable speed on low.
For a model I’d use my foot controlled Foredom handpiece, for furniture the black and decker …
Edit; Use proper eyewear and don’t whack a finger or knuckle!

I thought you meant something like this, which I still carry in my tool box.
I thought I posted this yesterday but I guess not. Not much progress as I was needed elsewhere but the paint looked good when I removed the masking. I added the front and rear beams, and tried the driver for size.
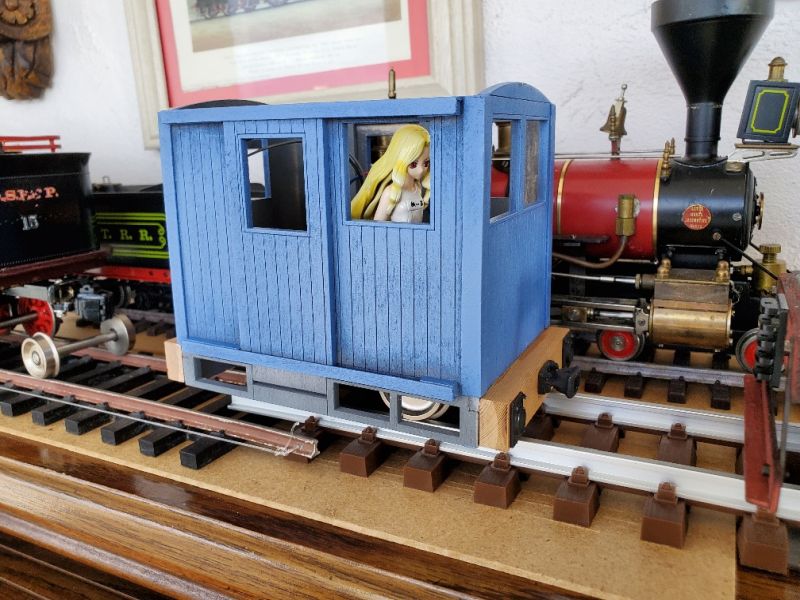
The driver looks good…(https://www.largescalecentral.com/externals/tinymce/plugins/emoticons/img/smiley-wink.gif)(https://www.largescalecentral.com/externals/tinymce/plugins/emoticons/img/smiley-cool.gif)
Ken Brunt said:
The driver looks good…(https://www.largescalecentral.com/externals/tinymce/plugins/emoticons/img/smiley-wink.gif)(https://www.largescalecentral.com/externals/tinymce/plugins/emoticons/img/smiley-cool.gif)
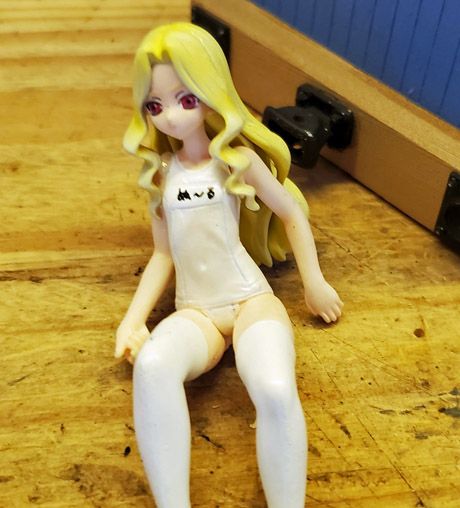
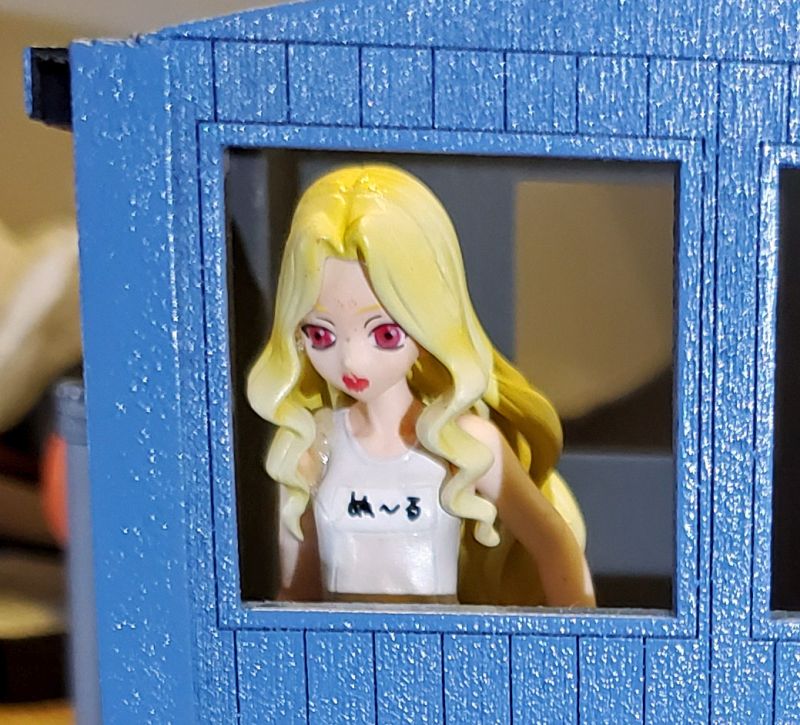
I wish she fit better. I already cut off her feet.
And she looks like a refugee from Area 51. (Wait until you see the thigh-high white leather boots.)
Pete Thornton said:
Ken Brunt said:
The driver looks good…(https://www.largescalecentral.com/externals/tinymce/plugins/emoticons/img/smiley-wink.gif)(https://www.largescalecentral.com/externals/tinymce/plugins/emoticons/img/smiley-cool.gif)
I wish she fit better. I already cut off her feet.
And she looks like a refugee from Area 51. (Wait until you see the thigh-high white leather boots.)
Why does she need boots if you cut off her feet?
The driver looks like she escaped from an anime cartoon! Backwoods, United States meet Harajuku, Japan (or Waikiki during Comicon)! Love it!
Why does she need boots if you cut off her feet?
The boots are part of her leg moldings - no boots, no legs. I’m considering taking my black fine paint pen and drawing criss-cross lacing on them.
The driver looks like she escaped from an anime cartoon!
I think that’s where she originated. Looks much better with a dot of red paint as a mouth. The hieroglyphics on her shirt should tell you where she came from?
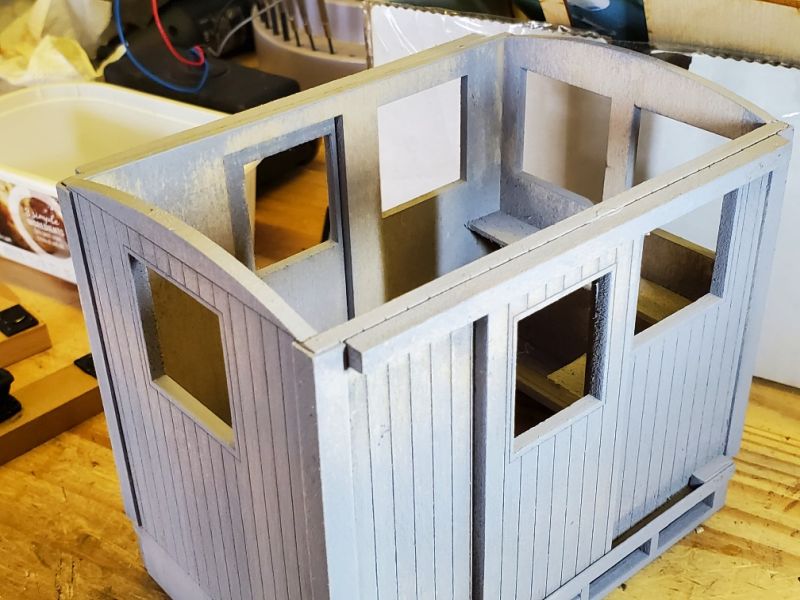
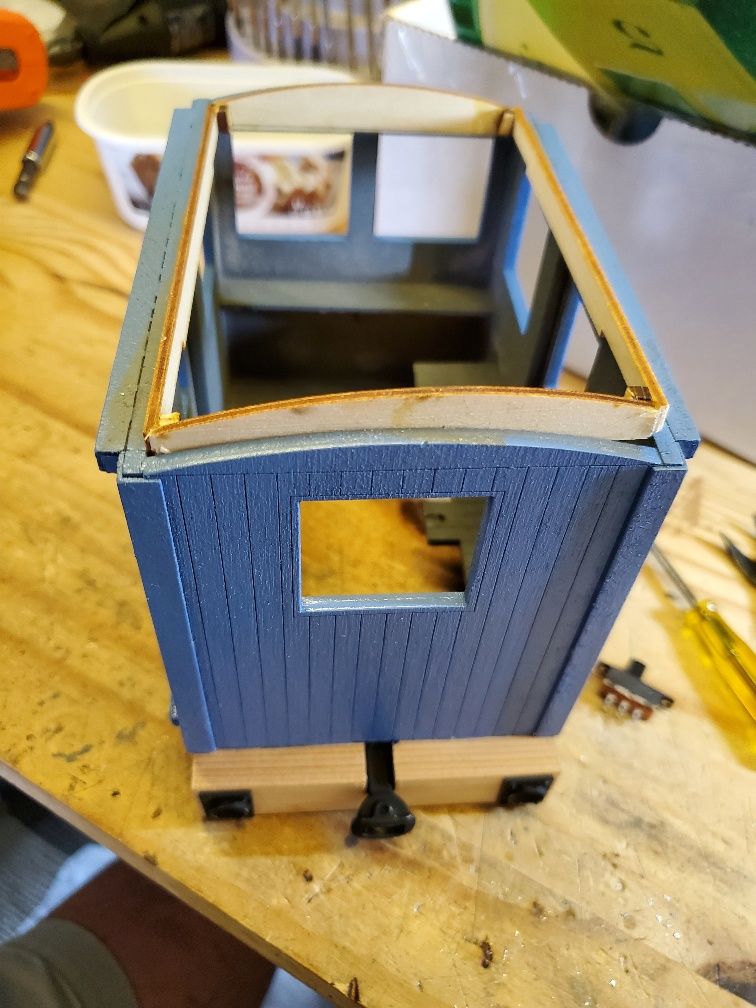
That paint texture is funky, but doesn’t look bad except in close-ups. I am also pondering the roof curve - the door slides stick out beyond the curve on the end walls. I have some sandpaper for the roof, so I may try cutting that wider and letting it cover the slides.
More progress, although slow due to other commitments.
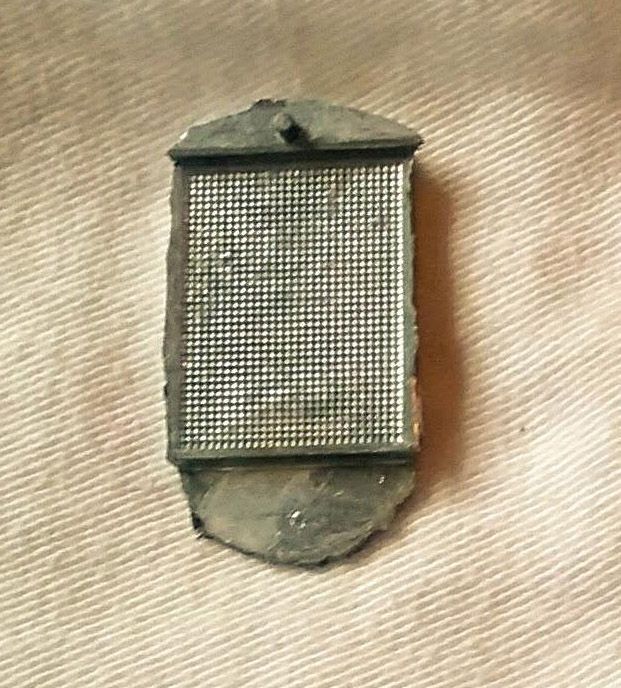
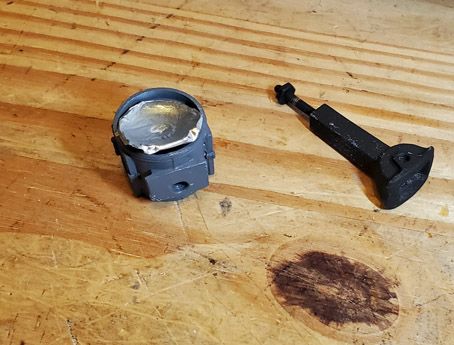
The headlight got a layer of aluminum foil on the reflector. It’s ready to be wired, but until we have a roof it will have to wait.
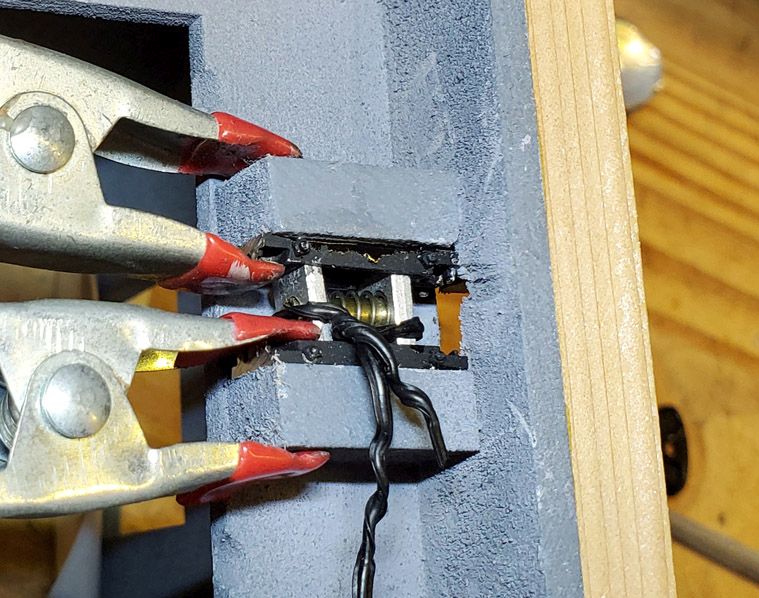
Here’s the working draft gear being glued in place. Maybe it will work. (The black twist-tie is just to keep the spring under control until the glue dries.)
Still plodding along. .
The draft gear seems to work, though it’s a bit sticky. Not sure what it will do in this scale.
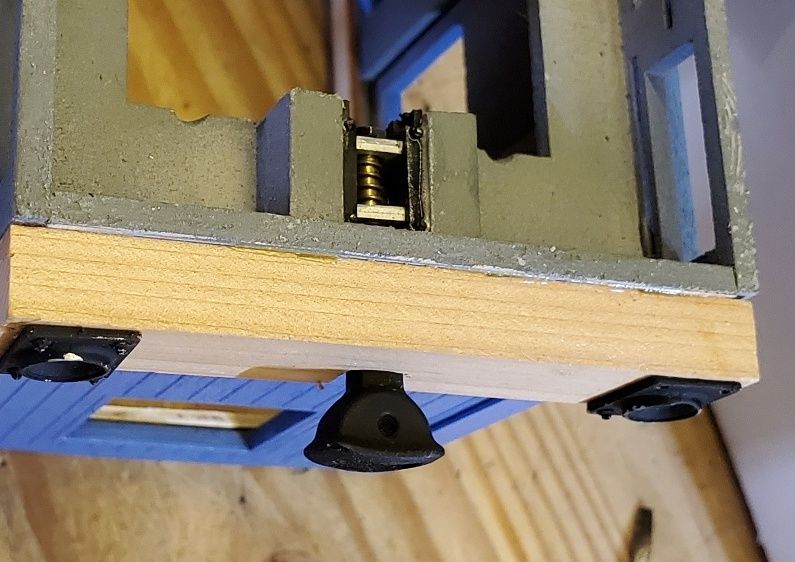
From the other side, it sticks through the end beam. I may put something on top to save the brakeman’s foot? This pic also shows the roof frame. I am making a separate frame from leftover bits [not included with the kit] in order to attach various electrical bits, like the speed control (exhaust pipe) and fwd/rev switch. And so I can get at the batteries.
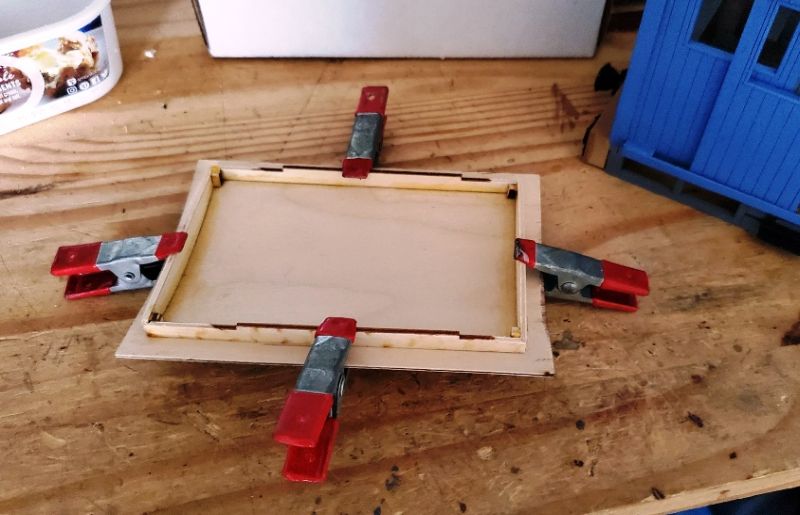
Late yesterday it occurred to me that I could glue on the roof and leave it to set overnight. The wooden roof panel, which I thought was 2 pieces (thus making it easier to bend,) tirned out to be a single. I had soaked it and left it strapped to my paint can all day, and it was a nice shape for the frame I made. So a dab of wood glue and 4 clamps and it’s done.
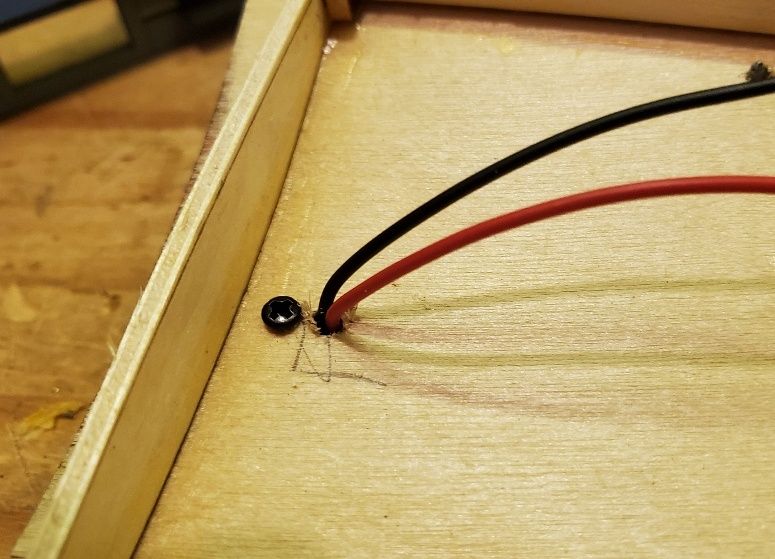
With a complete roof, I was able to glue on the emery paper simulating tarpaper. I then added the air tank and headlight. The headlight has a 12V LED already set on a pair of wires with resistor, so that was easy. I eased it into the space and glued the lens on to keep it and the reflector in place. On the assumption I might need to get at the headlight’s inside again, I decided to screw it on using a 5mm self-tap.
And then I got out my 9V battery to see if it worked.

It is a bit bright, so I may have to add another resistor when I use the full 12V.
Pete Thornton said:
And then I got out my 9V battery to see if it worked.
It is a bit bright, so I may have to add another resistor when I use the full 12V.
What’s wrong with a 480 ohm resistor from the start ?