Large Scale Central

D&RG 315, My week in Silverton

I leave in the AM for Silverton CO. for a week of work on D&RG 315. She is scheduled for her annual inspection in preparation for the D&S railfest in Aug. and the Steam excursion in Chama on the C&T in Sept-Oct.

She will be in and out of the Silverton Northern enginehouse all week long, as we prep her for hydro testing.

I will try to post daily photos or a video of each days progress, and try to give you’all a behinds the scene look at what it takes to get a restored steam loco out on the line for those wonderful photo ops.

I don’t yet know how the wi-fi links in Silverton are, so it might limit the amount of posting that I will be able to get done. But I’ll try…

If anyone is in town… stop by and I’ll give ya the nickel tour, and may put you to work, There is always a very greeeessssie bearing that need attention, or other dirty chore.

Looking forward to your pics/videos, Dave.

I’m sure it takes a lot of effort from a lot of people to keep things running :wink:

Ralph

Day 1 Monday 10 June 2013:

Note: the pics were shot with my iPhone, so may not be the best.

Arrived in Silverton at the Silverton Northern Engine House at 10am after the 100 mile drive from Farmington NM (home)

D&RG 315 Awaits for work to begin, 315 spent last summer and winter in the engine house.

(http://i1234.photobucket.com/albums/ff403/dave2-8-0/315/photo-01_zps90efc3b5.jpg)

(http://i1234.photobucket.com/albums/ff403/dave2-8-0/315/photo-03_zps60dea810.jpg)

(http://i1234.photobucket.com/albums/ff403/dave2-8-0/315/photo-02_zps9f02b540.jpg)

First order of the day, Shunting the drop bottom and high side gon, out of the way. Thank goodness that the New Mexico Northern provided there GMC 2-2-0 yard switcher for the job.

(http://i1234.photobucket.com/albums/ff403/dave2-8-0/315/photo-05_zps3671ce69.jpg)

(http://i1234.photobucket.com/albums/ff403/dave2-8-0/315/photo-04_zps94f0c0ff.jpg)

with added breaking power by “arm strong”

Silverton Northerns rail car “Casey Jones” was then re-positioned near the D&S loop switch. Power provided by 4 0-10-0 carbon based switch unites.

(http://i1234.photobucket.com/albums/ff403/dave2-8-0/315/photo-06_zpsf049572f.jpg)

Next the 315 was pulled out so we could get a crane to access the Steam dome and the air pumps.

(http://i1234.photobucket.com/albums/ff403/dave2-8-0/315/photo-07_zpsdd4860a4.jpg)

Sorry… No Pics of installing a re-built Westinghouse air pump, as I was up on the side of the engine wrestling with a couple of ornery bolts. it weight 550 lbs, so a crane was brought in safely lift and position the pump.

A look into the fire box. Note the size of the grate and the shape of the box. Also note that all the tubes are the same size, as this engine doesn’t have super heaters. The “dots” along both sides and the top are the “Stay Bolts”

(http://i1234.photobucket.com/albums/ff403/dave2-8-0/315/photo-08_zpsd3a4c804.jpg)

And the other end looking at the smoke box with the steam jet at the bottom and the skirt and the bottom of the stack at top.

(http://i1234.photobucket.com/albums/ff403/dave2-8-0/315/photo-09_zps1f010f78.jpg)

From the top. Looking down into the steam dome. The steam dome is a heavy thick cast iron piece. The Top of the dome seals along the milled surface with a copper ring. the ten bolts around the ring get supper tightened to withstand the full 160 lbs of steam pressure.

(http://i1234.photobucket.com/albums/ff403/dave2-8-0/315/photo-10_zpsa3454a0f.jpg)

Looking down into the boiler on the bottom left, you see the “DRY TUBE” that the steam valve attaches to (removed) the throttle rod going towards the top goes to the cab. Below that you see the tubes. The “DRY PIPE” is always above the water level, and the tubes are always below the water level.

Another view showing the throttle rod and the tubes.

(http://i1234.photobucket.com/albums/ff403/dave2-8-0/315/photo-11_zpsa7170d5e.jpg)

The “DRAW BAR” that connects the engine to the tender, Big heavy, thick steel piece. it really is important, as it has the entire effort of the engine and the weight of the cars behind connecting the two together. I cleaned the bar and the pins today in preparation for magna fluxing tomorrow.

(http://i1234.photobucket.com/albums/ff403/dave2-8-0/315/photo-12_zps33d88553.jpg)

This combo has a drop style bar.

(http://i1234.photobucket.com/albums/ff403/dave2-8-0/315/photo-13_zps4fad09c0.jpg)

Tomorrow I will finnish learning how to “Lap” the steam valve, and we will get it installed. Also on the agenda is some air piping fixes, and installing the “NEW” rebuilt generator, some new steam lines will have to be cut and fitted.

So ends day one. And a good time was had by most, (i don’t know how you could be a sorehead while working on a real steam engine, but a couple of guys have figured it out)

Dave

Interesting, veddy, veddy interesting…:wink:

Thanks Dave!

Some people just are “soreheads”…doesn’t matter what they’re doing :wink:

Ralph

Thanks for posting the photos Dave.

Was it warm up in Silverton? Got pretty warm by us in Vallecito today. Must have been really warm down in Farmington.

Thanks for the cool pics!!!

Course, now I want a ‘G’ version even more!

:slight_smile:

Dave,

Great stuff. Thanks for posting it. Stay safe and keep the updates coming!

Questions update, 6:00am 36deg out Burrrrrr, but yesterday it was 76 and gorgeous. Getting out of the 96 deg Farmington heat was a welcome relief.

Note: while lapping the steam valve it was noted that there was a stamped “411” in the casting. D&RG 411 which it is thought that this valve was swapped out of ( very common practice during overhauls) was a C-19 class.

I’ll get some pics of the steam valve today, both before installing, and after. The valve is quite the piece, and getting it right is kinda important.

If any one has any questions about anything that I post, please ask, and I will do my best to fill you in.

Ralph Berg said:

Thanks Dave!

Some people just are “soreheads”…doesn’t matter what they’re doing :wink:

Ralph

Mmmmmmm… could be… maybe its just arthritis. None of them are spring chickens, ya know. Pain can rob anyone of their sunny disposition, just ask me.

I envy you Dave. Wish I could be there to help. It isn’t hard work if your doing what you love.

Every blue moon I talk my way into the engine house at the Black Hills Central. They haven’t let me do too much yet, but I’m trying.

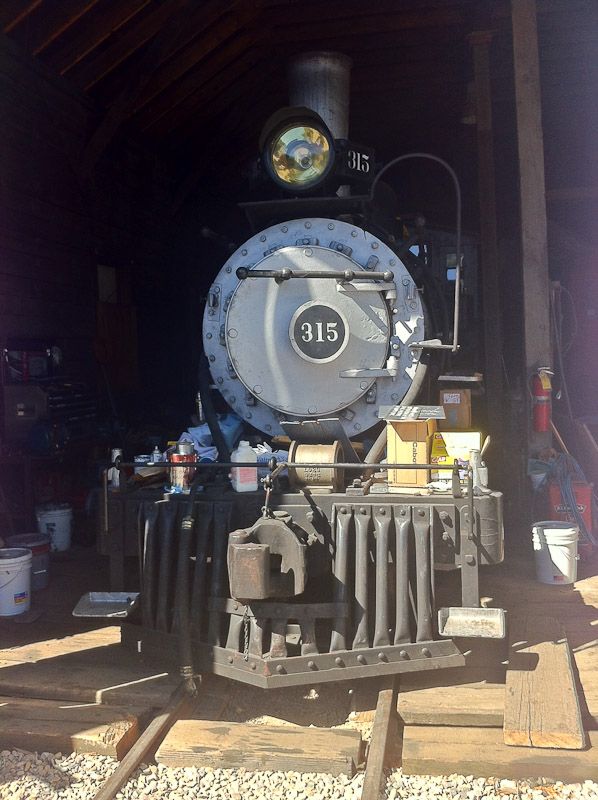
Day 2 Tuesday 11 June 2013

Started the day where we left off. And by we, I mean the team of volunteers all doing numerous assigned jobs. I’m only telling my side of things, there are a half a hundred other things going on at the same time.

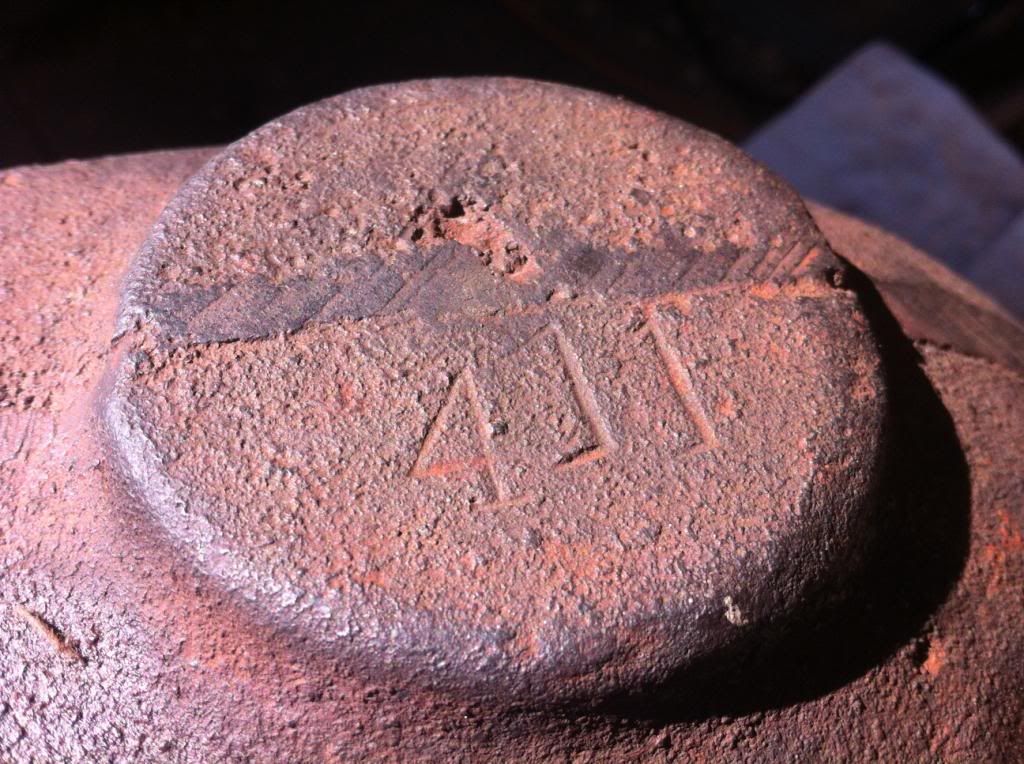
Here is the stamping on the steam valve. It had gone Un-noticed previously, in the listing of orphan parts donated to the 315.

(http://i1234.photobucket.com/albums/ff403/dave2-8-0/315/photo-14_zpscd8f7949.jpg)

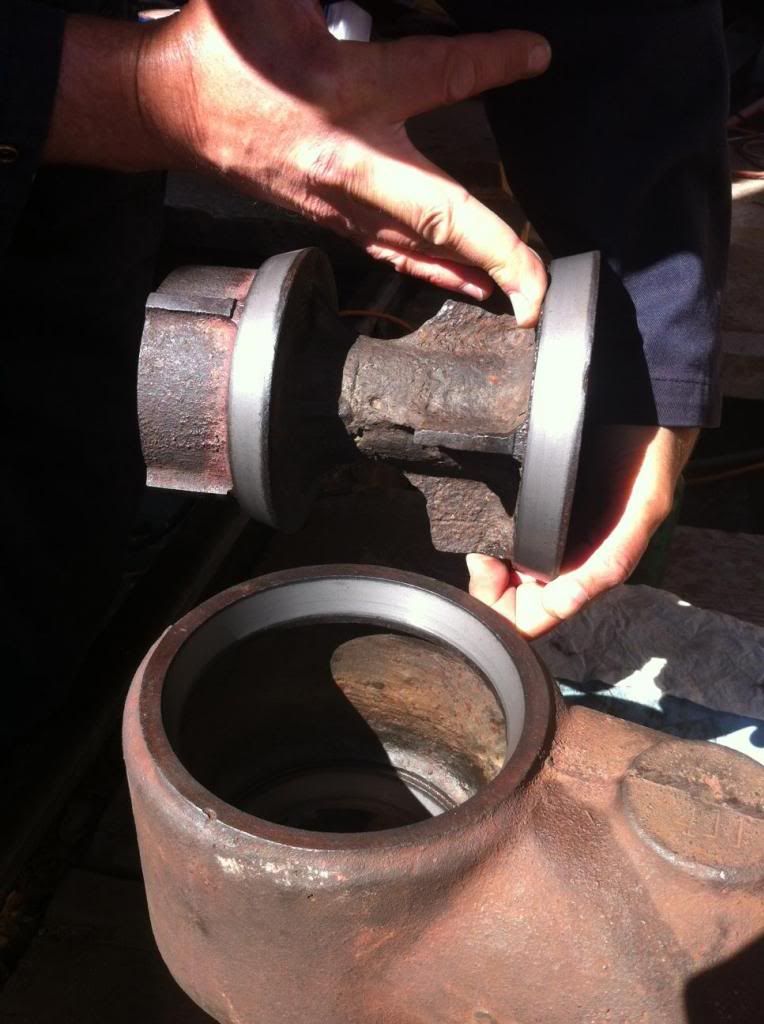
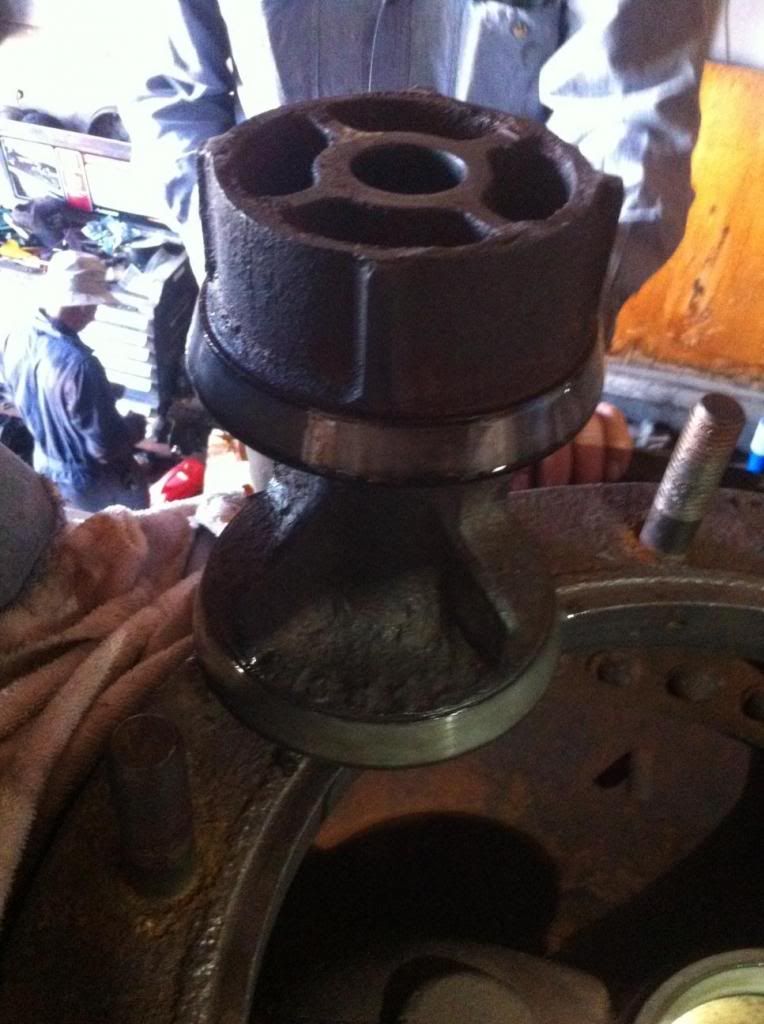
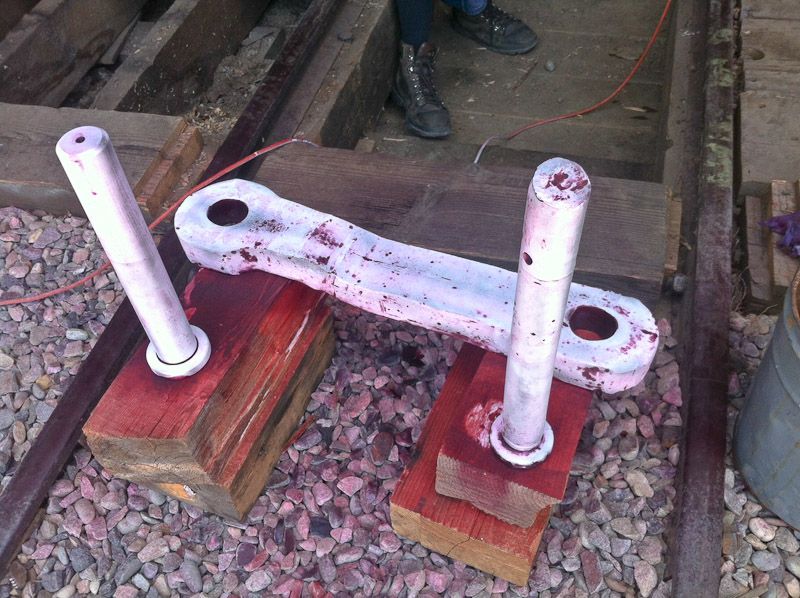
This is the Steam valve. It is opened by the engineer by moving the throttle handle. The throttle bar pushes up on the bottom of the valve and opens the valve so steam can flow to the cylinders. Really quite simple, but a complex piece.

(http://i1234.photobucket.com/albums/ff403/dave2-8-0/315/photo-15_zps216d1d21.jpg)

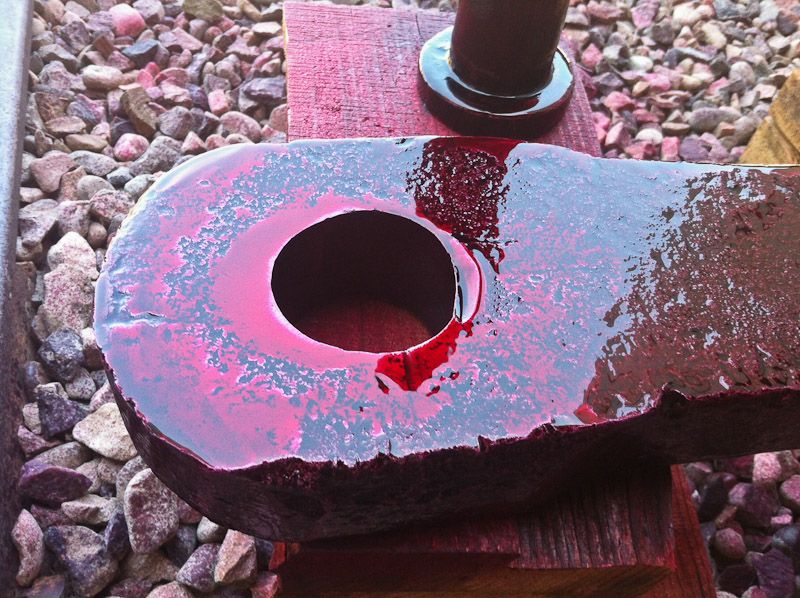
This whole part sits atop of the dry pipe, Sealed with a copper gasket.

This is the valve itself, two seats, top and bottom, the top is larger then the bottom.

(http://i1234.photobucket.com/albums/ff403/dave2-8-0/315/photo-20_zpseb4b2fe7.jpg)

(http://i1234.photobucket.com/albums/ff403/dave2-8-0/315/photo-18_zps37493bcd.jpg)

The seats are lapped by applying a honing abrasive (500 grit) to the valve seats and using a back and forth rotating motion, to finely grind the mating surfaces to match each other.

(http://i1234.photobucket.com/albums/ff403/dave2-8-0/315/photo-17_zpsbfc4289f.jpg)

Great care needs to be taken while honing to prevent grinding the mating faces into a non round shape.

(http://i1234.photobucket.com/albums/ff403/dave2-8-0/315/photo-16_zpse1ee77e2.jpg)

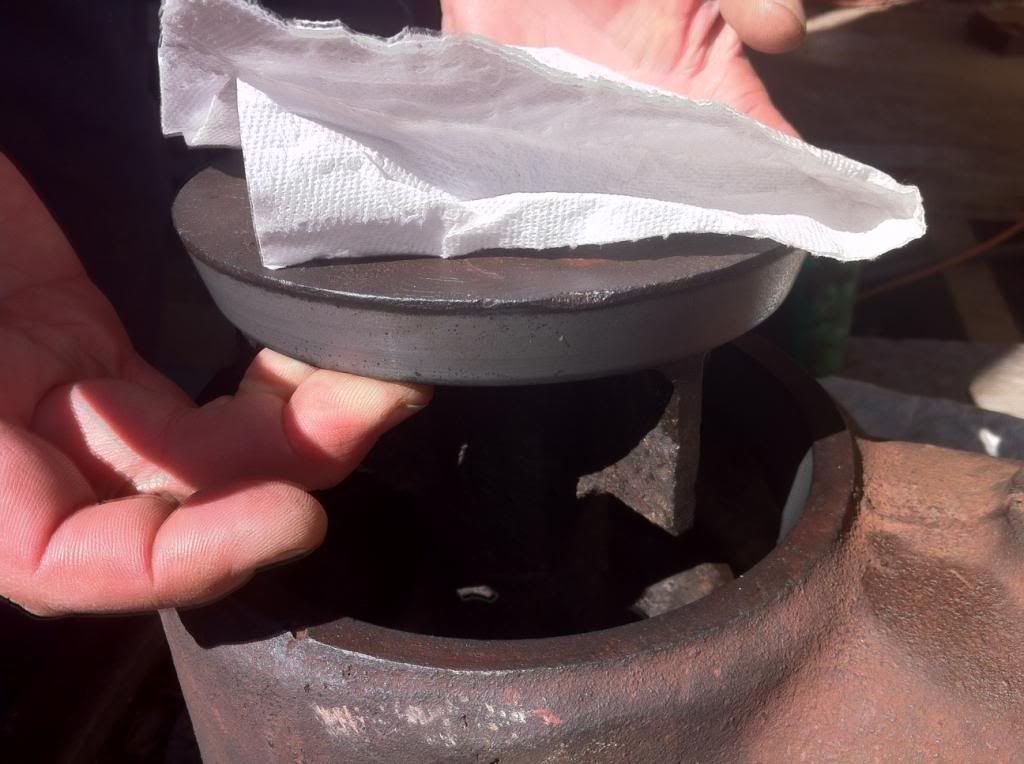
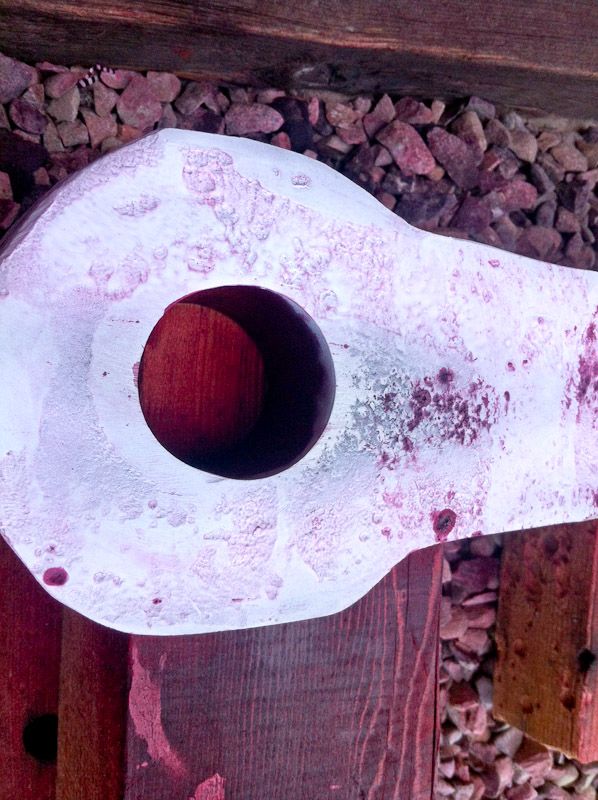
Finished, and ready to install.

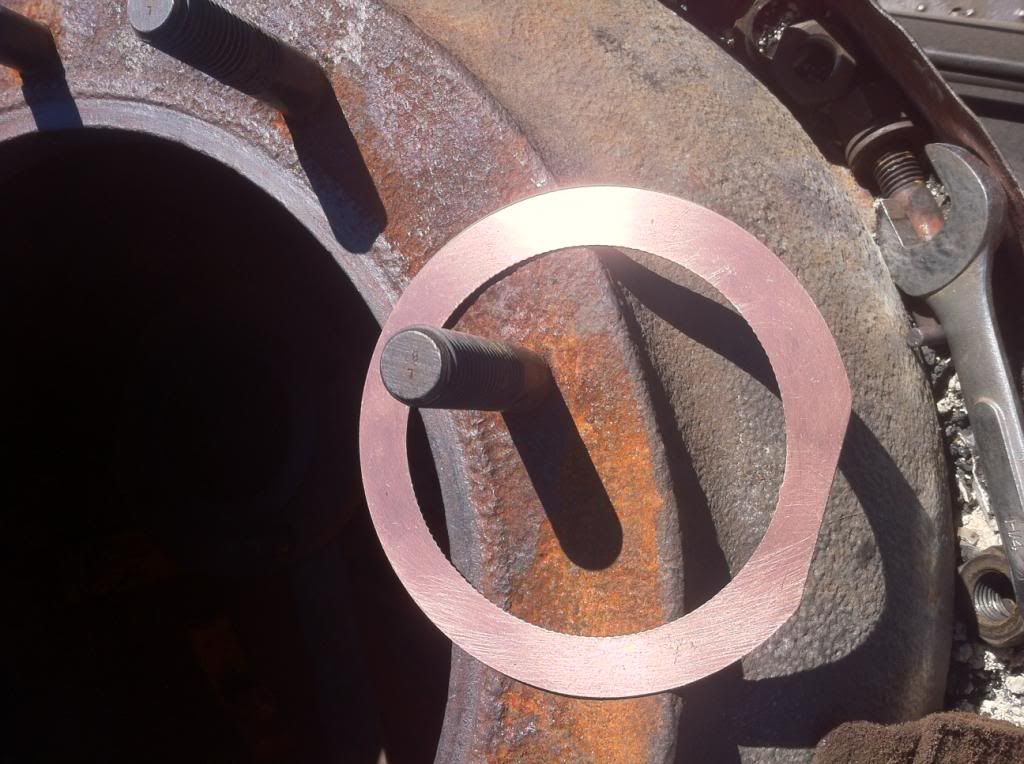
The copper gasket to seal the valve assembly to the dry pipe is a custom cut piece (read $) and for the hydro testing we will re-use the old one, saving the new one for the final assembly. Before pic.

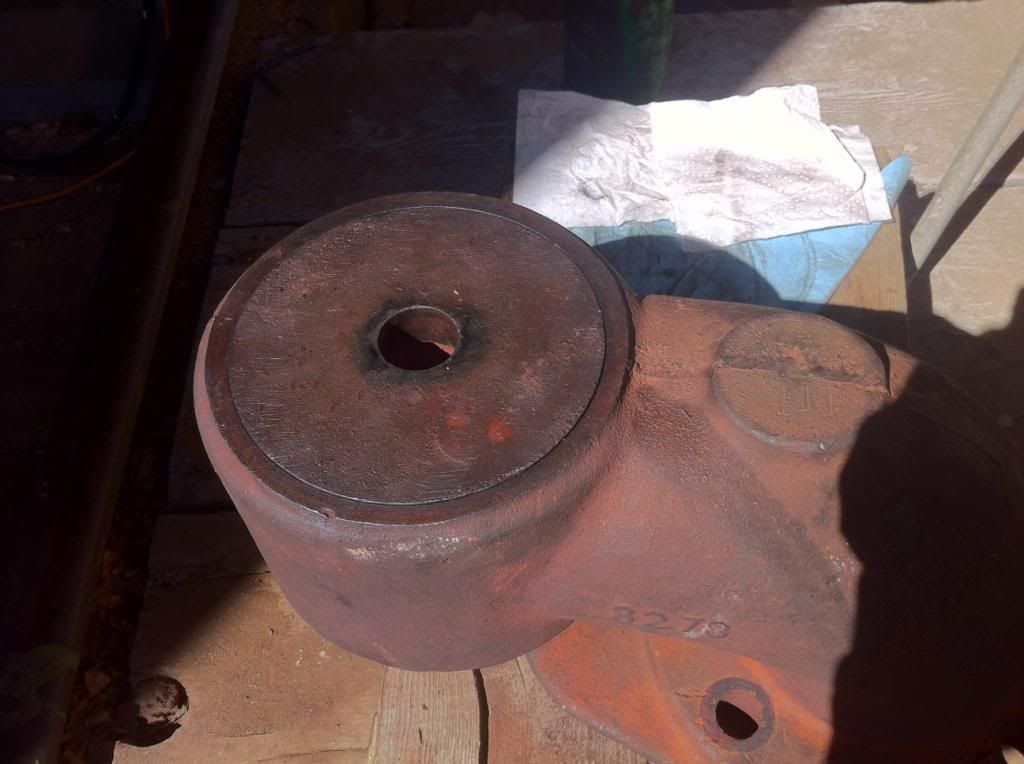
(http://i1234.photobucket.com/albums/ff403/dave2-8-0/315/photo-21_zps50f26e5d.jpg)

After cleaning and polishing.

(http://i1234.photobucket.com/albums/ff403/dave2-8-0/315/photo-24_zpsf5655862.jpg)

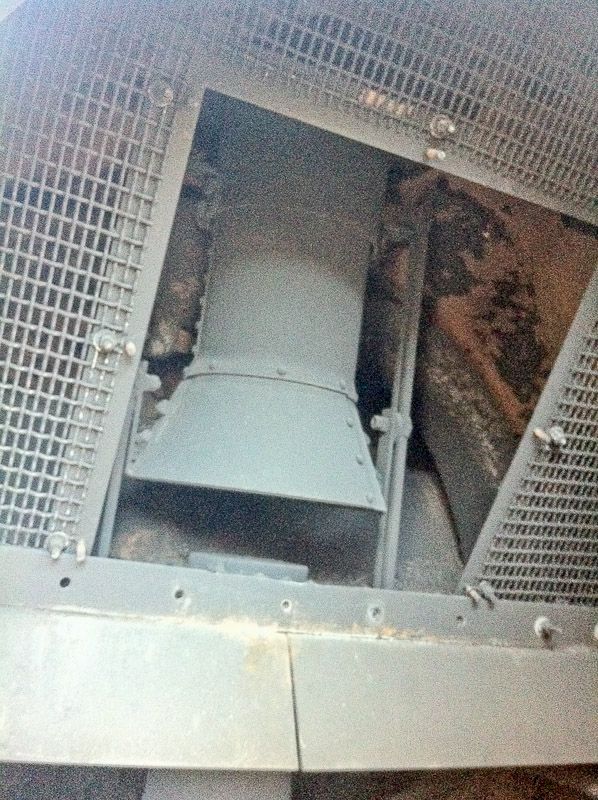
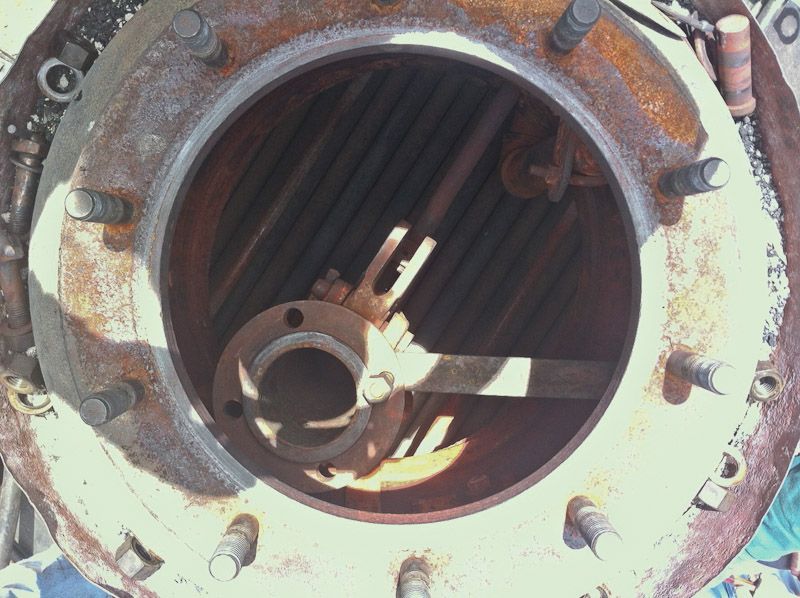
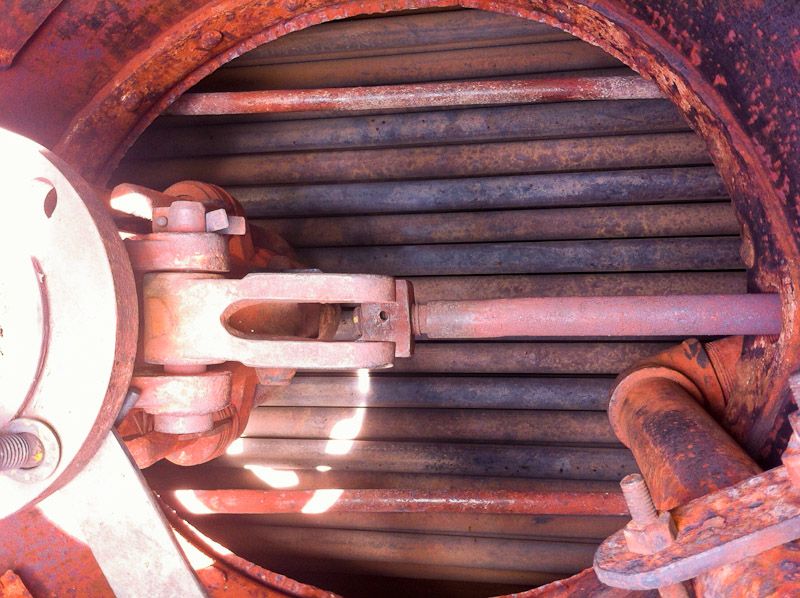
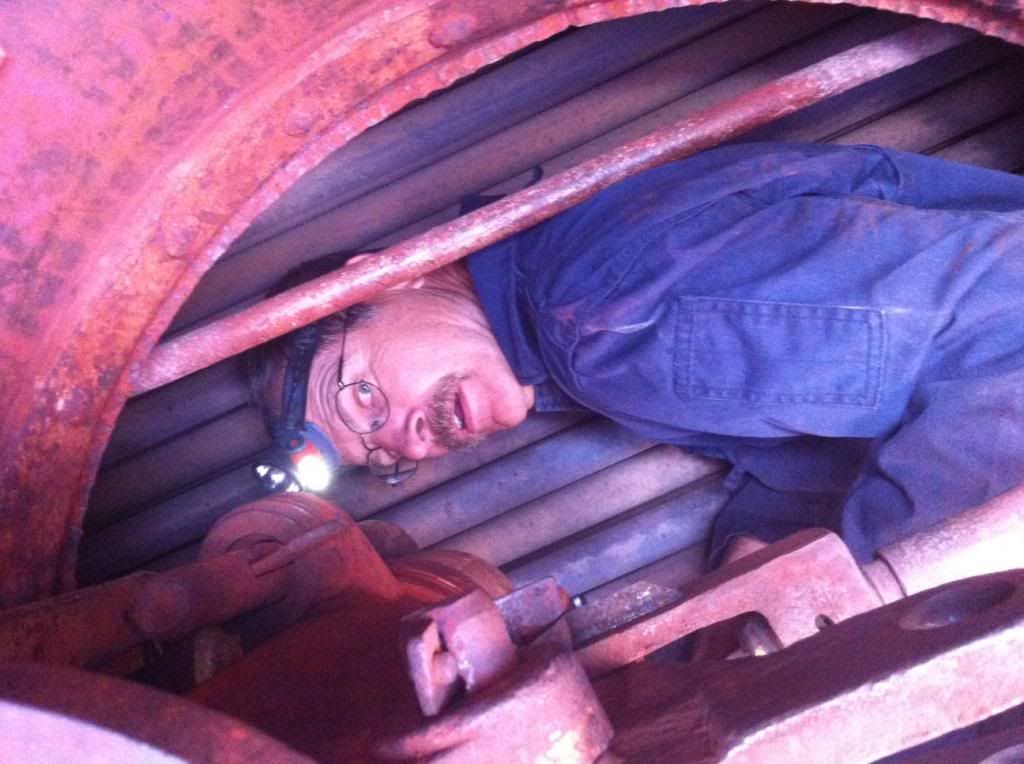
Before we put the steam valve in the dome, an internal inspection of the boiler is required. Yes, a body has to get into the boiler and do an inspection. I don’t fit in the little opening at the top of the steam dome. I was “spotter” for “Dave” (not me) that did.

(http://i1234.photobucket.com/albums/ff403/dave2-8-0/315/photo-22_zps0efe06af.jpg)

Internal boiler checked out as all good.

Note to OSHA types: No harness as it poses a significant threat to get entangled in the restricted space,

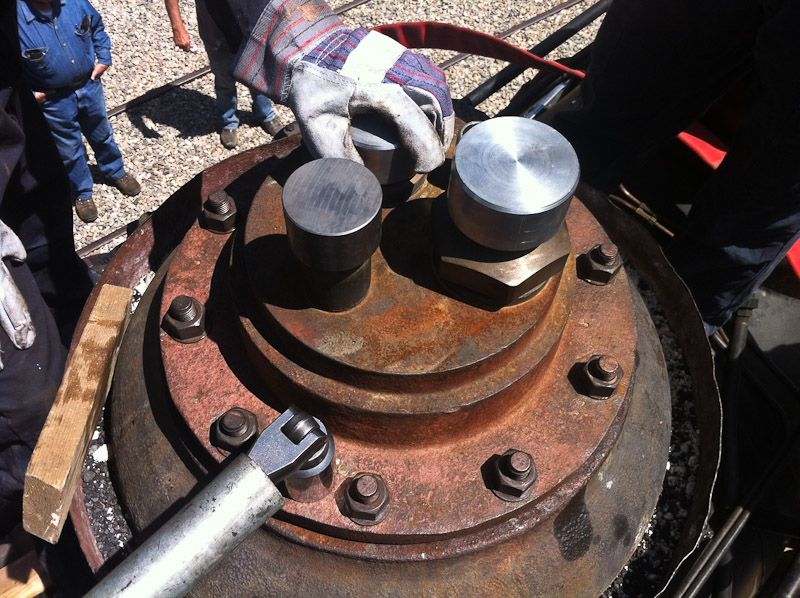
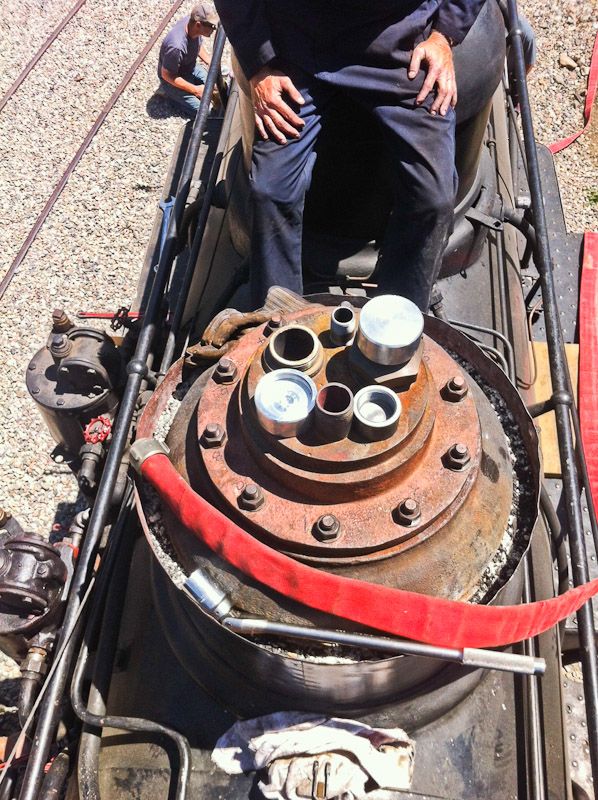
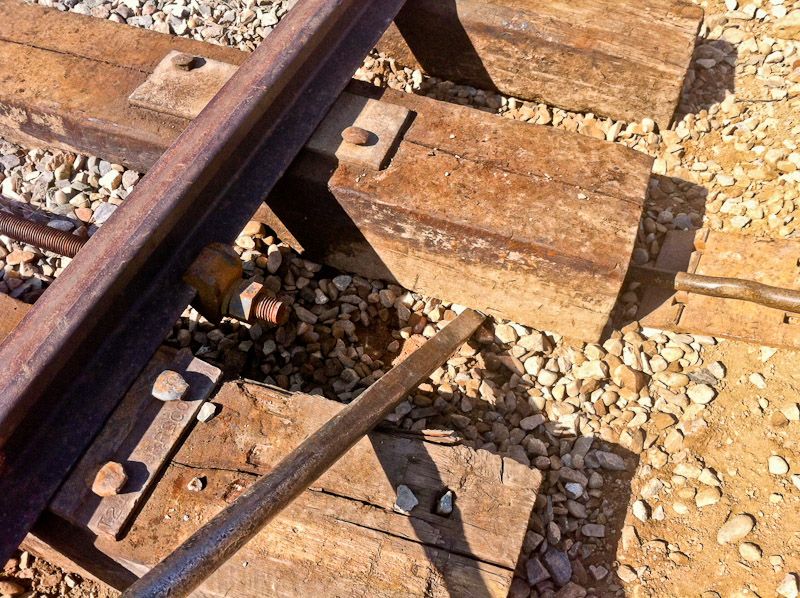
And the drain plugs were pulled for 24 points of ventilation into the boiler.

(http://i1234.photobucket.com/albums/ff403/dave2-8-0/315/photo-27_zpsa17cfe4f.jpg)

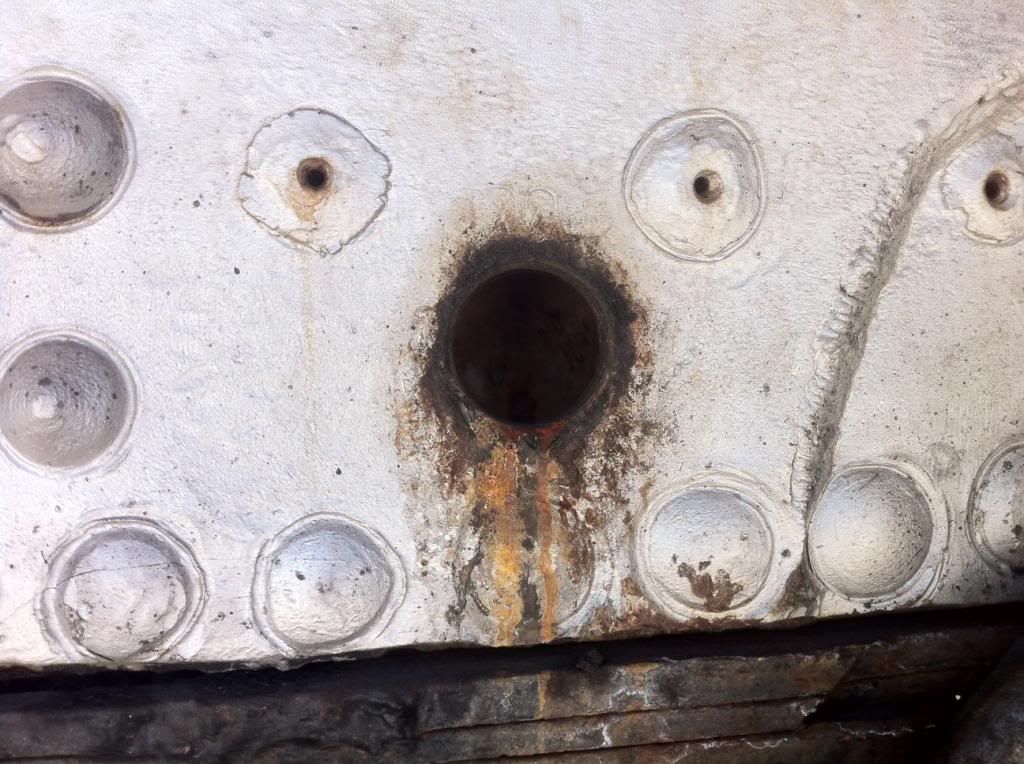
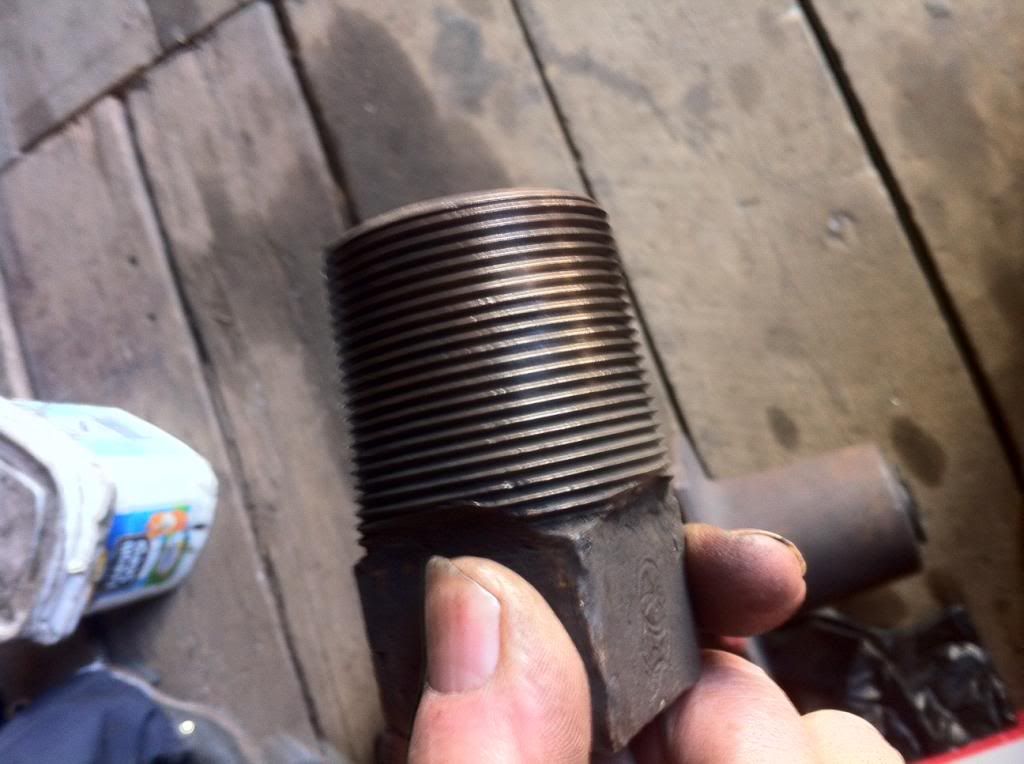
Drain Plugs: There are 24 on 315. A drain plug is just that, a plug that fits into the side of the boiler to allow clean out and draining.

(http://i1234.photobucket.com/albums/ff403/dave2-8-0/315/photo-25_zpsda0f528d.jpg)

They are brass/bronze material and they are all a different size, have a tapered thread of 12 tpi. Each one goes into only its own hole.

“Copper Coat” on all threads and really tight. (big wrench) Square head 1 1/2" across.

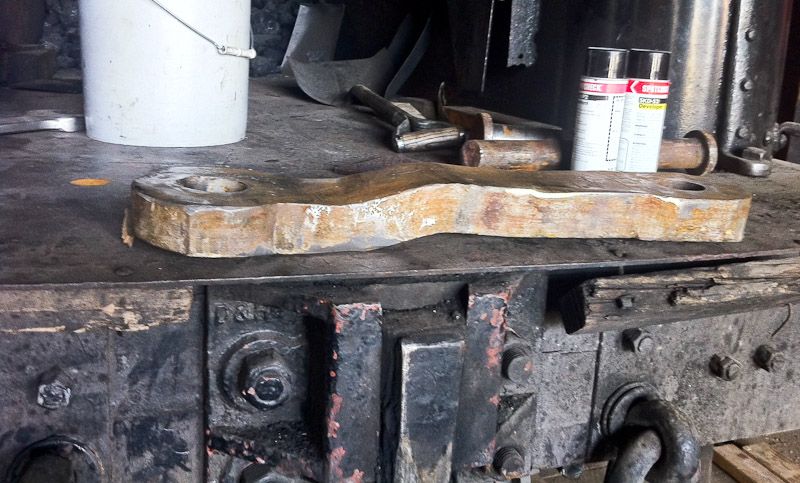
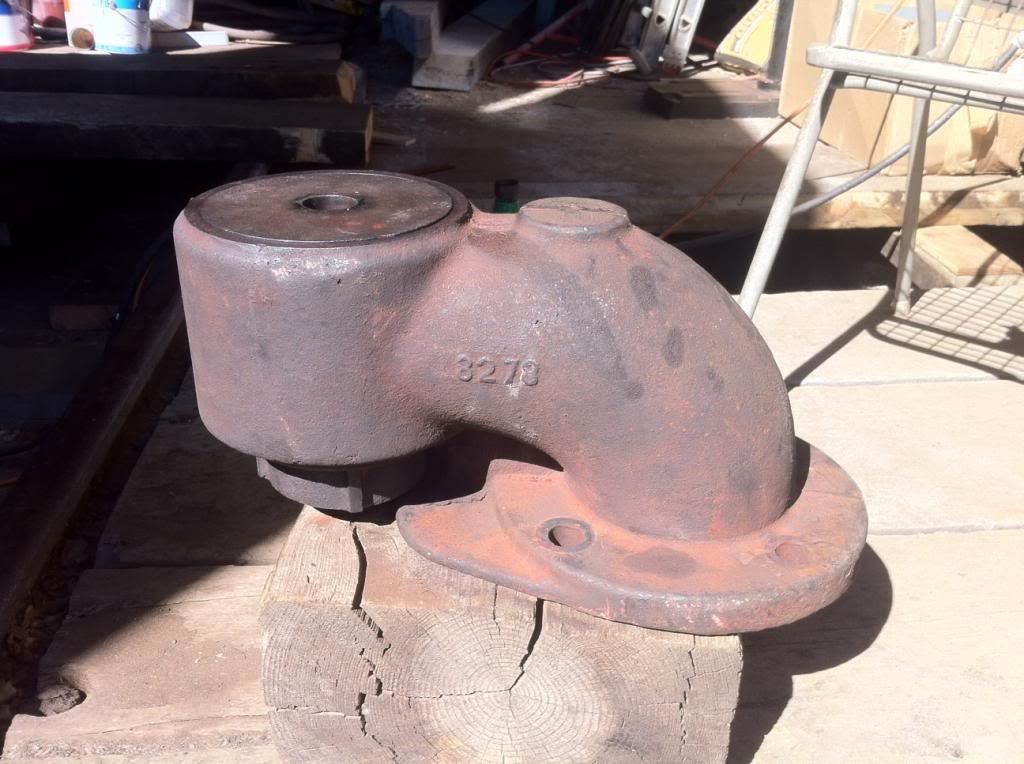
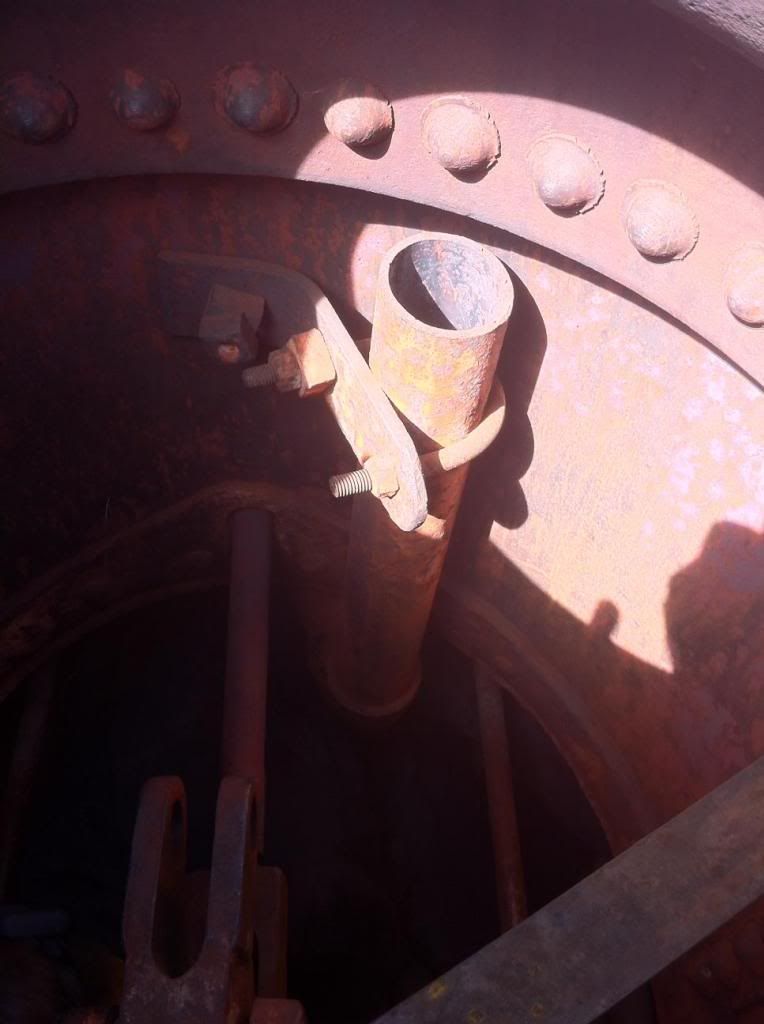
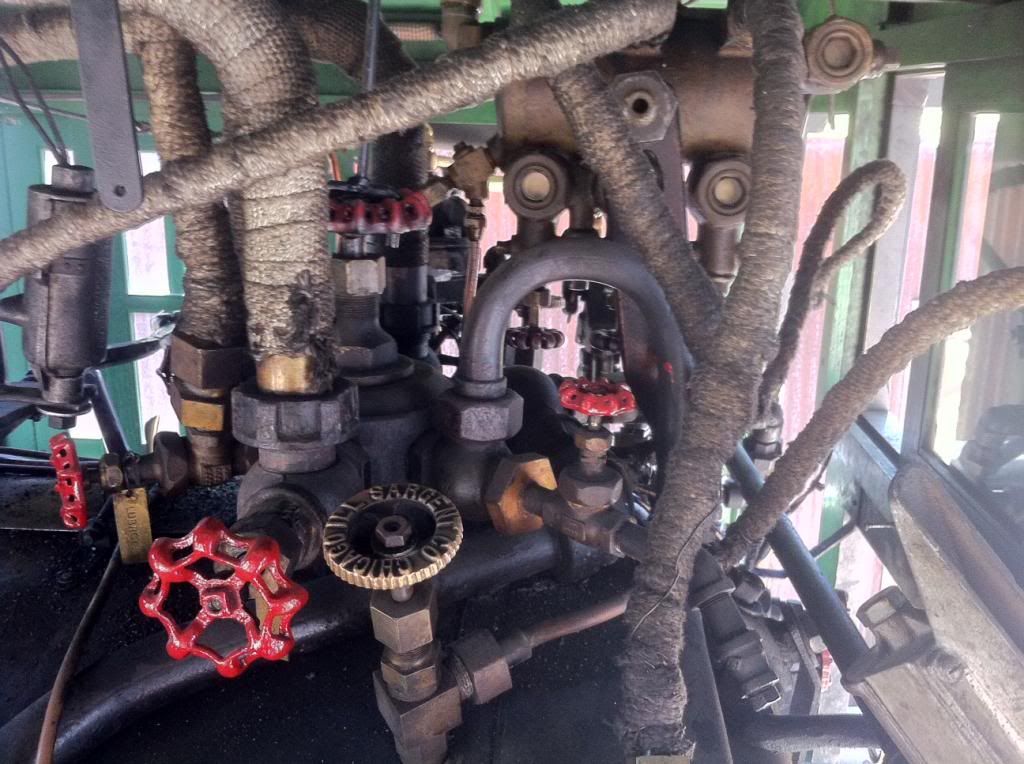
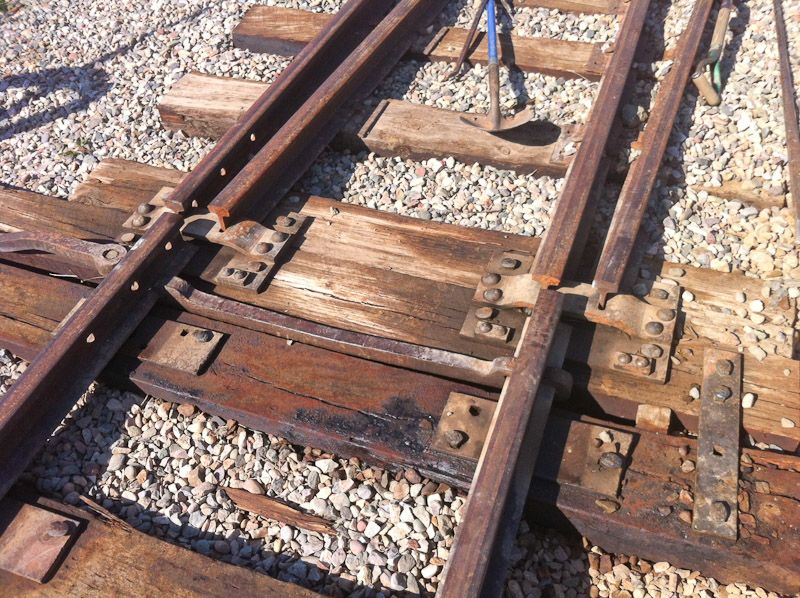
This is the collection pipe for the Cab turret and all the valves to control the appliances on the locomotive.

(http://i1234.photobucket.com/albums/ff403/dave2-8-0/315/photo-23_zps2ea3ef52.jpg)

The other end goes to this:

(http://i1234.photobucket.com/albums/ff403/dave2-8-0/315/photo-28_zps121723d7.jpg)

You super detailers try to make this mess. More on the turrent and valves and etc. on another day.

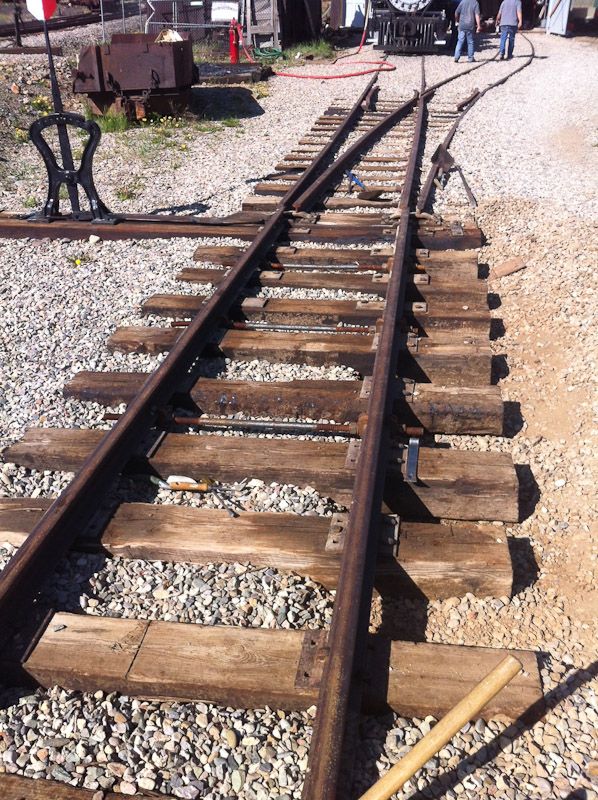
The steam valve got installed on the dry pipe and torqued really tight ( 3 foot cheater bar)

(http://i1234.photobucket.com/albums/ff403/dave2-8-0/315/photo-31_zpse0d705c4.jpg)

The valve is setting on the dome edge, awaiting being seated into the valve assembly.

Working above the open boiler, one has to be very, very, careful not to drop ANYTHING down into the boiler, Bad things can happen to a boiler if stuff gets down into the tubes area. Rule: if you drop anything into the boiler, you have to be the one to go get it.

(http://i1234.photobucket.com/albums/ff403/dave2-8-0/315/photo-32_zps44e45b25.jpg)

The valve ready to be seated, The control shaft was left out as Un-needed for the hydro testing of the boiler.

(http://i1234.photobucket.com/albums/ff403/dave2-8-0/315/photo-33_zps50bdc60c.jpg)

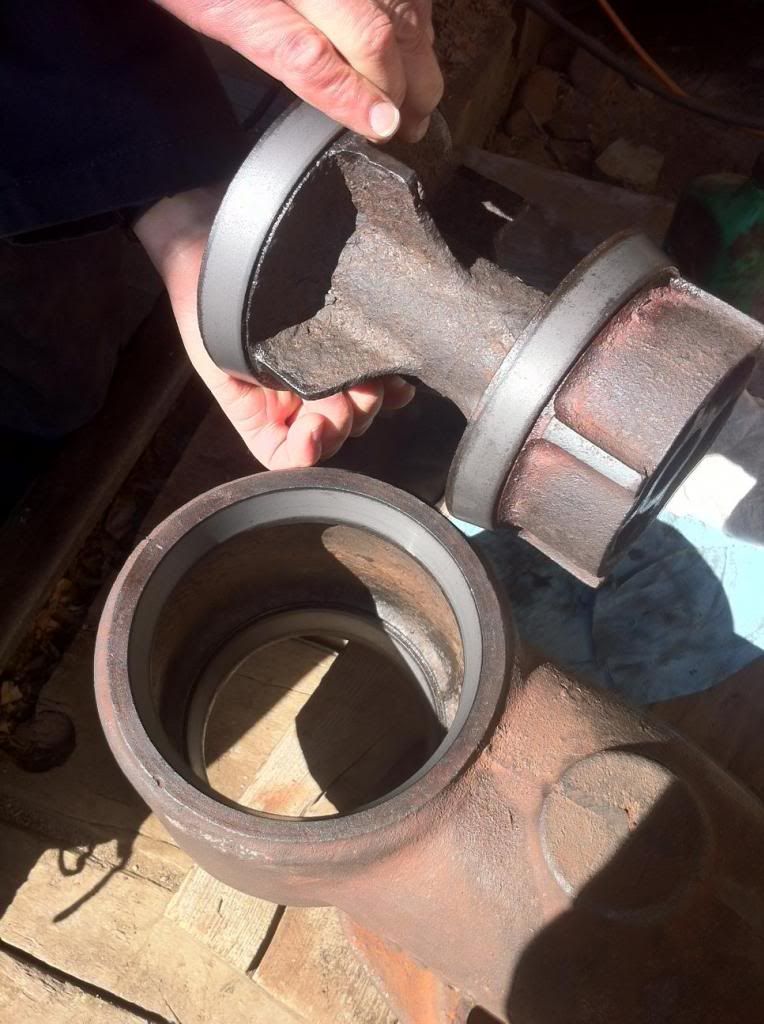
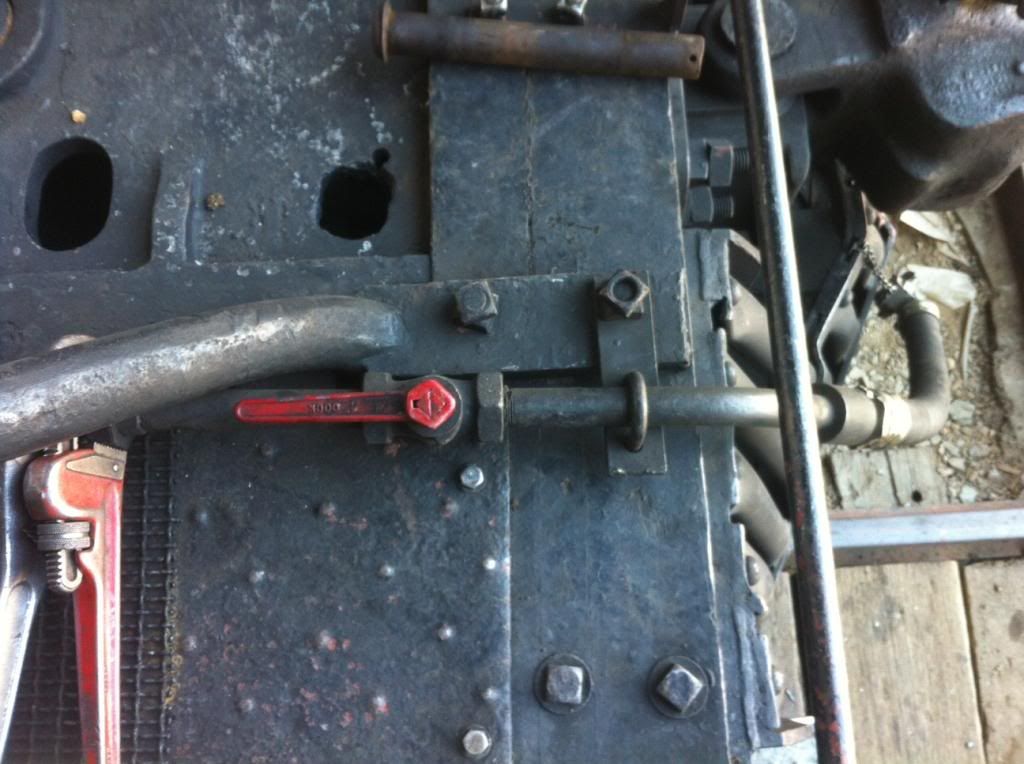
Moved on to the Brake air valve at the front of the engine that had been leaking previously. It’s a Westinghouse valve, and needed to be opened up, cleaned, honed, and reassembled. Very typical procedure on a steam loco. The valve.

(http://i1234.photobucket.com/albums/ff403/dave2-8-0/315/photo-34_zpsd9063bcf.jpg)

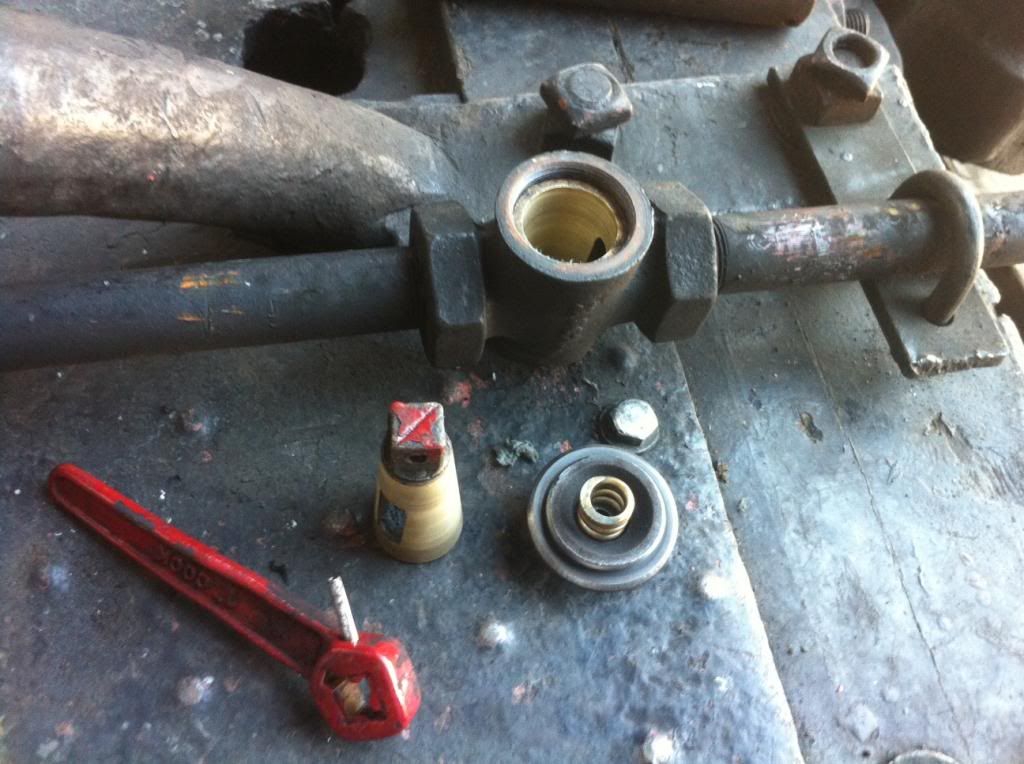
The tapered surface needed to be honed for a good clean fit. Again 500 grit compound and about 20 minutes of hand lapping did the trick.

(http://i1234.photobucket.com/albums/ff403/dave2-8-0/315/photo-35_zpsf42f4d12.jpg).

Thats it for today. Tomorrow we button up the dome and finnish up on a list of things to get done for the hydro testing scheduled for Thursday when the FRA inspector is here.

Dave

Great post Dave!

Thank you so much for these posts. Very interesting reading and answers a lot of questions on how steam engines work. I had always wondered how the throttle valve worked in controlling steam to the pistons. Now I know.

Tom

Day 3 Wednesday 12 June 2013

Started the day re-checking the tightness on the boiler plugs. These have to hold the full pressure of the boilers 160 PSI. We use a 3/4 inch drive ratchet with a cheater bar, giving them all we got to get them tight.

Here is just two pics, that covering 2+ hours work. The first is the steam dome in place, looking down on the ten studs and bolts. No pictures of it going on, as the process was intense standing on the boiler, man handling about 250 lb. of steel casting by 4 guys.

(http://i1234.photobucket.com/albums/ff403/dave2-8-0/315/photo-37_zps7220d742.jpg)

The dome top is about 22" across and stepped in height from about 6" tall down to about 1 1/4 inches thick at the rim. Under the top and between the dome base, a 1/4’ annealed copper ring gasket is placed on the machined surface of the dome base. The nuts on the 10 studs are 1 5/8 " across and the breaker bar and socket are 3/4 drive. To get them tight enough we used a 4 foot long cheater bar on the end of the wrench. We carefully seated each nut in an alternating cross pattern, and tightened the nuts down in stages. The final tightening was all that we could give on a 4’ cheater bar. Then re-checked again. Estimated Torque on the nuts is about 800 Ft. lbs.

The second photo is shot standing atop of the generator in front of the cab, looking down on the steam dome.

(http://i1234.photobucket.com/albums/ff403/dave2-8-0/315/photo-38_zps7282571f.jpg)

On top of the dome is normally attached the two Safety Valves (Pop Valves), and the Whistle. For the hydro testing these will be capped off as not needed ( the shinny caps). There will be a certified pressure gage placed on the other pipe, but removed after the FRA inspection. The fire hose will/was used to fill the boiler with water for the pressure test. To get to the required 200PSI a fire engine pumper will be attached to the boiler.

Back to the draw bar crack testing. The checking for cracks was a multi part process. Here are the components. The draw bar, and the two pins that attach it to the engine and the tender.

(http://i1234.photobucket.com/albums/ff403/dave2-8-0/315/photo-39_zps37633abc.jpg)

The draw bar is about 2 x 6 x 30 " and the pins are about 2 1/4 around and about 20" long.

I’ll try to describe the steps in the process, and how it works. First the piece is will cleaned of any rust or scale with a wire brush, and then cleaned with lacquer thinner to remove any oil residue.

The parts are then coated with a penetrating solution that seeps into any cracks in the metal.

(http://i1234.photobucket.com/albums/ff403/dave2-8-0/315/photo-40_zps5b52a654.jpg)

(http://i1234.photobucket.com/albums/ff403/dave2-8-0/315/photo-41_zpsd934959f.jpg)

(http://i1234.photobucket.com/albums/ff403/dave2-8-0/315/photo-42_zps5fb30296.jpg)

After waiting 15 minutes for the dye to soak in, it is then surface washed off with water, leaving the dye in any cracks. It also stays in the surface pits, but that is OK.

After waiting 5 minuets to dry from the washing, a spray power is applied ( think of the dry powder from a deordant). This dry powder then draws out the dye left in any cracks, and turns red.

(http://i1234.photobucket.com/albums/ff403/dave2-8-0/315/photo-43_zps5445a925.jpg)

Close examination showed NO cracks, pits yes but no cracks! Yeah! Passed and certified ready to go.

(http://i1234.photobucket.com/albums/ff403/dave2-8-0/315/photo-45_zps14700357.jpg)

A garden hose from the hydrant was applied to the boiler inlet and pressured to 95 lbs. One drain plug weeped a tiny drop, so I put a bigger cheater bar on it, got it to turn a wee bit and it stopped the drip.

I tightened up the packing nuts on a couple of valves on the Cab turret, to stop a drip under pressure.

That wraps up day three. Tomorrow we have a few things to check of the list before the FRA inspector comes. We will be using a propane heater to heat the water to the required 70+ deg for the test.

Man this 12 inch to the foot real steam stuff is FUN!

Great report Dave. Quite educating. Thank you for sharing your experience with us. We are there with you in spirit!

Awesome Dave. I’ve been a part of an FRA inspector doing a pressure check of a boiler for an Emulsion plant (Its the plant that makes the oil stuff that you use in chip sealing and asphalt paving). It seems very similar. I guess a boiler is a boiler no matter where it is attached to.

WE PASSED!!! HOOORRRRAAAYYYY… Todays report later tonight.

Day 4 Thursday 13 June 2013

WE PASSED!!! There is a lot of paperwork to do for the FRA (not by me though) after all it is a government agency.

We had a few little details to attend to, and the guys got them all done. For the Hydro testing, the water in the boiler has to be at least 70 deg warm. Well, the water from Silverton’s hydrants was very cold when be filled the boiler, so to heat it up they put a heater into the fire box for about 5 Hr.

(http://i1234.photobucket.com/albums/ff403/dave2-8-0/315/photo-51_zps9d2a467a.jpg)

It worked to heat the water ( about 3000 gallons) up by noon when the inspectors got here.

There wasn’t much that we could do with the engine during this time, so some track maintaing, or destruction in my case. BTW track maint. is really hard work for old fools.

OK here is the stub switch on the lead into the Silverton Northerns engine house, where 315 resides.

(http://i1234.photobucket.com/albums/ff403/dave2-8-0/315/photo-47_zpsce097dfa.jpg)

The engine house’s entry road runs right along side the track, and the gravel/ballast has been getting kicked over into the sliders of the switch, So it was decided to put some ties along the edge to help keep the cars off the switch.

(http://i1234.photobucket.com/albums/ff403/dave2-8-0/315/photo-46_zps87f84c4e.jpg)

Gravel ballast dug out. Here starts the fun at Dave’s expense. One of the ties needed another spike driven into the tie plate to hold things together better. Overly anxious to get the chance to drive my first spike, I asked if I could have the honors, something like the Golden spike ceremony running thru my head. I wish that they would have begged me off. So they go get a brand new virgin spike for me, it was a purty thing, just waiting its turn at a chance for railroad history. (I’m really sorry spike, you deserved a better introduction to railroading).

(http://i1234.photobucket.com/albums/ff403/dave2-8-0/315/photo-48_zps98cf96c8.jpg)

This is the good start. I got it in the hole in the tie plate, and tapped it in to start, piece of cake. Backed up to get a good manly swing, and missed, several lauffing souls givving me good hearted encouragement to give it another whack. Hit the rail, I can do this… Hit the tie, Finally hit the spike, ok I got it zeroed in now, Hit the tie, hit the tie, hit the rail. Hit spike, hit the tie … After the laughter died down some. they stopped me, as I had driven the tie and plate down away from the rail… #@#$#^%$# he said. (that’s real mens railroad talk).

(http://i1234.photobucket.com/albums/ff403/dave2-8-0/315/photo-49_zpsed829313.jpg)

That’s to prove how much an inept spike driver can screw up something so simple. NOTE: how far I’ve gotten that *&#$#@ spike into that tie. Also notice the dings in the tie plate, the tie and the spike too.

(http://i1234.photobucket.com/albums/ff403/dave2-8-0/315/photo-50_zpse5707dad.jpg)

I had to use the tamping rod to lift the tie back up to the rail, and put some ballast under the tie, Of course no one offered to help me fix it at this point, 5 long embarrassing minutes later, hitting that spike with little taps like a girl, I got it in.

(http://i1234.photobucket.com/albums/ff403/dave2-8-0/315/photo-52_zpsb0b0c9a3.jpg)

Got the ties tied together by driving re-bar thru them. And then re-placed the ballast, and tampered them back in.

(http://i1234.photobucket.com/albums/ff403/dave2-8-0/315/photo-53_zps3bdc823c.jpg)

Fresh track work, despite Dave’s help. BTY that harp switch stand, came from the end of the Y in Elk Park on the D&RG Silverton branch.

Every body cleared out of the area while the FRA inspectors did there thing, so not much more on the 315 today. I did spend several hours helping replace a damaged roof on a storage shed while the inspection was going on. Blah stuff, compared to working on a real train.

I wandered over to the D&S rip track where 493 rests and shot this of its dog house.

(http://i1234.photobucket.com/albums/ff403/dave2-8-0/315/photo-54_zps1ece8ba3.jpg)

Thats it for today, Tomorrow work on the air piping on the tender

Dave

Edit: Changed the Original location of the harp switch from RICO on the RGS to the end of the Y in Elk Park on the D&RG Silverton branch.

Dave,

Thanks for taking the extra effort to post pics and report your experience here.

Very interesting.

This is as close as I will ever get to seeing what goes on in the Durango back shops.