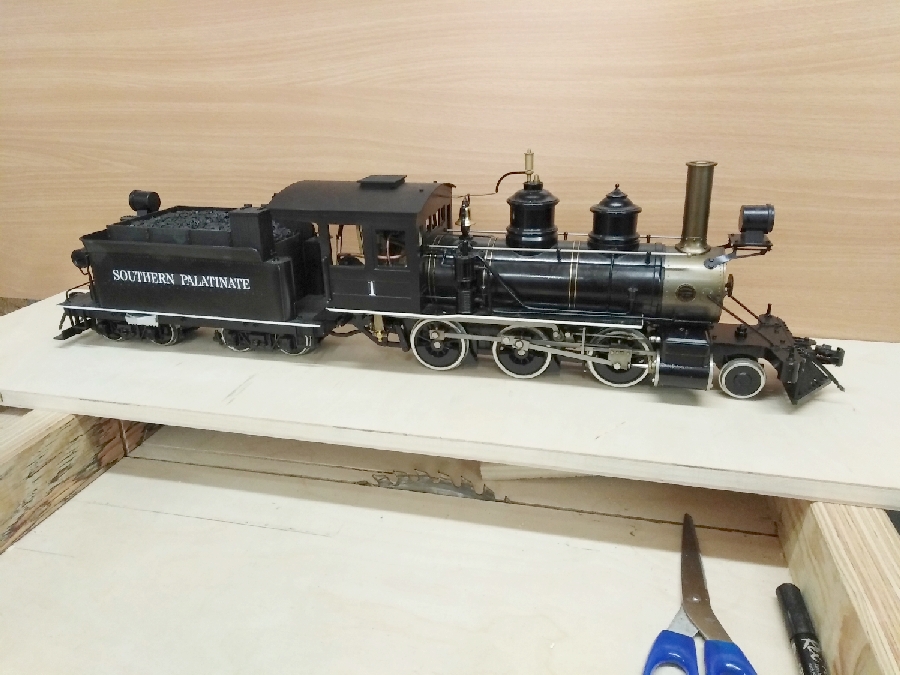
Hello, now the loco is ready for radio control!
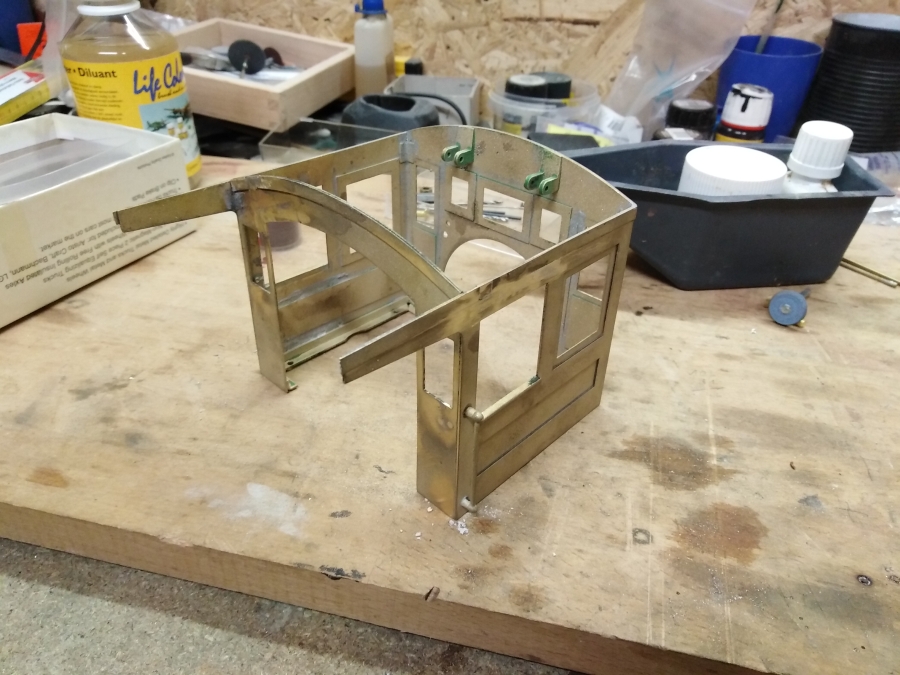
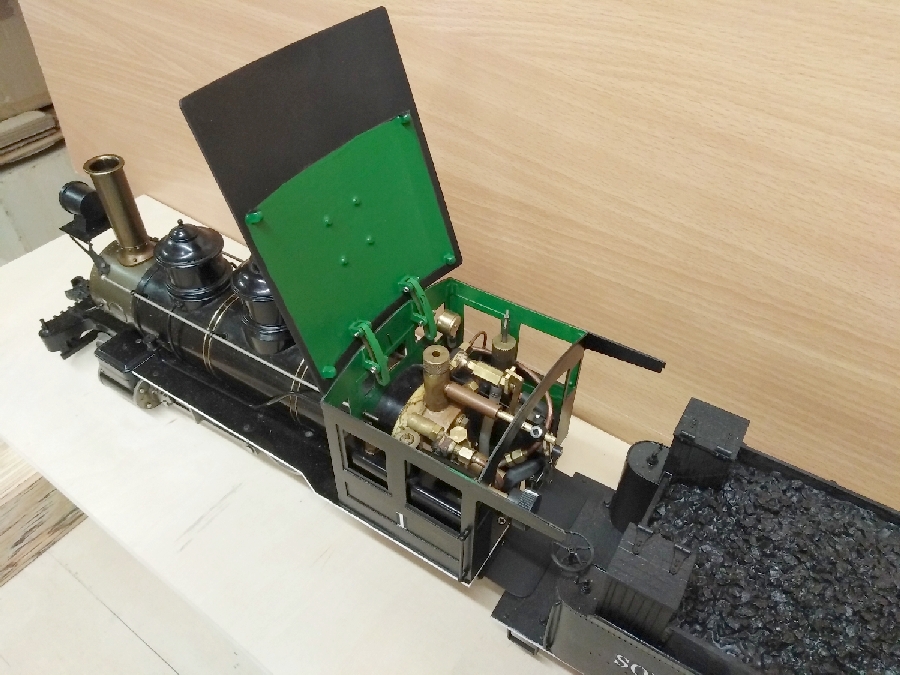
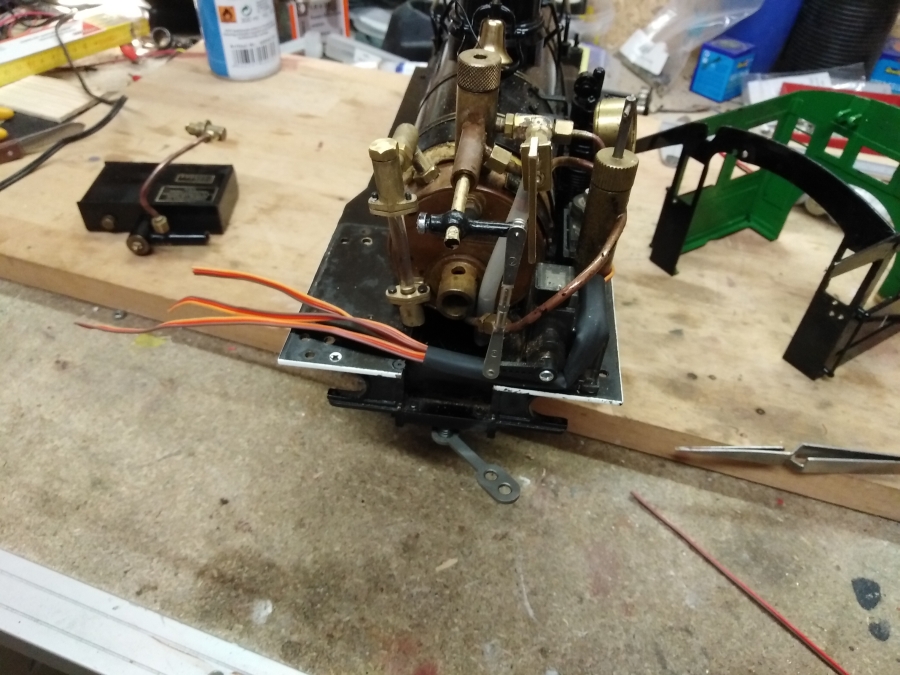
It took me some time to figure out how and where I could place the servos for the radio control. Finally I found the solution by getting rid of the Johnson bar and turning the reversing-servo upside down. The regulator servo is placed upright and is mounted in a self-made bracket, bend from sheet steel. The lever is sticking out from the back of the cab, but this is okay. It allows more clearance between the servo and the boiler. Just beside the servo is the cut out for the reverser servo.
(https://waldbahner.de/wp-content/uploads/2019/01/IMG_20190102_202454.jpg)
Left of the lubricator is the reversing servo, which got installed upside down. The third servo to the right is for the whistle.
(https://waldbahner.de/wp-content/uploads/2019/01/IMG_20190102_215409.jpg)
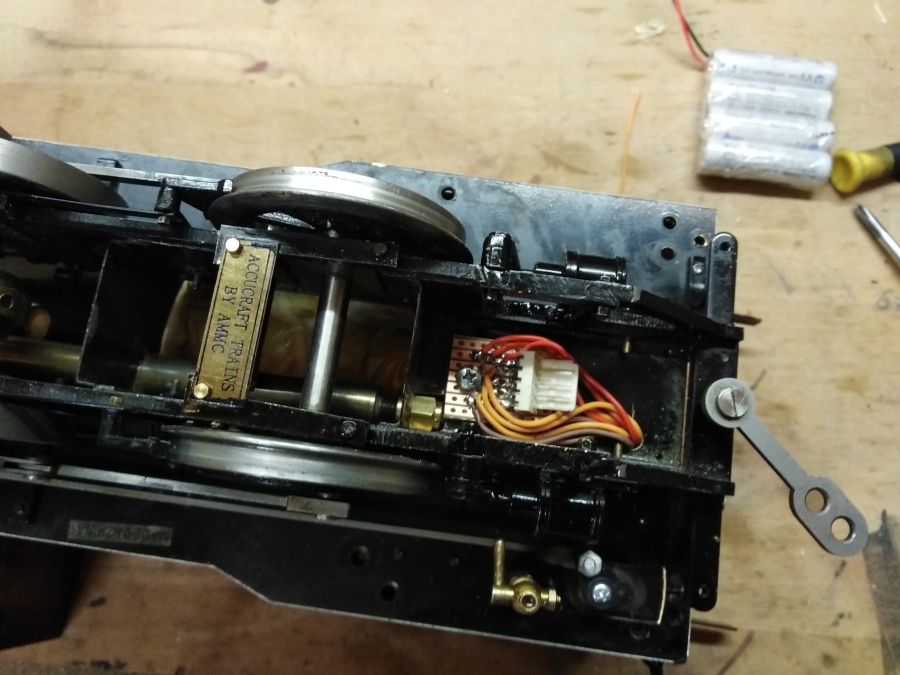
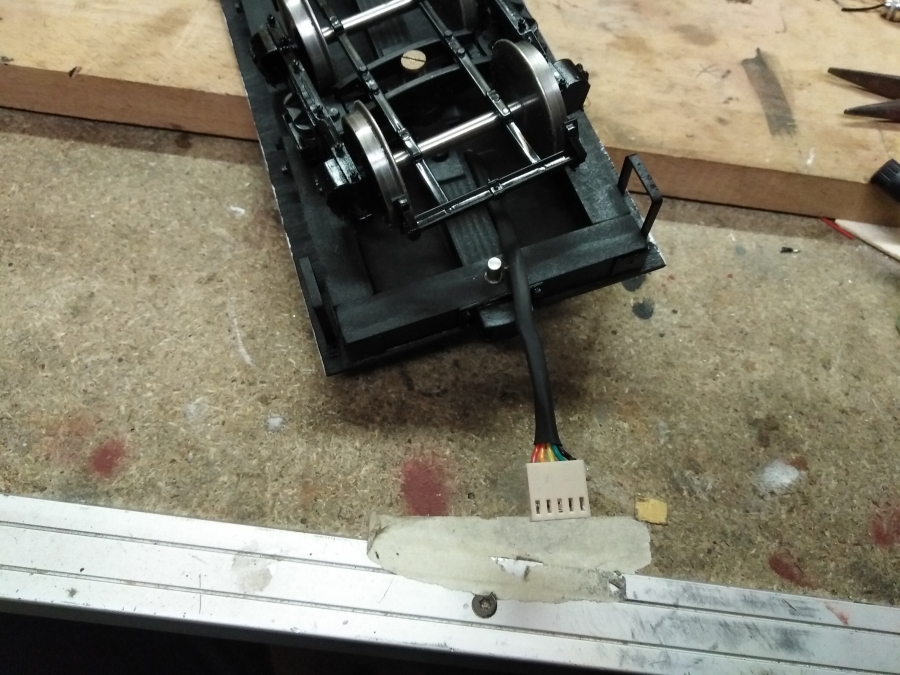
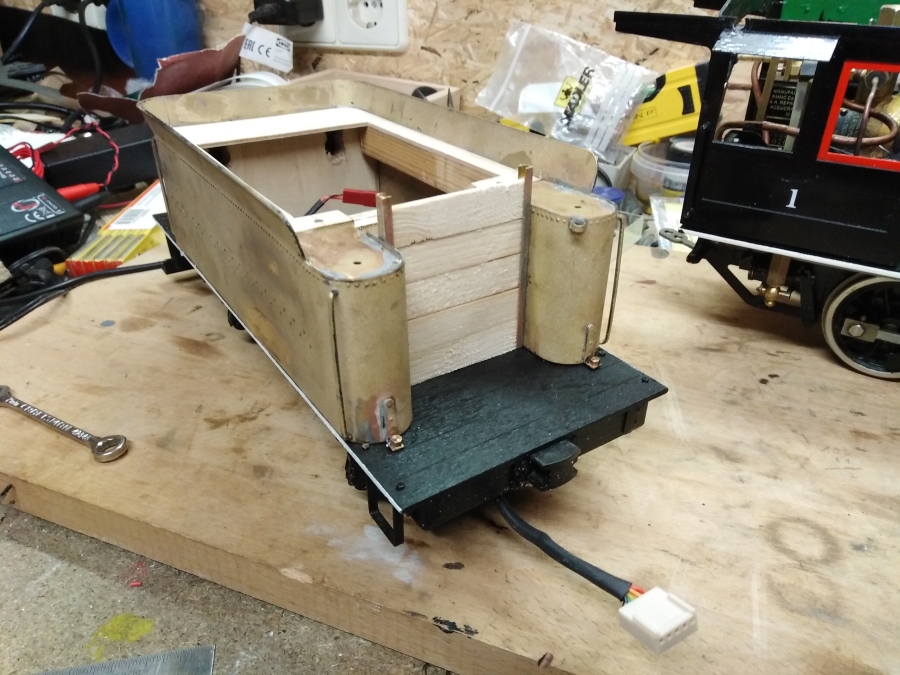
As there was no space left for the receiver (the gas tank will take place on the firemans side), I moved the reveiver to the tender. The nine wires of the servos were wrapped in some heat shrink and bend to end under the cab floor in-between the frame.
(https://waldbahner.de/wp-content/uploads/2019/01/IMG_20190108_172020.jpg)
Here I installed some simple PBC with a 5-pole socket and I combined all red wires to pin 1 and all black wires to pin 5, while pins 2-4 are used for the orange signal wires.
(https://waldbahner.de/wp-content/uploads/2019/01/IMG_20190108_174811.jpg)
The tender got the matching cable with plug at the end.
(https://waldbahner.de/wp-content/uploads/2019/01/IMG_20190108_194600.jpg)
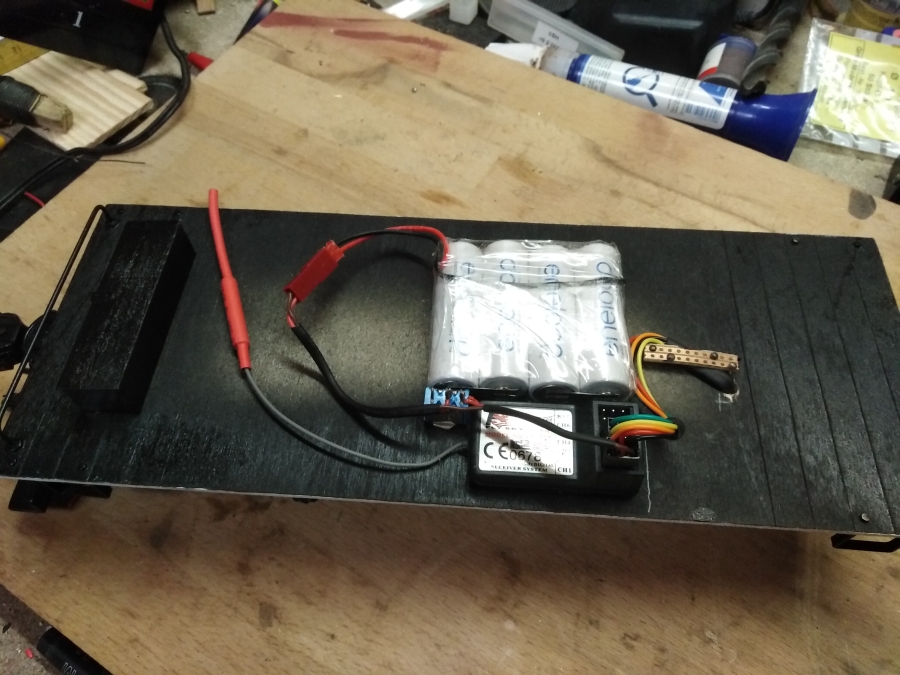
To connect the cable with the receiver, I installed the typical plugs at the ends. So it’s easy to change channels if necessary. At least I installed the power switch and made a battery pack ready. Usually I install a charging socket as well, but I won’t carry the large loco to the charging station each time. So I made the battery pack removable by plug & socket.
(https://waldbahner.de/wp-content/uploads/2019/01/IMG_20190108_210432.jpg)
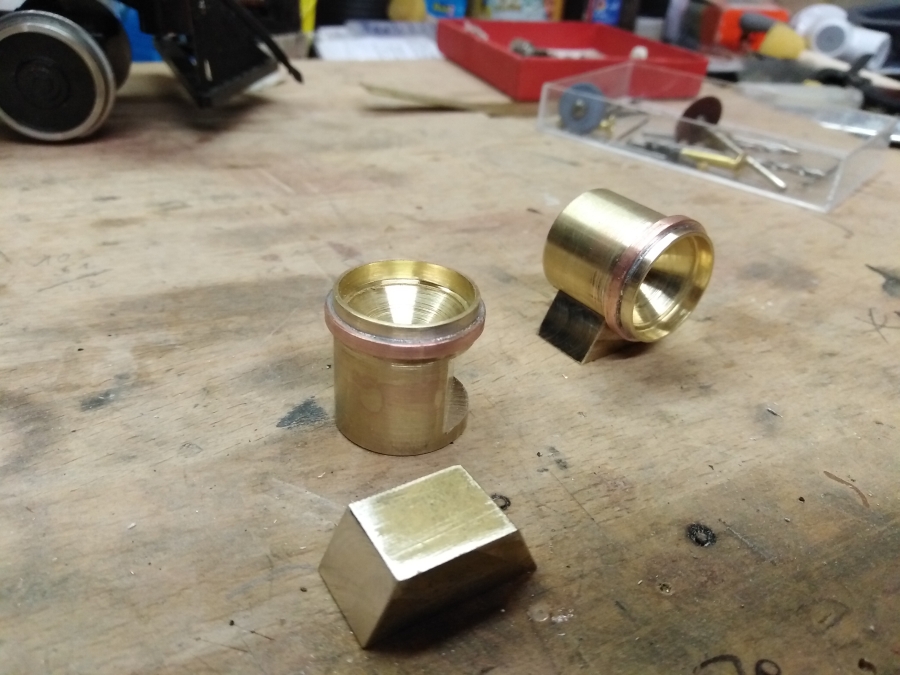
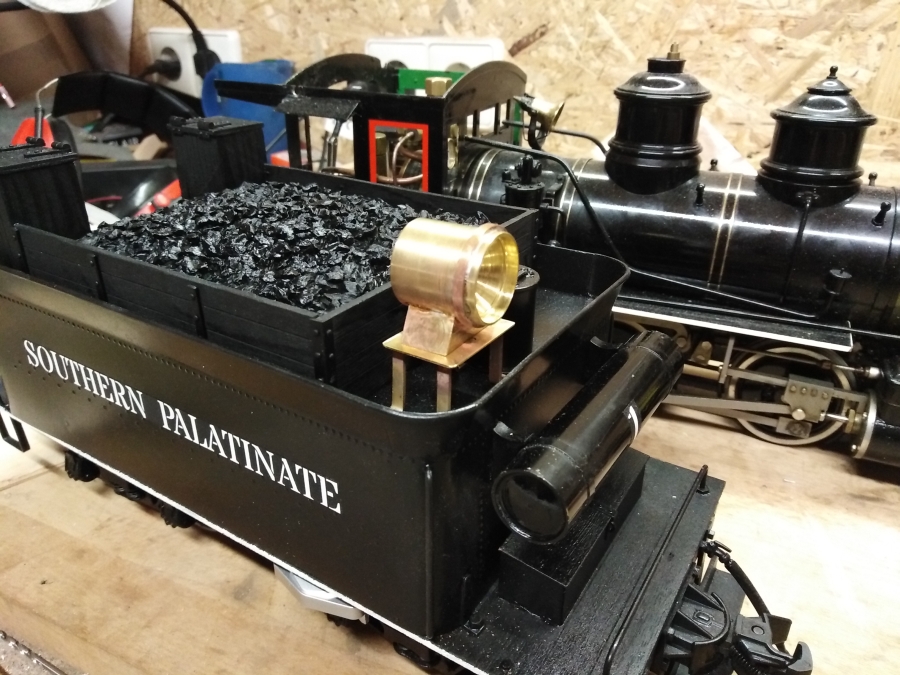
Beside the Rc components, I installed a T-connector with whistle valve between the manifold and the pressure gauge. Unfortunately, I missed to take photos from the progress, but the finished parts are shown in the 3rd photo above. I also swapped the pressure gauge to a 1/2″ diam. gauge. At least I installed a new safety valve. Unfortunately, the weather is bad outside, so I was not able to do test runs yet under steam, but on air, everythign worked fine so far.
Gerd


