Large Scale Central

EBT Robertsdale Layout Build Log

Randy,

Great track plan! You state you want to build turnouts and get a track plan on the ground, but something you can move to the new location.

For this track plan, I’d concentrate on turnouts and buildings and then this functional trestle and steam up area can be done with anything. You said the trestle was not going to be built to scale, so like someone else said, don’t worry about the non scale track.

This is going to be a great build to watch.

Thanks for all the comments and encouragement guys.

Pete, I have looked at the Llags creek frogs but at $16 a piece for my 12 switches it ads up quick. I won’t put this much money into my furnace or wax and plaster. Then once I’m successful I’ll be able to cast the other 100 or so for the rest of the rail road when we move. Another big motivation is that I’m saving a bit of space from an #8. Nobody makes odd number frogs that I know of. Plus I’ve wanted to start casting for a really long time

Shawn, I understand. You’re going to look at the track a lot. So it has to look how you think it should. Follow your bliss!

Yep Ric, That’s the plan. Switches first. Then put the track down in the middle. Next will be the return loops. One is easy on flat ground the other on the trestle wont be to hard. I’m already playing with some designs for that It will be more like fancy bench work. The buildings will go last. I have an order in with the local supplier for some 1:20.3 textured concrete block! (http://www.largescalecentral.com/externals/tinymce/plugins/emoticons/img/smiley-wink.gif)

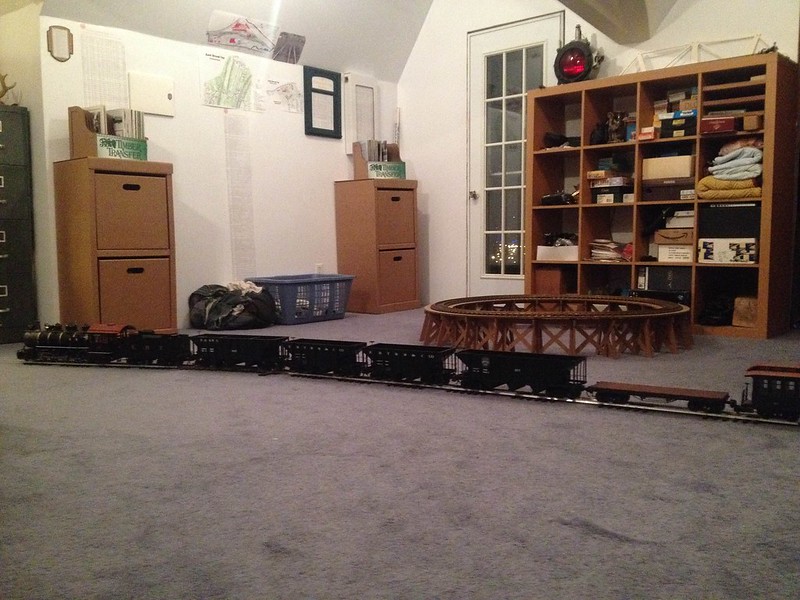
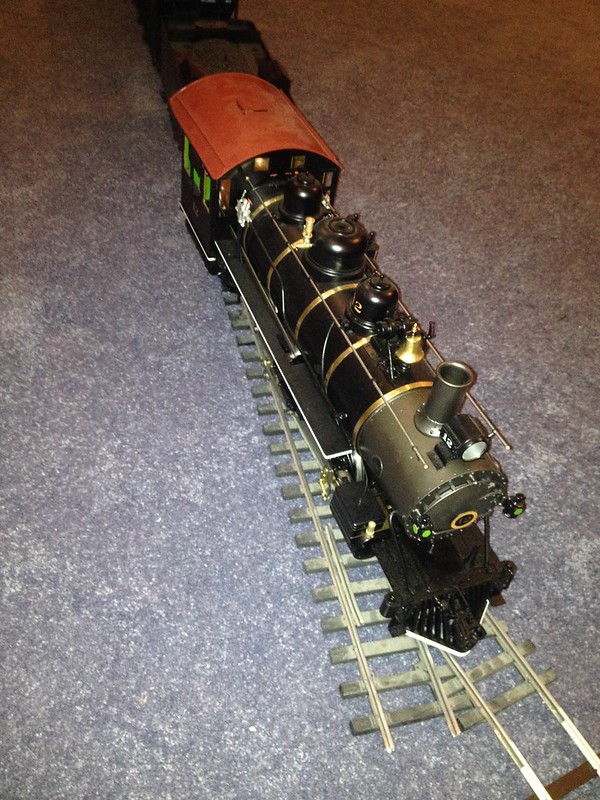
I got antsy last night and pulled all the equipment together. Wow now I have more motivation. Actually I wanted to see how the Mikado would do running through a #4 switch. Well, actually I was just pushing it but it seemed to go through ok. Very tight and the wheels were almost off the track if not, but it went through. Fun.

IMG_1254

IMG_1256

I’m making some real progress. In the last two week I’ve worked to procure the indigence for my refractory cement and get a few misc. items and cut shape and assemble them in to the Melting Furnace you see below. It will be fired on propane gas and melt the aluminum I’m pouring the frogs from.

IMG_1308

With this shot you can see The crucible I put together. Still needs a bit of finish weld and grind but it’s almost there.

IMG_1310

And Last here is the 3D model of what I’ll be casting. I’m waiting for my molding silicone to arrive and then things will get serious.

IMG_1309

I had a great weekend out at the real RR and was able to find out what each of the switches were in Robertsdale. Everything on the main is points. Everything else is mostly stub. Now I know what to build. I’m also getting a Sheet of 3/8 Black UV protected UHMW Poly Etheline That I will be using for the ties. I’m hoping to build a 20+ year switch.

[BLOCKQUOTE]I’m hoping to build a 20+ year switch.[/BLOCKQUOTE]

Not if you cast the frog in aluminum. Steel wheels in your rolling stock will cause a lot of wear. Brass or nickel silver would be a better choice?

Pete, wouldn’t that depend on the grade of aluminum? Some folks run on aluminum rails.

Good point Pete. Although, then it would look like a lot of the ones I saw out there! As David mentions I am running on aluminum rail, but I could see a frog, especially cast as opposed to extruded rail, getting a bit more beat up. I’m going to start with aluminum but I may try some Brass eventually. My furnace should be up to that heat, but I’m afraid nickle silver would be out of the question. I got my Silicone today to make molds and I also picked up my 48’ x 120’ sheet of the Polyethylene. This weekend should be fun… (http://www.largescalecentral.com/externals/tinymce/plugins/emoticons/img/smiley-smile.gif)

Looking forward to your progress Randy!

Cant wait to see more progress. Weather is finally getting nice.

Sorry for the slow updates. Life has just been busy. But I’m making real progress on things. After the first lawn mow of the season and transplanting 50 feet of boxwood hedges Saturday, I finally got to work on the railroad. I started first with some Tie cutting. The PE cut very nicely and I was surprised how fast I was able to cut a 5 x 4 sheet into 3/8 x 1/2 x 5 foot strips. I have them all neatly packed in a box ready for cutting to length.

Tie strips

Next I got to work on some of the rail road shop and foundry equipment. I drug out the furnace and gave it it’s first firing. This was just a dry fire with an empty crucible. This is also done slowly to drive of all the remaining moisture and cure the fire clay in the refractory mixture. In the first photo you can see the entire set up. It’s running in the photo.

Whole Furnace

In this second shot I’ve lifted the top off for a photo opp. I turned the heat up a good bit more before it was all over and the crucible was much brighter red.

Furnace

Tonight I finally poured my silicone mold of the 3d printed frog. Hopefully this weekend I’ll be casting waxes and molding them in investment plaster. I need to build only 6 switches to get the main and two end loops in place. Sure would like to have a frog or two done by the time my bag of 7500 spikes arrives Monday.

Do you have any plans or construction photos of your crucible?

Hi Craig, No real plans, everything was just created on the fly. The main body is 3.5 OD Conduit. ( not great because of the galvanized but it was free) I cut it 4.5 inches long and welded a steel plate to the bottom. The spout was the cut off from the blower pipe in the furnace. This is just (3/4?) black pipe. And some 3/4 Dia bar for lifting bungs. This isn’t very original at all. I’ve copied almost exactly from : Back Yard Metal Casting It’s a great site With tons of stuff I want to try.

OH, since I’m posting, I don’t think I ever said how happy I was with the AMS Track. The ties are now the correct size and they are a much thicker wall which makes the heavier so they stay put. Also the rail head and foot are a bit wider on the AMS rail so this also adds desirable weight and strength. So happy I made the switch.

Randy,

I understand your desire to cast the frogs out of aluminum. Almost seems like a sub-hobby of the model railroading. But the question of durability keeps me thinking. Wondering if you could cast a frog out of JB Weld? That stuff is pretty durable. This is really interesting to watch.

Randy,

Did I point you to the chart of D&RGW ‘switch ties’ ? Shows the lengths and sizes for various types. (It came from the original drawings - someone had them online but pulled them off so they could sell a CD-ROM.) EBT was similar.

The big original pic is: http://gold.mylargescale.com/petethornton/Trackbits/drgwmow-115.3-ties4.jpg

The other thought - as you mentioned spikes: I have Xuron ‘spiking pliers’

http://www.micromark.com/spike-insertion-plier,8242.html

They were a lot more comfortable to use than ordinary pliers.

Finally - I use a cordless Dremel tool to pre-drill the ties with a pilot hole.

Ric, Funny you mentioned JB weld. I’ve built one switch about two years ago in 1:20. (#7 also) I used JB to bond the aluminum rails that formed the frog on that. Worked very well. I think I may have to try some in brass once I get proof of concept in aluminum. I don’t want frogs wearing out.

Thanks very much Pete, I hadn’t seen that chart before. I pre drilled holes in my one switch thus far in 1:20 as well. I’m sure it will be a must using the PE ties and 1/2 spikes. I’ve seen those spiking plier before, and you’re right, It may be time for a pair. When the spike is held in it are the “flats” of the jaws parallel or perpendicular to the rail? Or can the spike be positioned either way? Just worried about years of holding pliers one way to spike. Did a lot in HO long ago.

Randy Lehrian Jr. said:

. . .

. . I’ve seen those spiking plier before, and you’re right, It may be time for a pair. When the spike is held in it are the “flats” of the jaws parallel or perpendicular to the rail? Or can the spike be positioned either way? Just worried about years of holding pliers one way to spike. Did a lot in HO long ago.

Can’t answer that. When I got mine they didn’t have the groove - just horizontal ribbing. An old trick was to cut a slot perpendicular to the ribbing at the end - just like this one. The rubber comfort handles also got loose after a lot of use!

May I suggest an even easier way to drive in spikes, The Spiker, from Switchcrafters. I’ve used one for a couple of years, now, and you couldn’t pay me to use “spiking pliers,” again.

Steve Featherkile said:

May I suggest an even easier way to drive in spikes, The Spiker, from Switchcrafters. I’ve used one for a couple of years, now, and you couldn’t pay me to use “spiking pliers,” again.

Amen. It is really a great tool and the spikes seem to hold a lot better than I ever did with pliers.

I cut the prongs off the bottom to fit my fatter ties, but I still get a nice look - 2 spikes per tie.

Thanks Steve and Bruce, I’ve Eyed that up too, and it seems very reasonable at only $35. My concern is that it would work with the 1/2" spikes. It says it’s for 3/8 in the add. I want to bend over my spike ends to prevent them from coming up. Also, I’m guessing you can’t pre drill holes with this. I think that may be fine in wood ties, but I’m using solid UHMW Polyethylene ties and they will almost certainly need pre-drilled. What do you guys think?

From what I gather you put the spikes in position, line it all up and whack the “legs” with a hammer to set the spikes. Right?

Well, it’s actually $65, but still worth it. $35 would be an even better bargain. (http://www.largescalecentral.com/externals/tinymce/plugins/emoticons/img/smiley-foot-in-mouth.gif)

Except I don’t know about 1/2" spikes as I’ve never tried it. It would probably hold them, but there is only 3/8" of room, so they will stick out by 1/8".

Hmm…maybe not. I’m looking at my spiker right now and the rods do retract more than 1/8" so it looks like it might work, but I’m sure he has some reason for saying 1/8". If I had some 1/2" spikes I’d try it.

You are correct in usage. Load the spikes - there is a magnet that holds each spike in place. Then, whack the rod (or leg) and in goes the spike.

D’oh. I do have some 1/2" spikes. (http://www.largescalecentral.com/externals/tinymce/plugins/emoticons/img/smiley-embarassed.gif)

I loaded a few and tried it. After I load the spikes I just pressed them against the hammer head to push them back even, then whacked them with the hammer. Seems to set against the rail just fine. Again, much better than using pliers.

Although the next part would be trying to figure out how to bend them over after you get them in…