Large Scale Central

Daves 2019 Mik Challenge Build

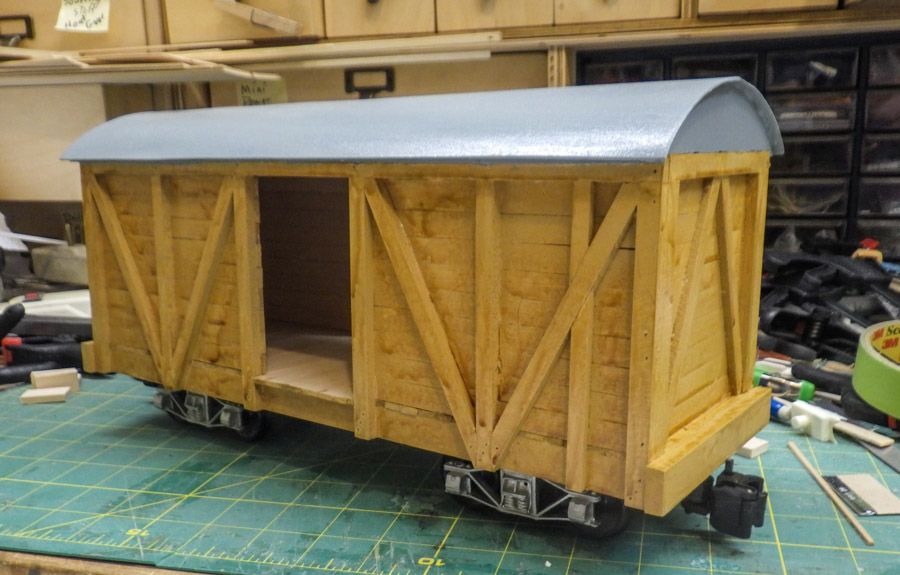
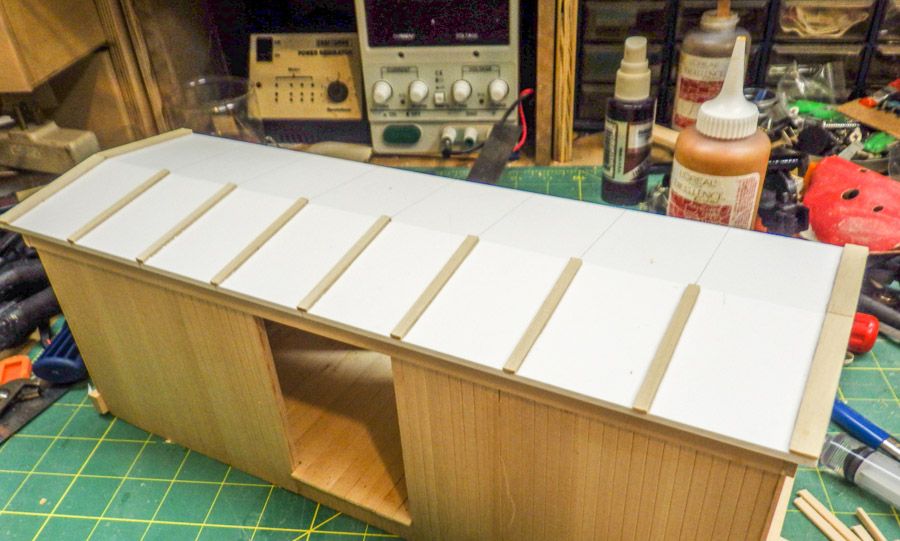
Got to work on the roofs.

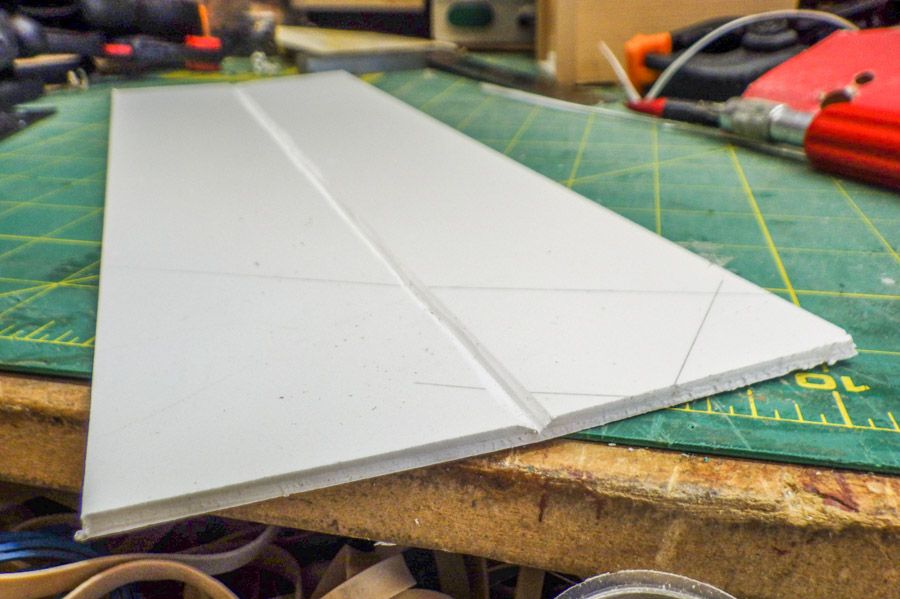
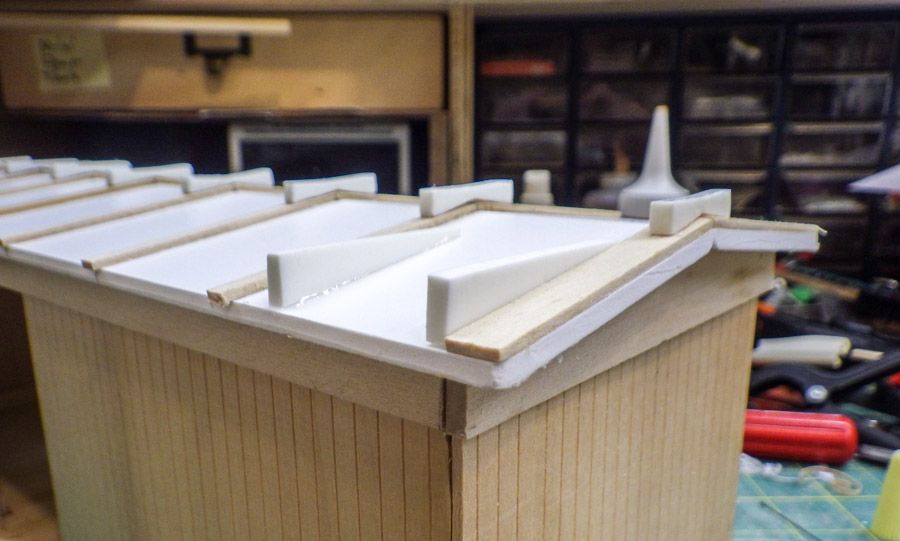
Started by making a card stock templet,

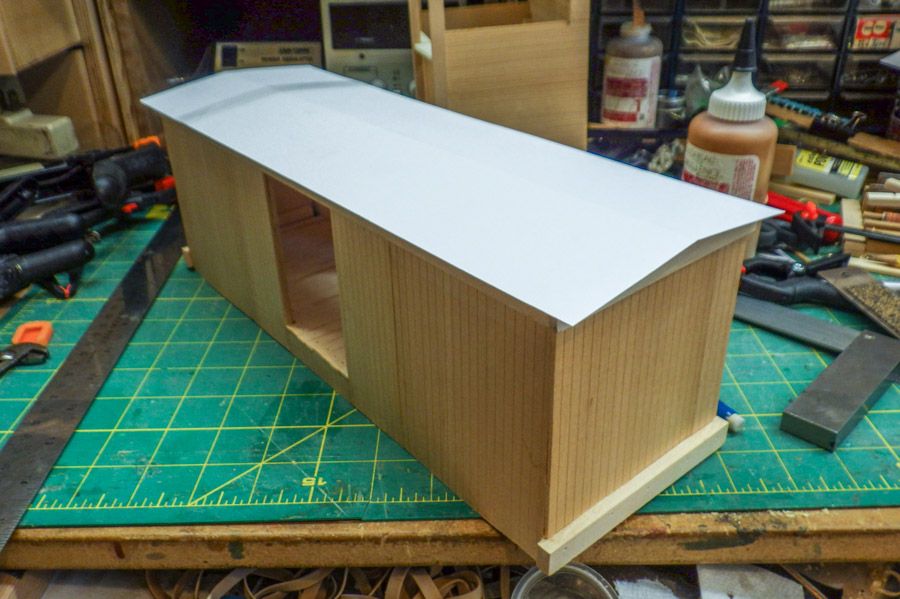
Transferred the pattern to 3mm Sintra board, cut, and cleaned the edges. Wanting to keep a single piece, with out a seam, I “V” notched the centerline so I could get a clean bend without breaking.

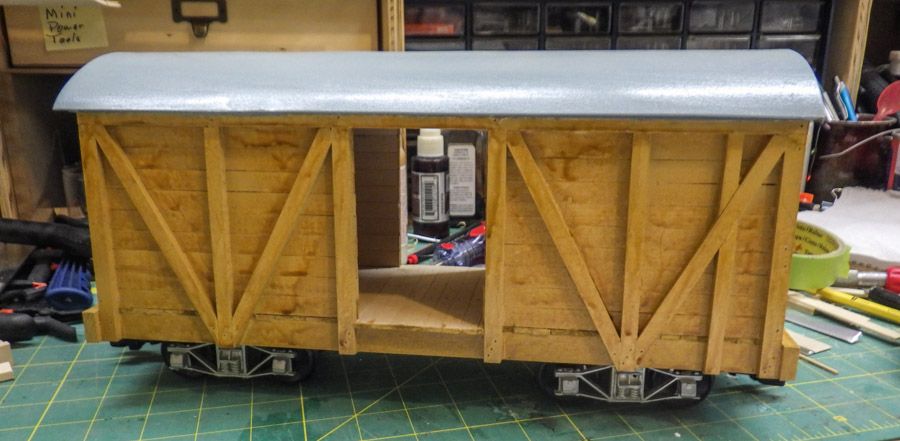
Fitted up to the roof supports, Glued and then used Rubber bands and heavy weights till it dried.

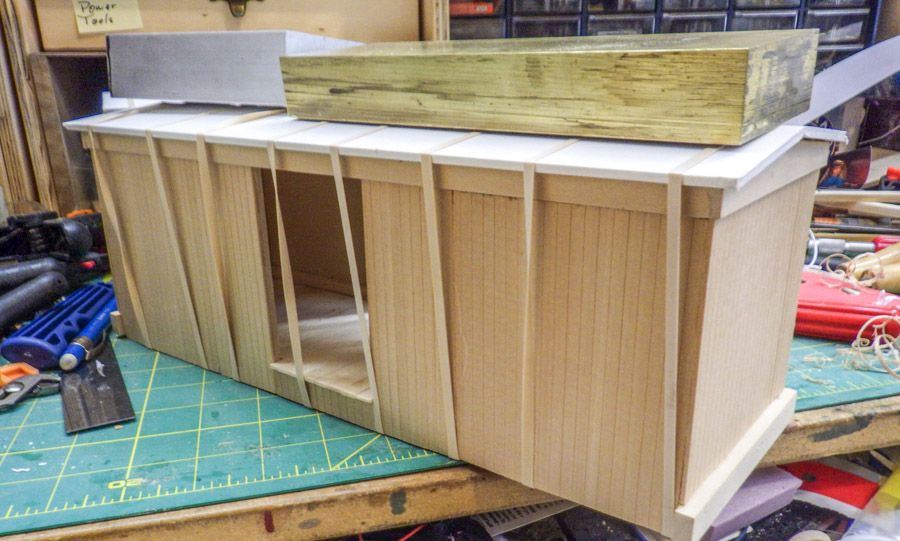
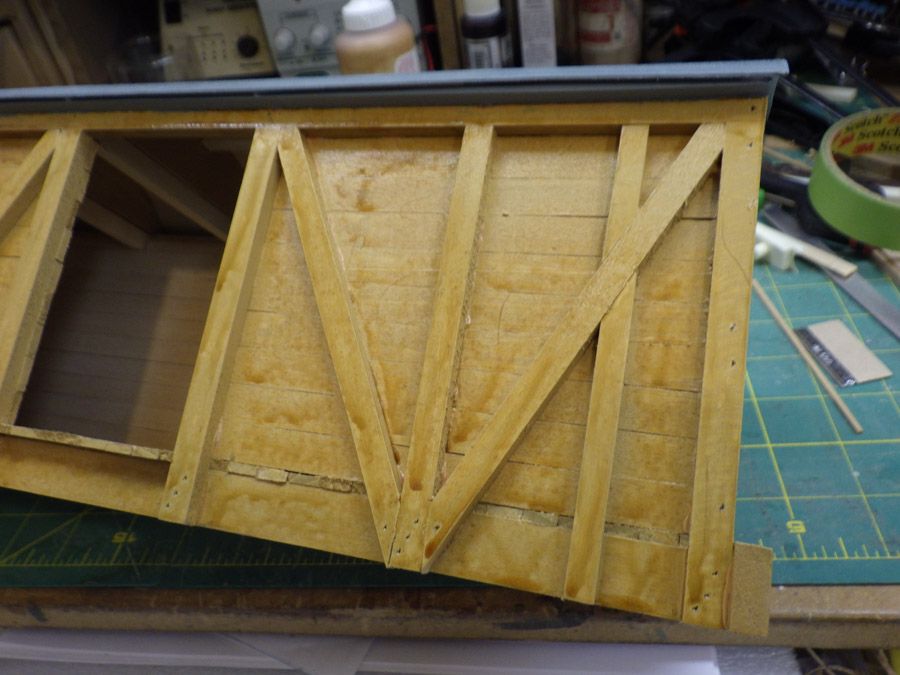
As These are to have a Metal “Murphy roof”, I laid out the joint covers, and glued to the roof.

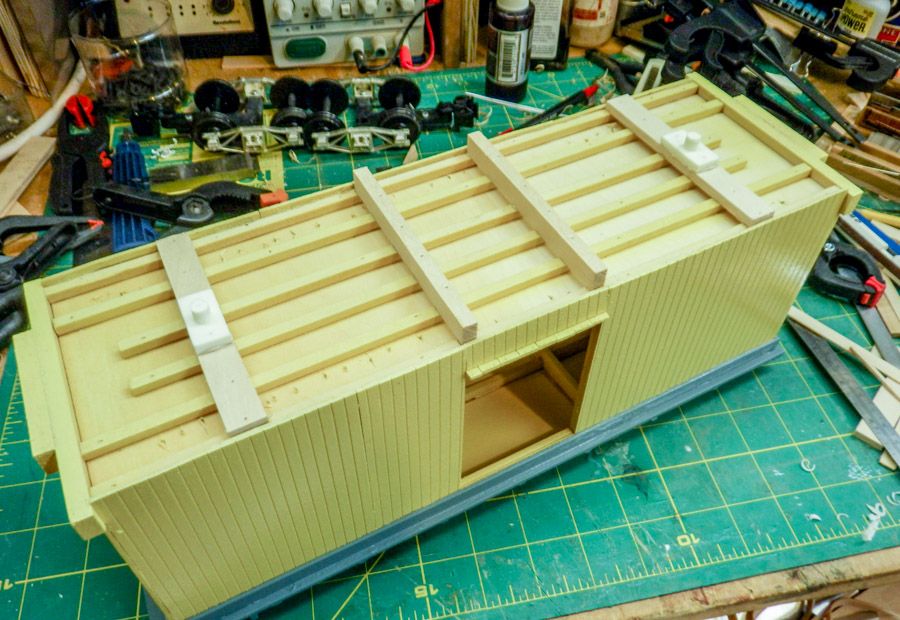
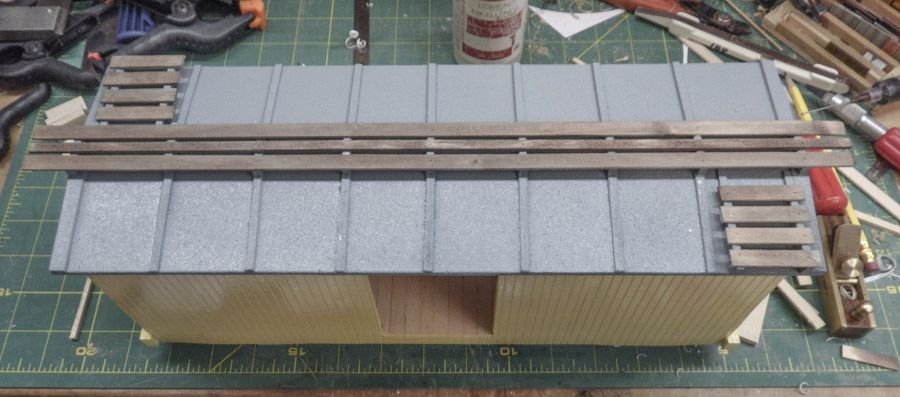
Next up was the roof walk supports. I had these castings from previous builds.

And then the Access walks bases.

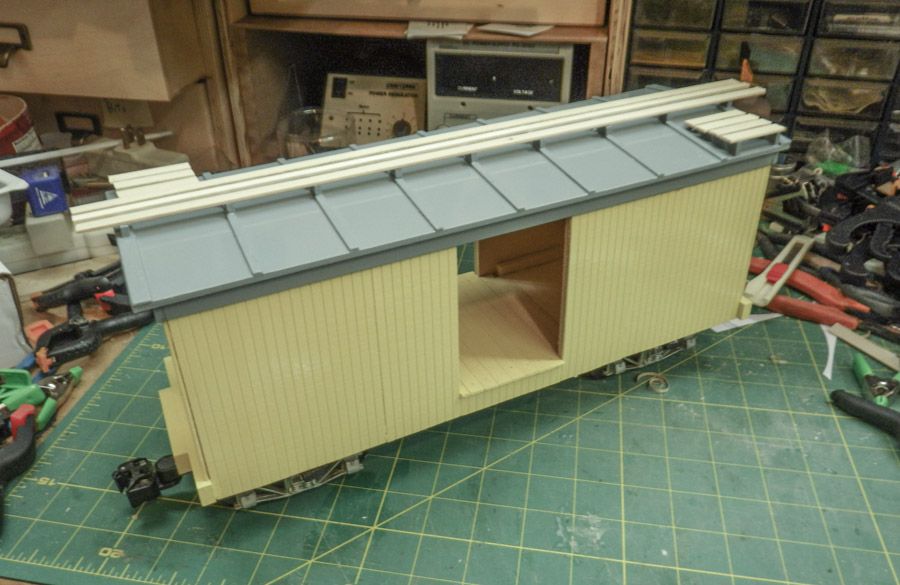
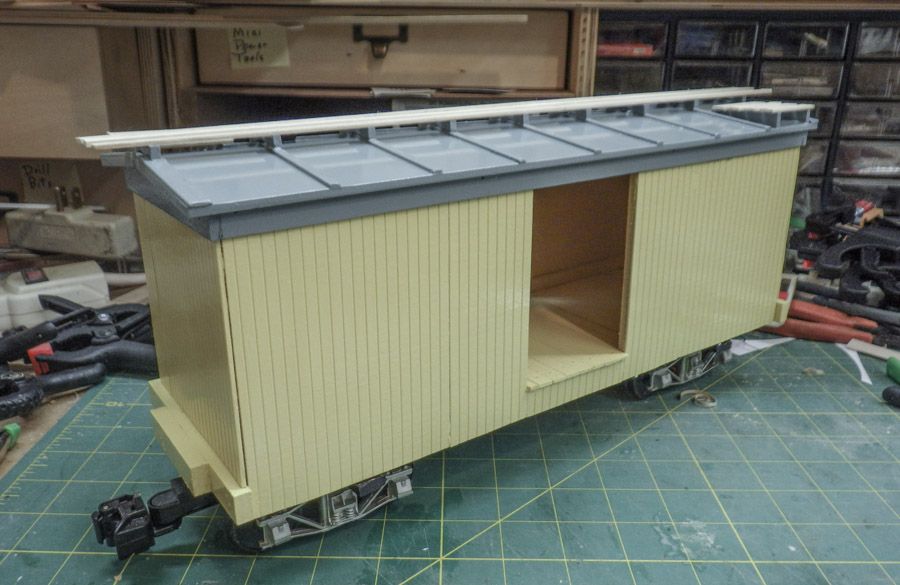
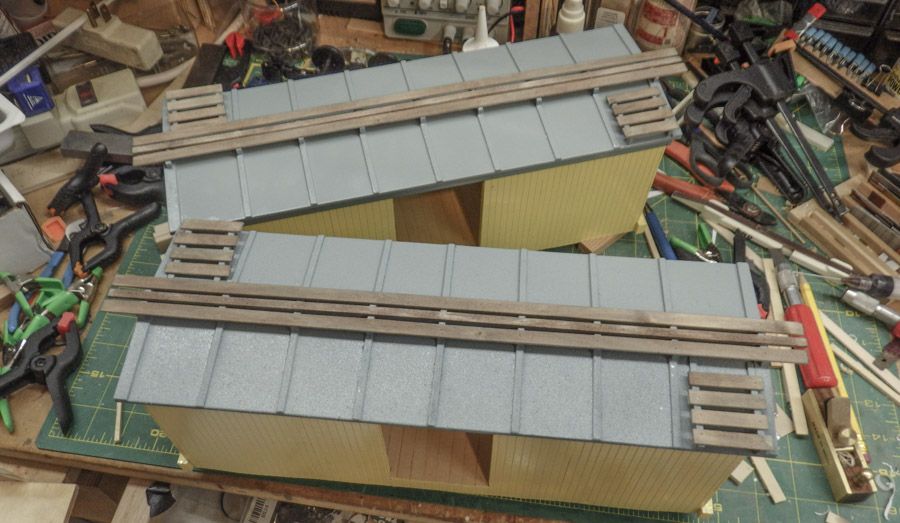
And the roof walk boards test fit.

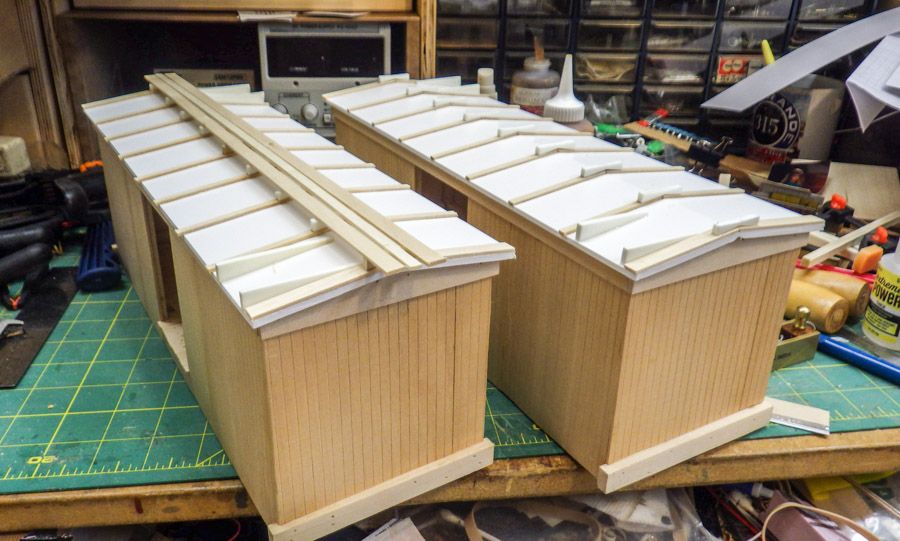
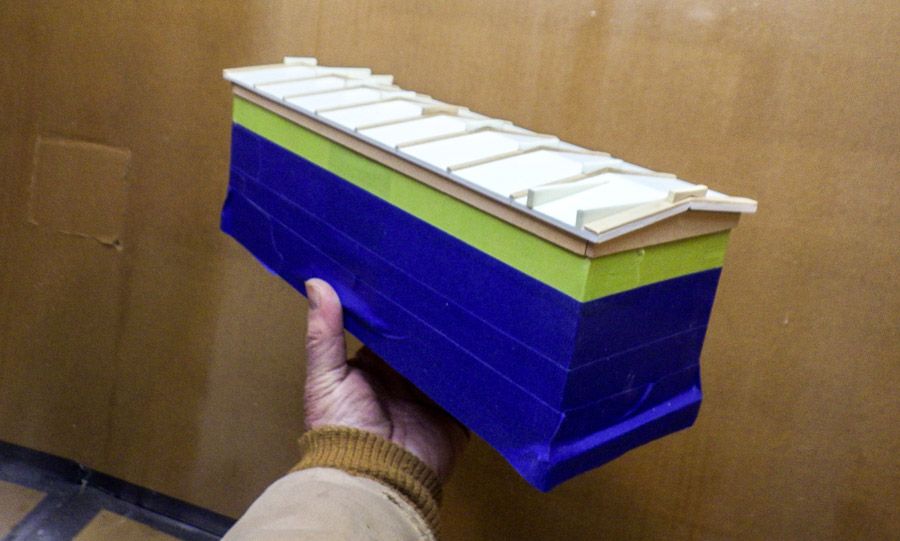
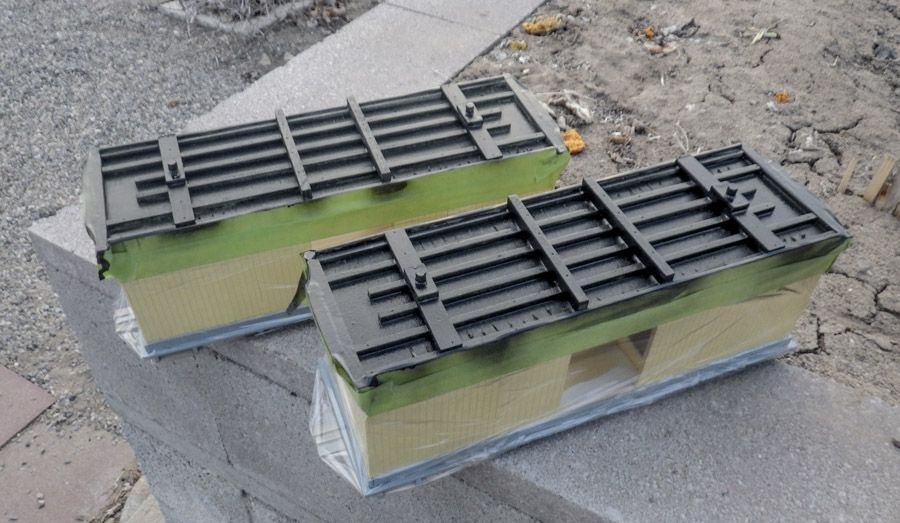
Well its about time to put some lipstick on these pigs. First will be the roofs, before the roof walks, so I get good coverage under them.

Nice idea with bending the sintra. Gives a clean look to the roof. What color are these babies going to be? I guess I’ll just have to wait and see, huh?

Nice work Dave. The trucks are really cool!

Looks great! how did you do that nice straight clean V shaped groove? Router?

@Jim… Drew a line, Used a scribe to cut the depth, and then used my wood carving hand chisels. this stuff is soft and easy to carve. An exacto blade would di it easily also.

@Dan These will have a gray upper, and light yellow body ( not reefer yellow) , with black underside.

Got some time to mask off the lower half of the cars, and had to go to the studio spray booth to get painting.

Three coats of Rust-oleum Gloss Winter Gray Rattle can.

Spent a few minutes cutting the roof walk boards for both regular cars. Going to wait till tomorrow and let the paint cure before installing.

I don’t know yet if I will paint or not. When roof walks were allowed, the Feds regulations said that the wood was not to be painted, and if it was, it had be be coated so that the painted boards had the same anti-slip as unpainted wood.

Looking forward to seeing them painted.

Not to much foreword progress today.

Got the body color on the two standard boxcars.

And played with the location of the trucks and the roof walks.

Need to wait for the paint to cure overnight before handling anymore.

I didn’t paint the outside braced car yet… I’m torn on the color, The yellow is the current color for NMNRR, and the outside braced car is from much older color scheme, maybe even different RR.

I’ll sleep on it…

Your thoughts?

If it were mine, I’d go with a more ochre-ish yellow. Still in the color family but different.

Of course my saying that is not in the least bit influenced by that I really like the Virginia & Truckee’s period locomotives and cars.

Nope, not influenced by that at all!

See for reference:

http://www.virginiaandtruckee.com/Car/BoxCar/BoxCar.htm

Dave, you don’t want color suggestions from me, so I’ll just say I like the gray over yellow on the boxcars. Good combination.

Worked on the two regular boxcars today bit…

Started on the underside, Installing the bolsters, and the Needle beams. BTW: it’s much easier on a model then on the real thing!!

Did a Stain wash on the roof walk boards, Flipped the cars over and got the walks installed.

Yah, I know that I’m missing the end cross braces on the roof walk. Waiting to figure out the under braces first.

Then Masked off the under carriage and got the first coats of black applied.

Almost time to start on the little details, and the doors, I don’t know yet for sure how I’ll mount them.

And still thinking thru paint and such for the wagon top.

Looking great Dave

Coming along very nicely, Dave. Great woodwork/craftsmanship and the coloring is beautiful. I really like that color combination and I might steal it for myself on a project or two!

Will you use body-mounted kadee couplers?

Great job, Dave. Waiting patiently on the paint job for the external braced boxcar.

You and me both Dan. I like the other two, but that outside braced car with the wagon top has my attention

Wellllll guys, I picked a color for the wagon top,…And screwed it up bad… ARggggg

Brush painted with a latex paint. Was looking for a butterscotch like color… got close enough with the paint. I clear coated and disaster…

This is what happened…

Not sure what to do to fix it…

Any suggestions…

Between you and vic I am afraid to paint anything. Shy of sanding it down I am not sure.

How well will the latex butterscotch color brush over whatever the clear coat was?

Would mostly-dry brushing it over the present mess create an acceptable weathered look?

On another note, if it were my car, for visual interest I’d add some strips across roof to represent seams in roofing material; place them, oh, about 3.5 to 4 scale feet apart.

might try spraying it with lacquer thinner or acetone and see if it wont soften it up where it will flow back together

Oh my! I’m not the only to find paint hates me. If it was me I would try to sand the surface just enough to get rid of the flow marks, prime it and repaint it or just spray it Red Primer as finish color. When I clear coat my project I am going to do it brush apply with Tamiya bottle so I can monitor its effect and hopefully leave it at that.