C’mon John. Sit down, relax and the creative juices will start to flow and you will turn out a masterpiece just like you always do. I’m curious to see how you incorporate that bolt hole in the 2x4 into the build (https://www.largescalecentral.com/externals/tinymce/plugins/emoticons/img/smiley-laughing.gif)
Talk about being off to a slow start. I feel like Carlos Gonzalez, our Rockies outfielder.
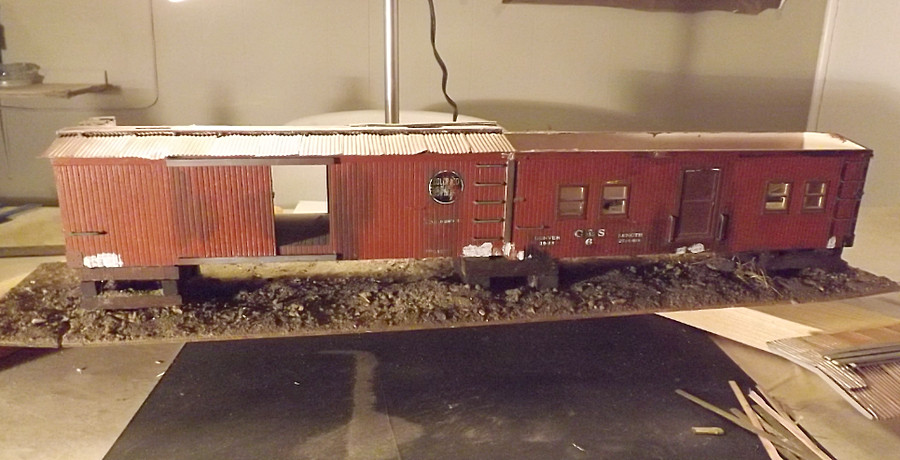
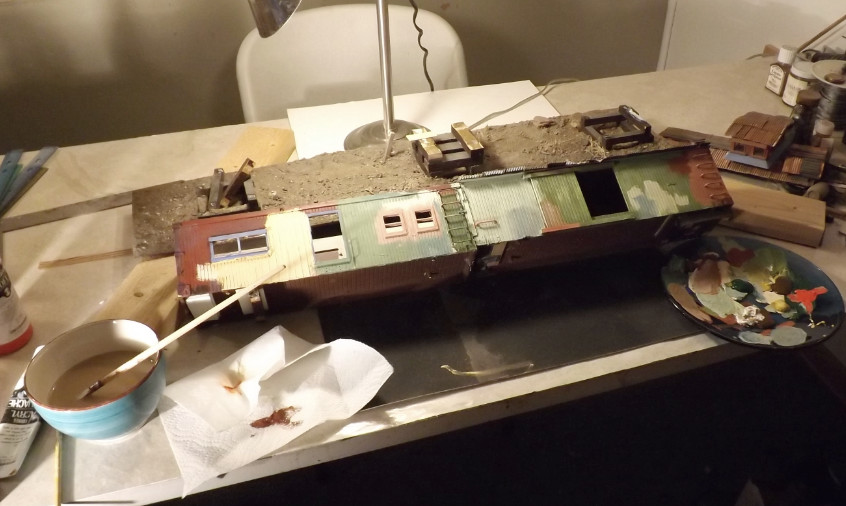
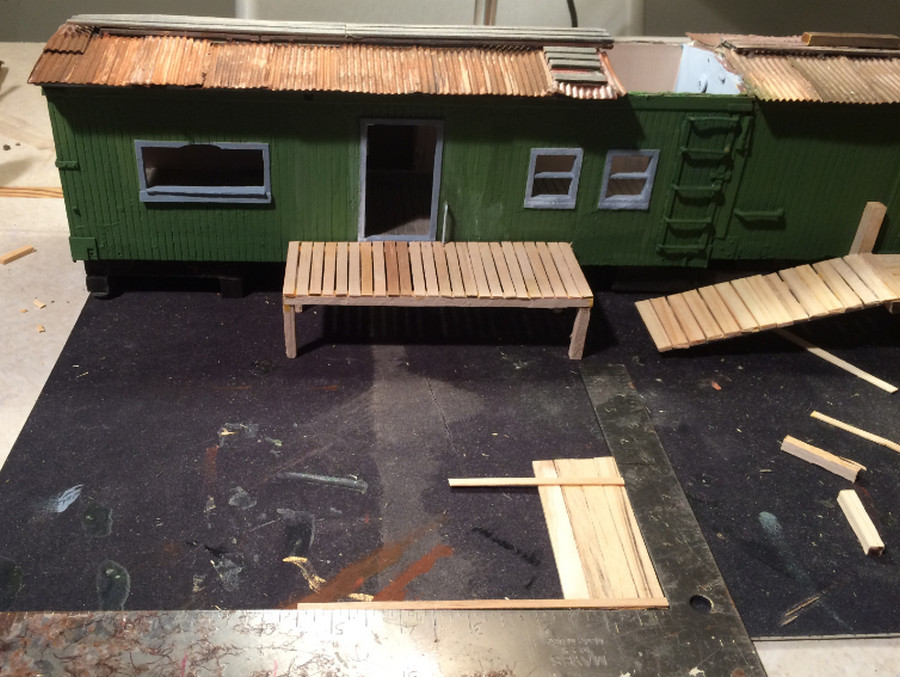
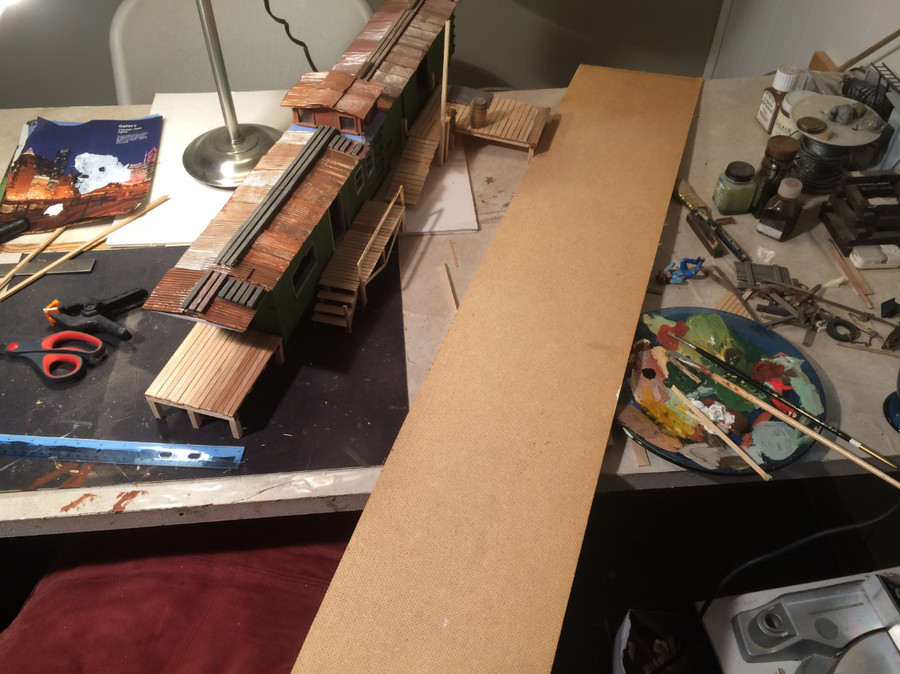
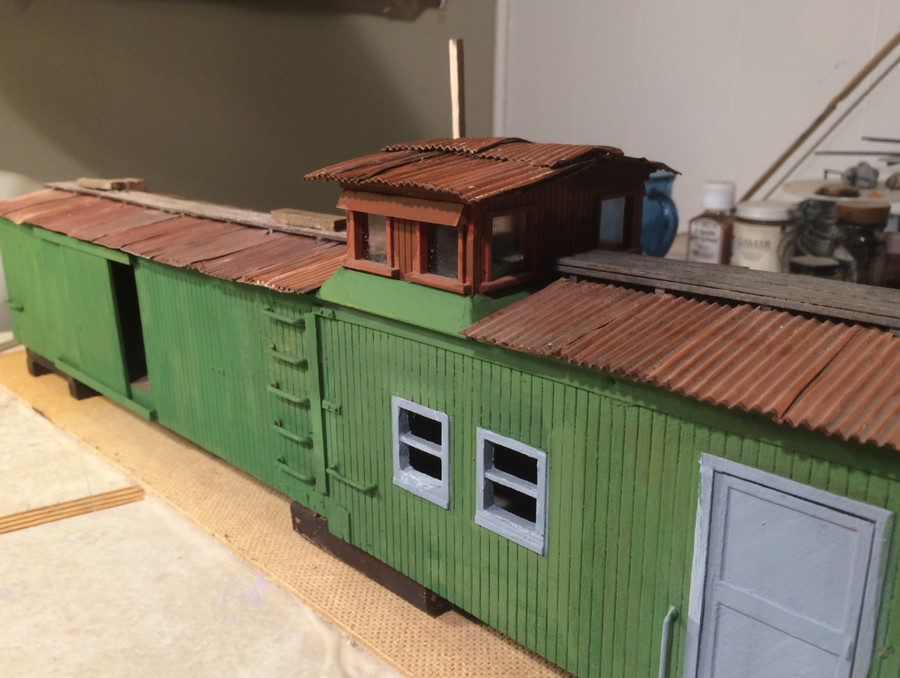
So I tore down the mining office because it needed to be lowered to the level of the deck of the bridge to which it will connect, and it needed repainting, so I needed to decide on a color (I tried a few and decided on a dark green with grey):

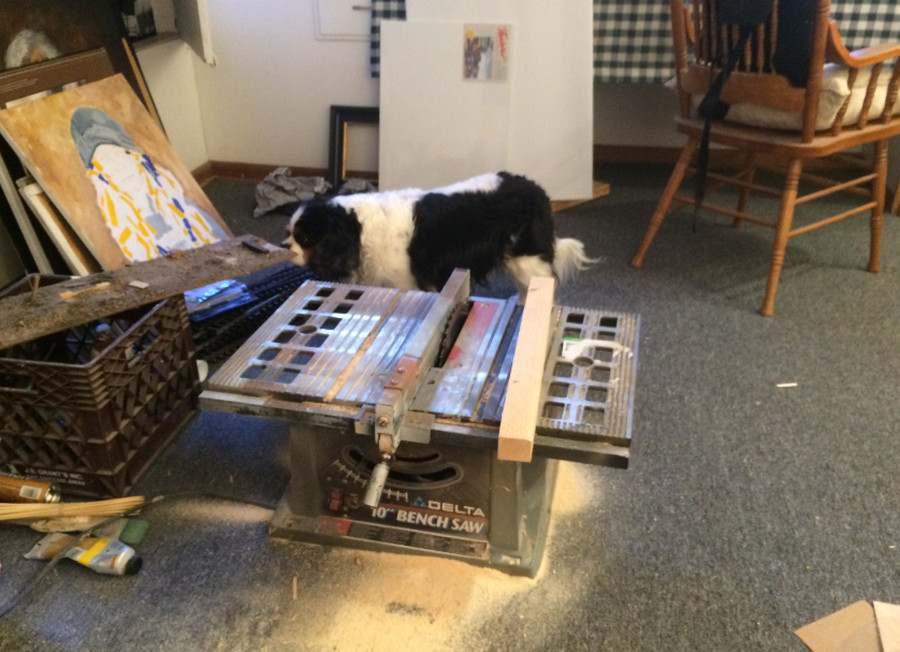
THEN, I set up my table saw, on the floor, it’s too cold outside…my daughter’s King Charles Cavalier wasn’t too impressed…and started making some cuts.
There’s a possibility that there is no way in hell I can cut anything under 3/8" and I’ll have to use scale lumber I have laying around. I might try one more time, but I don’t seem to have enough control of the saw, whether it’s the quality of the saw or the coarse blade, but I’m not risking my fingers over tiny pieces of wood. I have my fine-blade chop saw for cuts, but not for ripping. I may use the 2x4s and table saw to make all the scale 2x4s, 4x4s, and 6x6s, and whatever else comes up that’s over 3/8" but not the thinner stuff. I don’t know if this is in the spirit of the challenge or not.
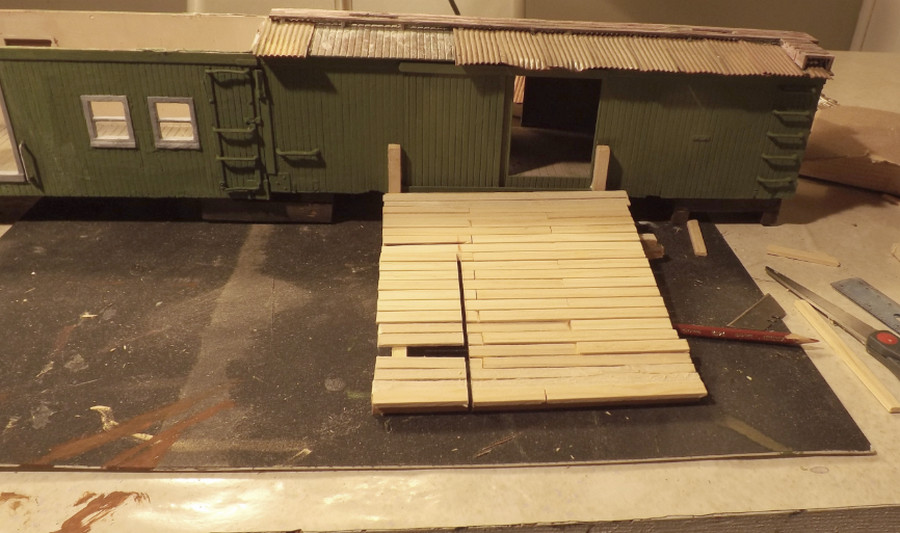
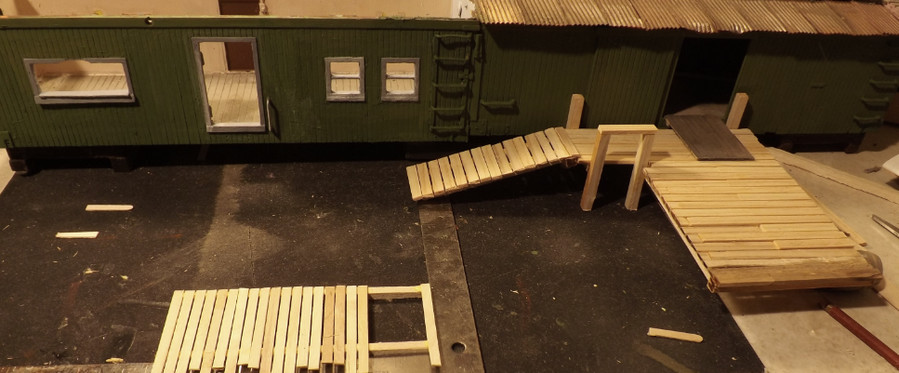
So I started making the ramp from the office warehouse to the bridge (started with two posts, but it’s got to start somewhere!), the doors for the office, and the front porch of the office. And that’s as far as I’ve gotten. I need to get a move on!


I made the ramp way way way too wide, so I improvised and cut out side ramp to the ground…

Thanks for looking and if you have any ideas let me know.
Where are the ladders?
Are you done yet?
You need a zero clearance insert and a fine tooth blade after cutting the lumber into smaller finger chasers…
We are allowed to use our scale lumber, but we must subtract all saw kerfs (width of cut) from the total… so long ago you fergot?
Use scrap wood as pushers to keep the fingers safe…
Giddy up!
Actually, I got that wrong…I’m good on the saw down to a little under 1/4" not 3/8" so there! But I’ll give a fine tooth blade a try, John.
I can tell you part of you problem is that you so not have a zero clearance plate in that saw. oops john beat me too it.There is no way to safely do it without on. Anything smaller than your 3/8 Will want to fall through the plate. Then you need a real good push stick
I Have a very similar saw sold as a Craftsman. I made my own zero clearance plate from a hunk of plywood, but I had to mill out spots for the mounts with my Dremel. That is a project in itself, but yeah - you need one.
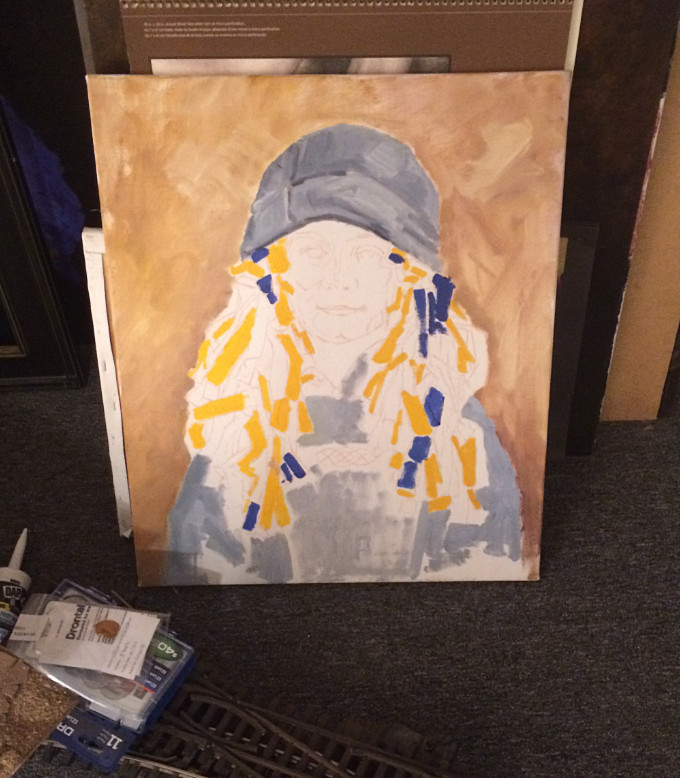
Wow! I’ve never seen a Paint by Numbers that large!
Nice ladders…
I like my 12-inch fine blade so much I use a carbide one that never gets changed.
John Caughey said:
Wow! I’ve never seen a Paint by Numbers that large!
Nice ladders…
Well I need to be more careful about what’s in the background, eh??? What you see there is the start of a portrait, at least how I start 'em. The other one you see peeking over the top is little further along, but not ready for prime time.

I just got back from the hardware store where I bought a thin blade with 140 teeth on it for my table saw; it makes the old blade I took off look like something you’d use in the yard to dig trenches for sprinkler line!
No distractions tonight so I hope to get a lot accomplished.
One of the fellas sent me a message with a tip on how to do some ladders and I’m looking forward to trying it.
Gee 140 teeth seems kinda excessive but good for fine stuff! Your paintings look good!
Nice progress John. I will echo John and Devon’s suggestion of a zero clearance insert. It is a must have for cutting small or thin wood on the table saw. It will make your scale lumber life much easier and more importantly, safer.
I almost forgot … well, I didn’t forget, I just wanted to make 2 post so I could get to 667 posts for obvious reasons. I love the paintings. I am always amazed at how folks with talents like yours, John, can start with something that looks like finger painting by a 3 year old and end up with a fine portrait. Not saying the first portrait looks like finger painting … ahh heck, you know what I mean. Good job.
WOW John… I thought that I was the only one that had Fine Art in the background of a challenge build.
Now, with your new blade expect lots and lots of very fine sawdust that will float in the air and cover everything in the room, get stuck on your shoes and track all through the house. Everything in my garage is coated with fine dust and it has worked it’s way upstairs into the house. Wife not happy.
John , read Bob cope’s post on this thread about saw safety, it will help you keep your painting fingers and eyes, years ago I got hit by a off cut that kicked back from my old table saw, I had a bruise of many colors on my stomach for a long time, and am lucky thats all that happened
Keep the sawdust off of your background art!
I will do some looking today and see if I have a picture of the ladder they had to access the mine in Wall Street at Calico. You will be amazed!
Keep up the good work and look forward to an update soon!
First off, I read and re-read that article on table saws, and as soon as this challenge is over, I’m trying some of those things, especially the zero guard and the guide. As far as Jon and others warning about sawdust, actually, my very first problem with my brand new wonderful 140-tooth fine sawblade was that I filled the house with smoke using it to cut the 2x4, and got some wicked saw burn effects, but now all is okay because I just feed the wood in more slowly. I appreciate everyone’s advice and expertise.
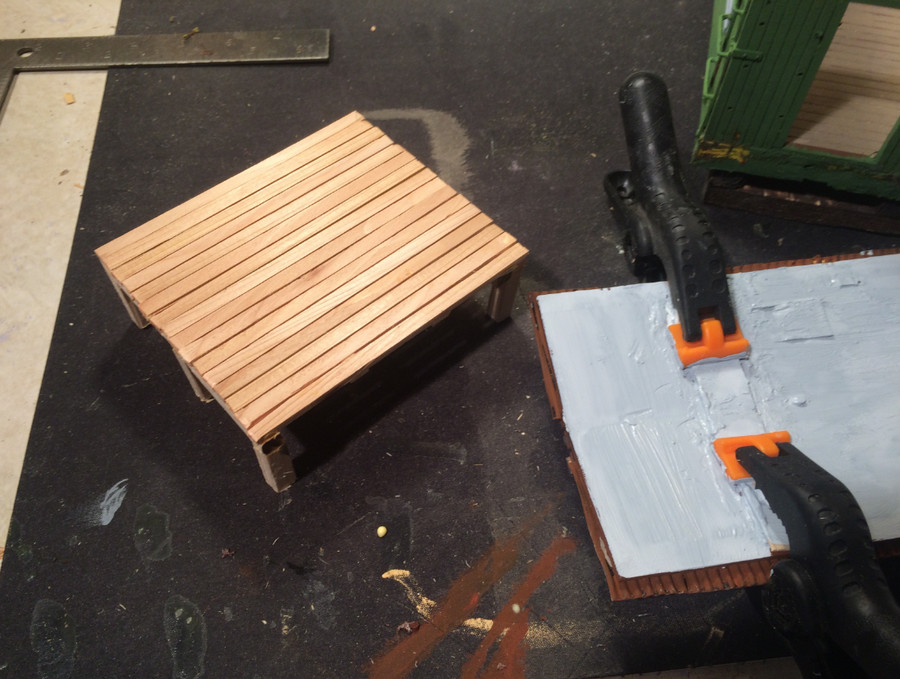
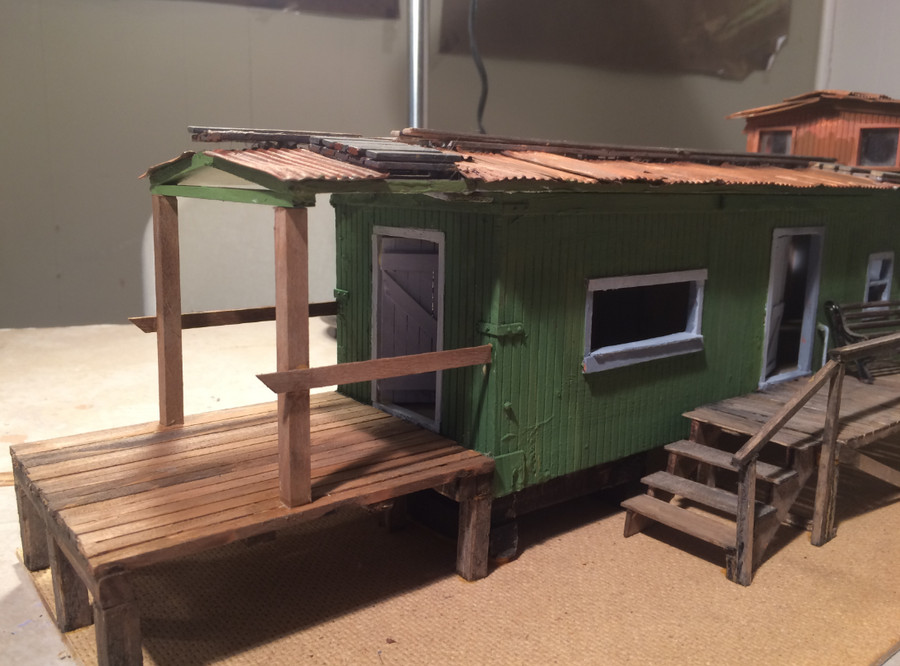
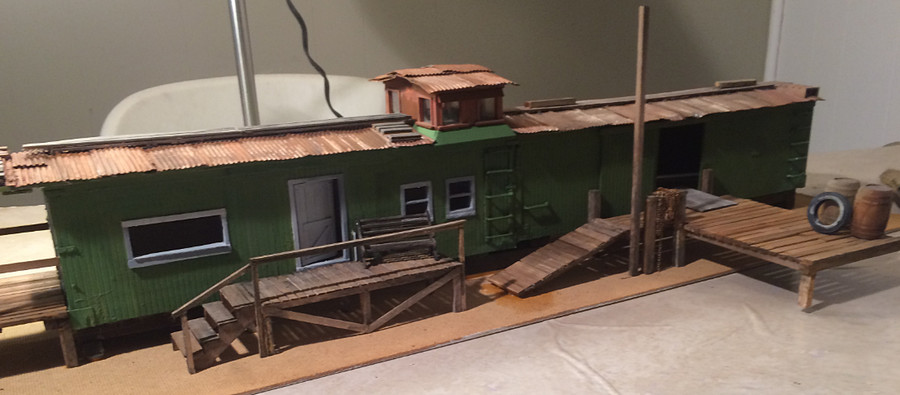
Now then I think I got the mining office finished, and, with it, the first part of my challenge. I continued with the back deck, making a deck and a roof, like this:

And then I took time to paint the back of one of these ridiculous plastic school rulers I have…why? because you can’t read the damn things.

But now I can!

So here’s how the back deck started shaping up, and you can see the stairs and the front porch of the office taking shape. I forgot to take pictures of that, but I found some good ways to make the rises on the stairs, which I’ll detail as I move along to the next part of this project.

The next thing is that I needed to get this office on a 1/8" piece of untempered masonite as a base, and, also, so that I can place and remove the entire structure on the layout as needed. Once the base is covered up with the local dirt and rock and weed, no one will know it’s on a base.
Then I started weathering/painting my 2x4 wood. I don’t know why, but I always paint the bottom of things even though no one will ever see them. It’s goofy but I feel like I’m cheating if I don’t!

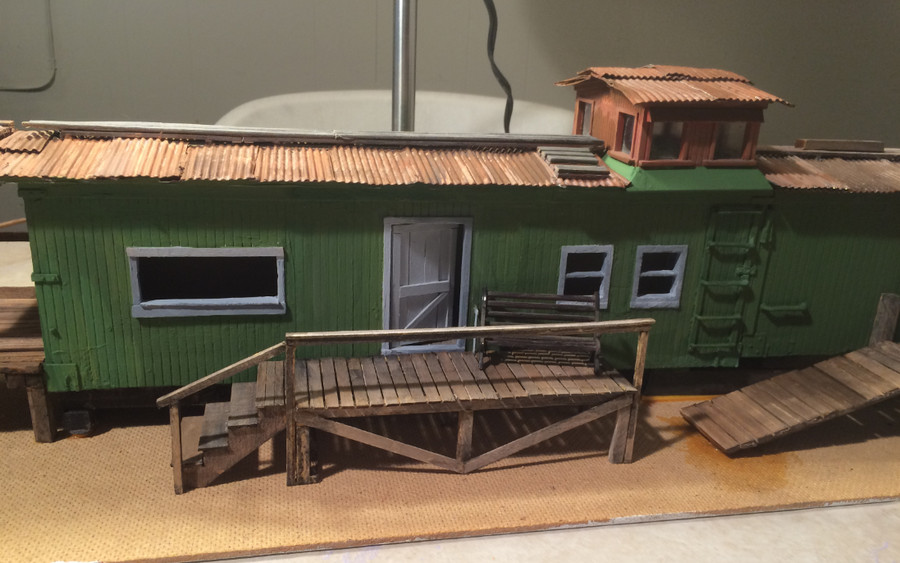
So here are some views of the finished office starting with the back, and then the front (except I forgot to put plastic in the windows, man there is always some detail that needs more work, and this one has been a never-ending set of details that needed work).
The deck leading to the freight part of the office on the right, the one with the barrels and the tire, will rest on the bridge…that’s why it looks like it’s hanging in the air!


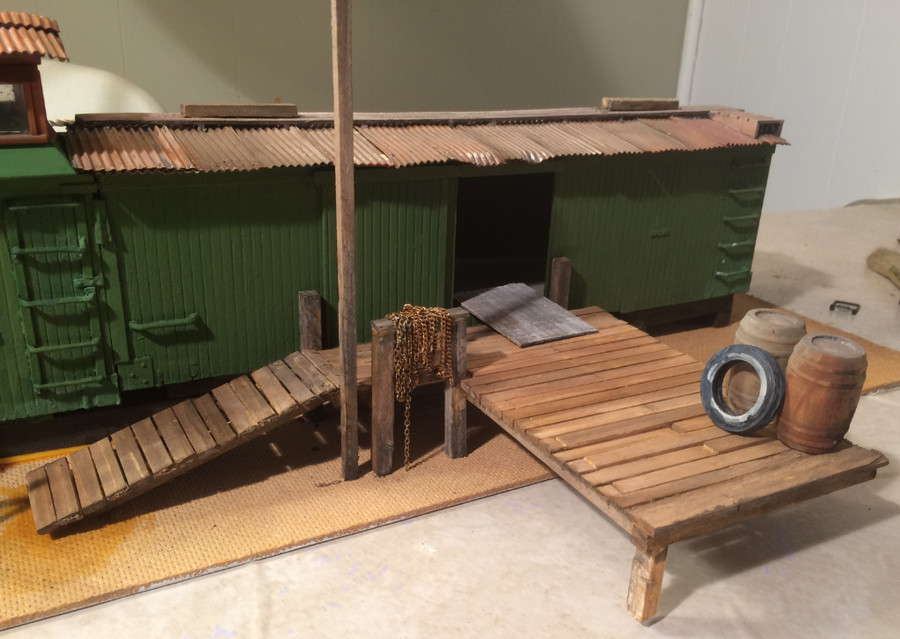
So there we go. All in all, I’m happy with the results, and I have to say that bringing something, anything, this close to being finished is satisfying, and confidence building really.
Now I got to figure out which part of this project I’ll tackle next. I think I need to go out there on the layout and see what the next logical part to finish should be.
How many more weekends to we have? I still have a long way to go to get on that stairway to heaven.
Its amazing how a few decks, walkways and steps will bring a scene alive. The office looks completely different now … yes, I know, that was the intent all along. But I never realized it would make that big of a difference. Now slide some old rail under it and the office will look lie it was originally supposed to be temporary but became permanent. Great job, John. You have an eye for the little details that matter.
Nice work John! I got a lot of smoke too, and it was about 5 degrees out the day I cut; still had to keep the garage door open so as not to smoke up the house.