I started with this:
[img]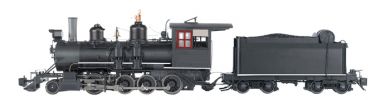 [img]
[img]
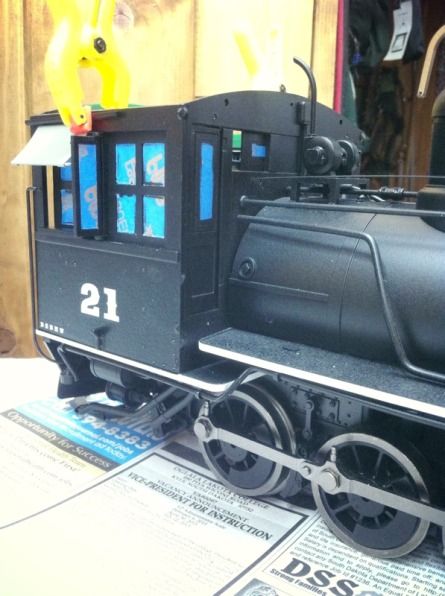
It is a Bachmann C-19, undecorated, with long tender.
-
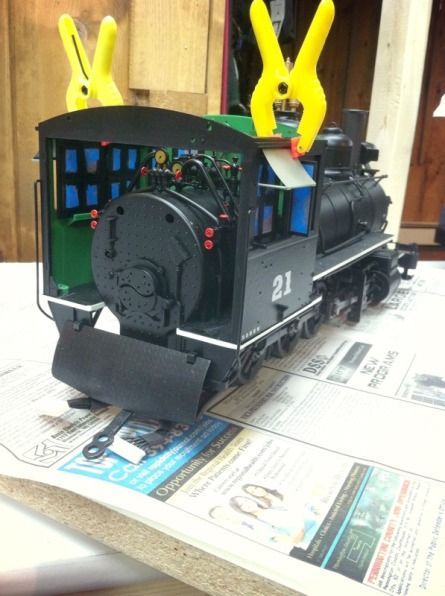
First I had to cover up that awful red color around the windows and doors. I took the cab roof off and took out all the windows and then masked the clear part. Then I proceded to paint the frames, engine black.
-
Next, I replaced the cast in boiler plugs with Trackside Details castings.
-
I added smokebox cleanouts from TD.
-
I added a Baldwin builders plate from TD.
-
The front number plate is a TD Baldwin plate with the raised letters also from TD. I did polish up the letters with some very fine grit sand paper so they shined.
-
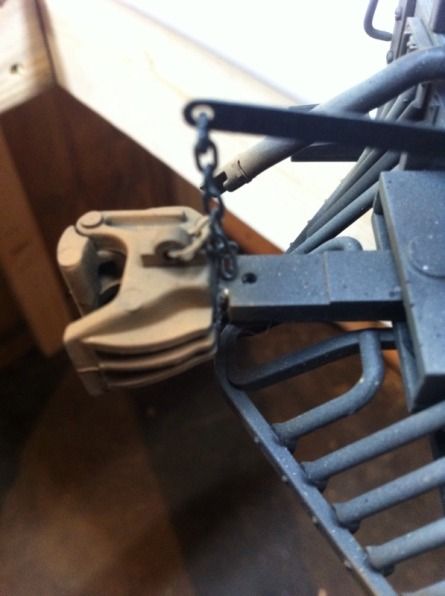
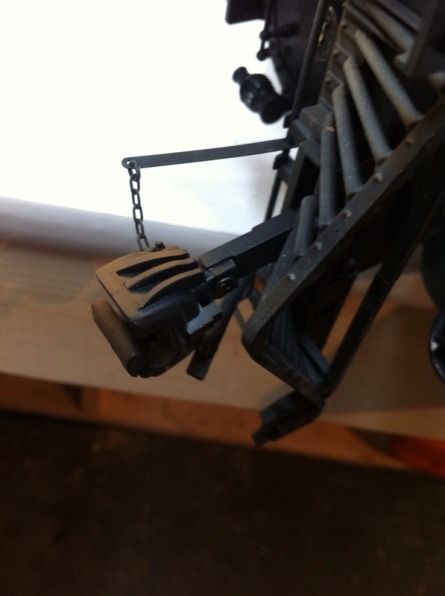
I cut off the factory uncoupling lever because it looked too unrealistic. I bent a new one out of brass bar stock and welded on a piece of flat brass strip and attached a Ozark Minatures blacked chain.
-
I didnt like the Bachmann coupler and had read that it was difficult to replace with a more prototypical one. I liked the centering mechanism of the bachmann coupler, so I unscrewed the bachmann coupler, which left the shaft. I then cut off the centering and part of the shaft off an Accucraft coupler. I then shaped the end of the Accucraft shaft to match the Bachmann coupler I had just removed. Then I glued and screwed the Accucraft coupler to the shaft on the locomotive and it worked perfect. The coupler is at the proper height and has the springing left-right motion that I wanted.
-
I cut off the factory “rope” that went to the whistle and bell. I then used a technique I read that Jack Thompson used.
-
Strip some small stranded wire down to the individual pieces. Discard the covering.
-
Then I took four strands and clamped them in my bench vice.
-
Then I clamped the other ends in my drill and slowly turned the strands together until it looked good enough to me.
This makes a more rigid realistic rope for the bell and whistle.
-
Because the bell rope rubbed on the Steam Dome I decided to mount a holder on the steam dome. I took a piece of brass wire and formed a loop and stuck it to the side of the steam dome. This looks more realistic to me.
-
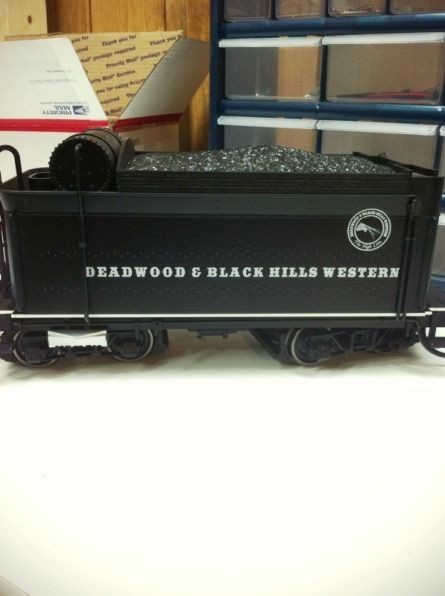
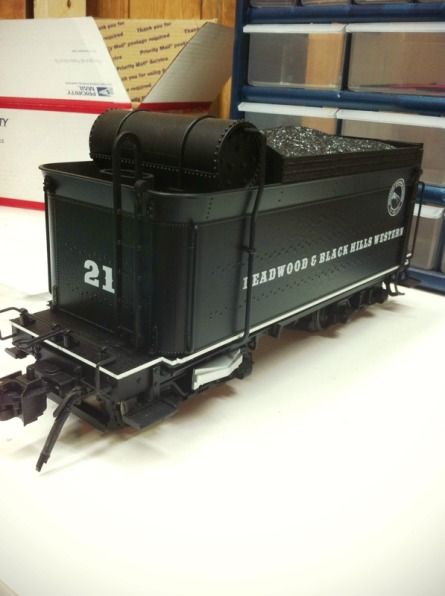
The tender didnt recieve too much modification. I replaced the coupler using the same technique I used on the front and also replaced the uncoupling lever.
I added a Titan sound card and G-wire. Also, I put a crew in her and used Stan’s custom decals. I weathered kind of heavy because of two things. I got too careless with my decals and sprayed too heavy of a coat of clear coat, which resulted in the decals bubbling. I was able to cover it up with some heavy overcoat of weathering. Also, this engine represents one of the first built Consolidations on the line and so it has seen a lot more work than some others.
So without further adeu:
3/25/20 - Update - I got asked about the pictures because my old photobucket account no longer allows for sharing photos. Here are the photos in a new place and also I added a few more. If you have questions, ask away. I still run her when I can and she still looks good.
