Large Scale Central

Craft Store Birdhouse to Scale Building

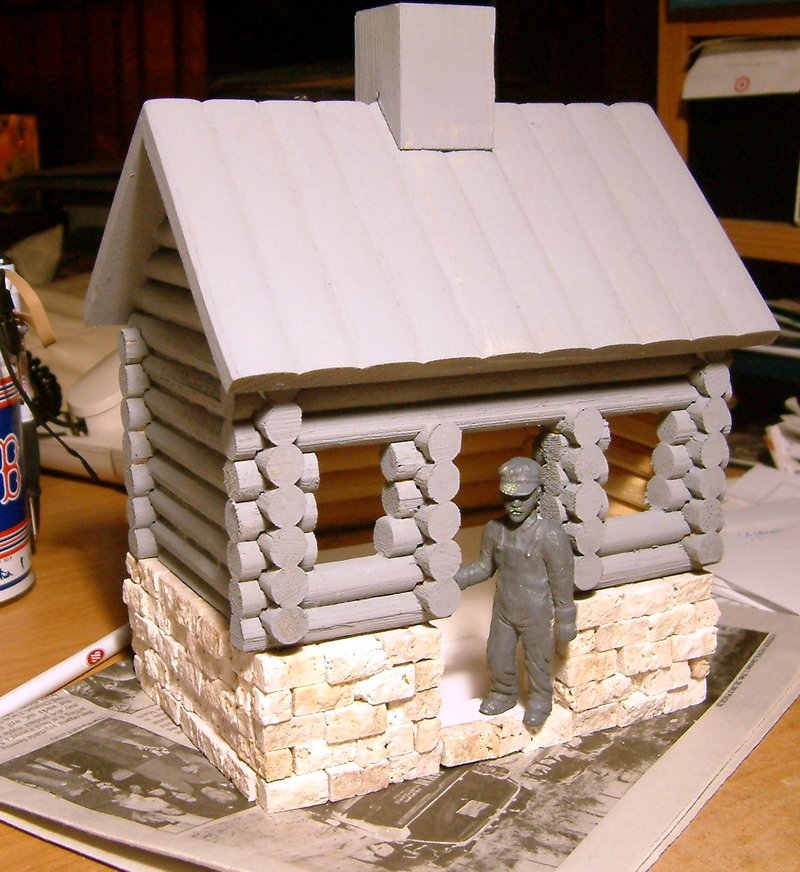
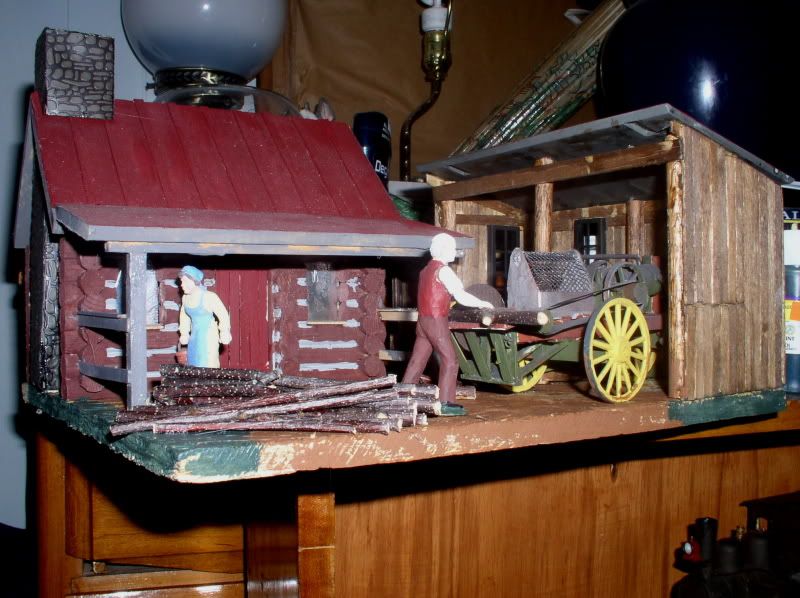
Marilyn likes to pick up buildings at the craft store. They are rarely usable as-is so most of them have never seen the light of day. When she brought this one home a few years ago I saw promise…

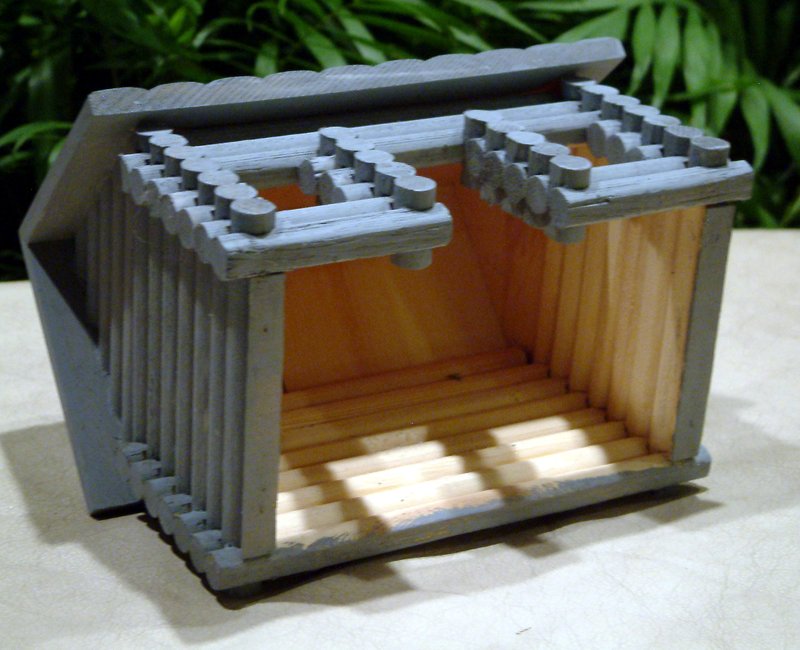
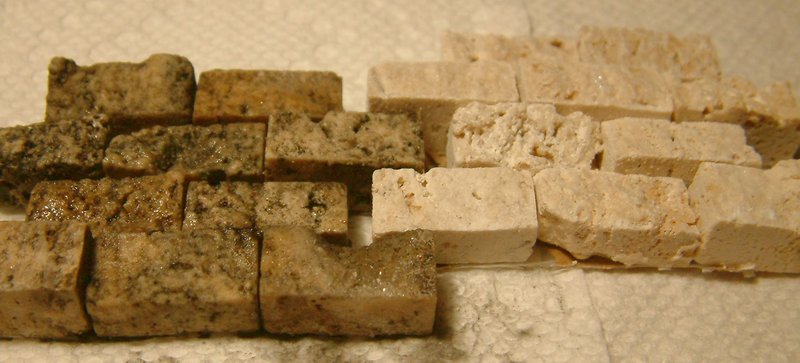
The plan all along was to raise it by extending the walls to make a scale door opening. Before it was primed I took one course of logs from each of the three openings. It has sat like that on my indoor railroad until last week when I picked up some of the stone tiles that have been seen in projects here recently by Jake and Shawn.

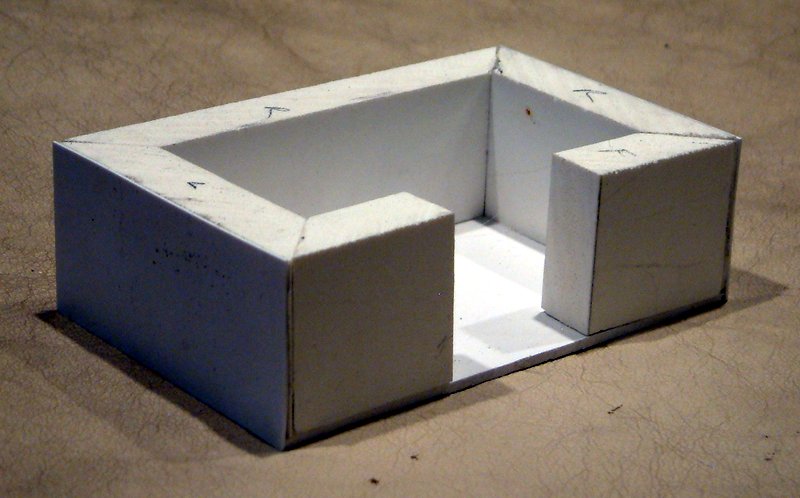
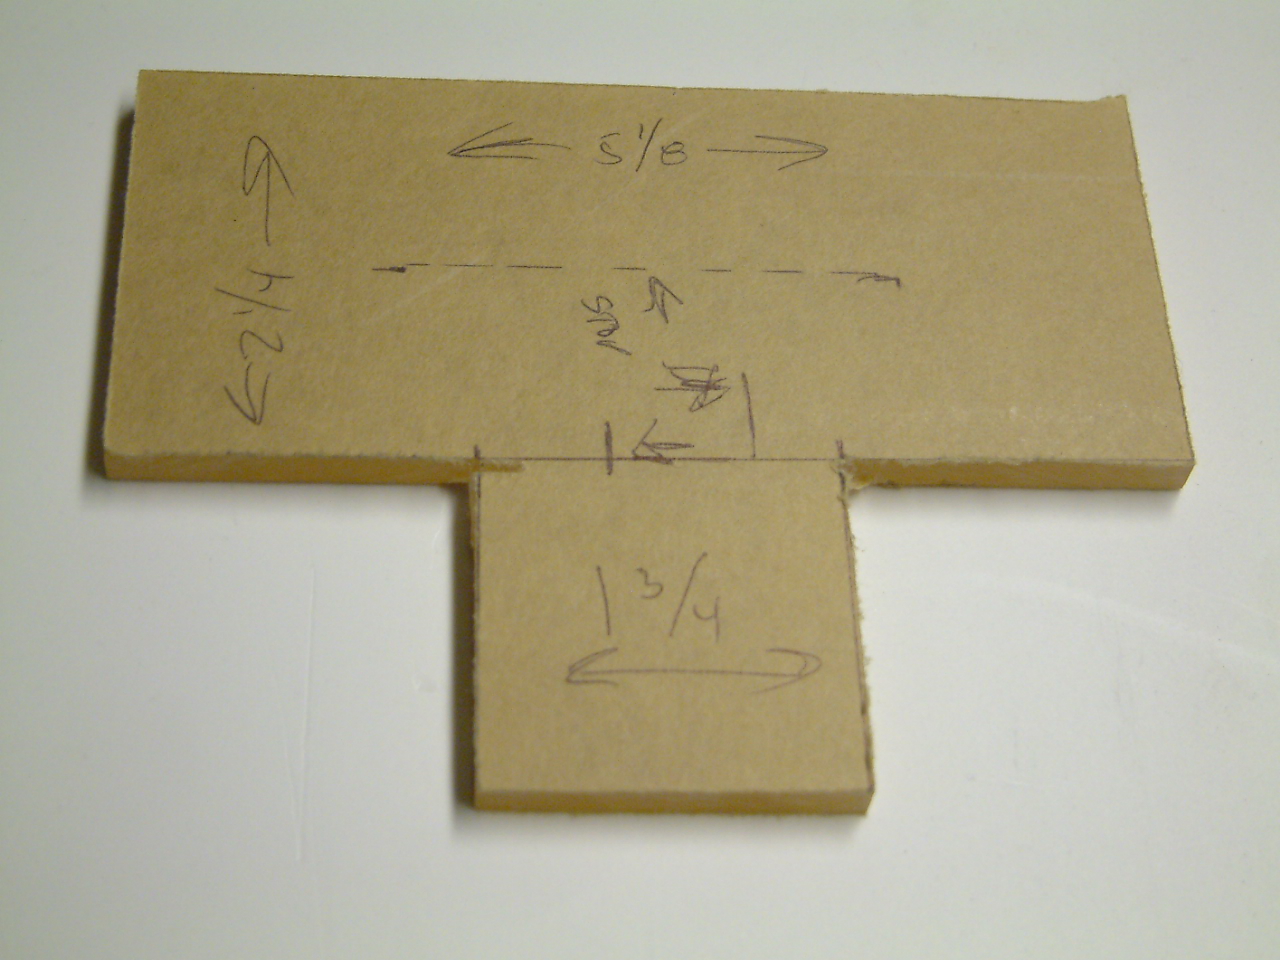
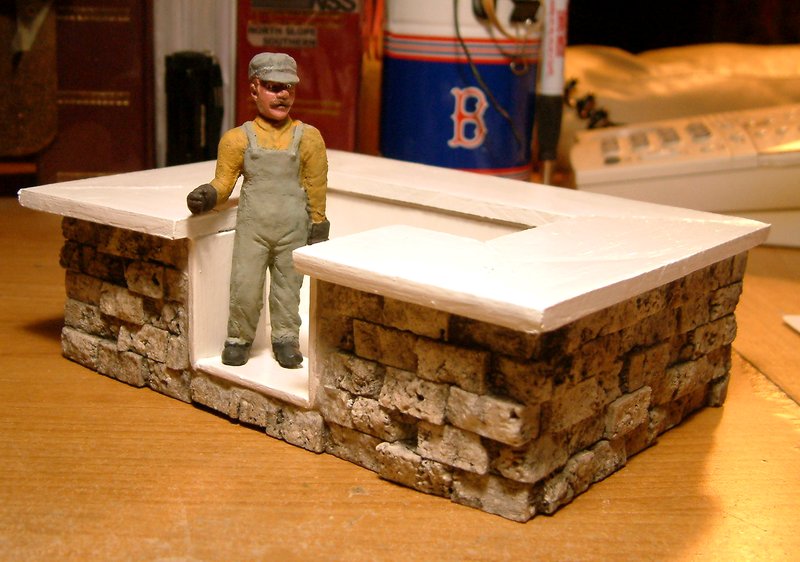
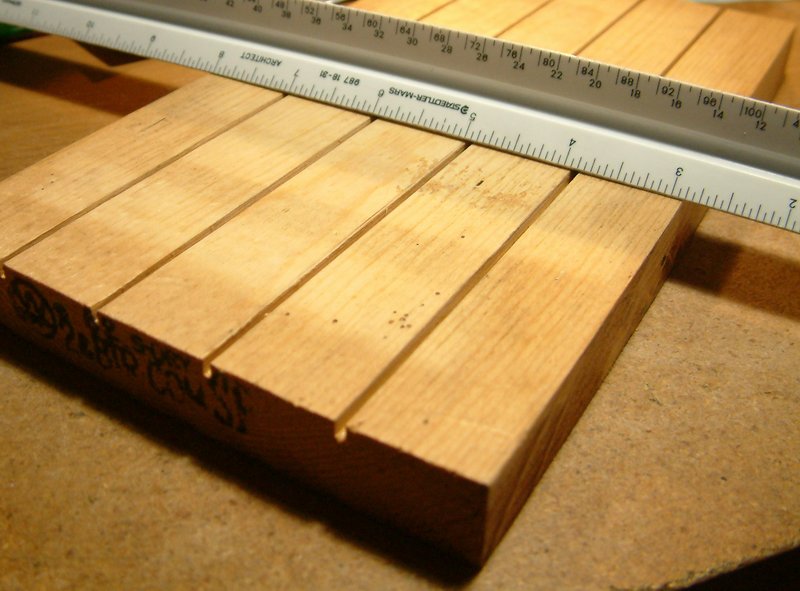
The stone needs a substrate to support it. I have lots of PVC foam board scraps laying around. I made this foundation from 19mm and 3mm PVC board…

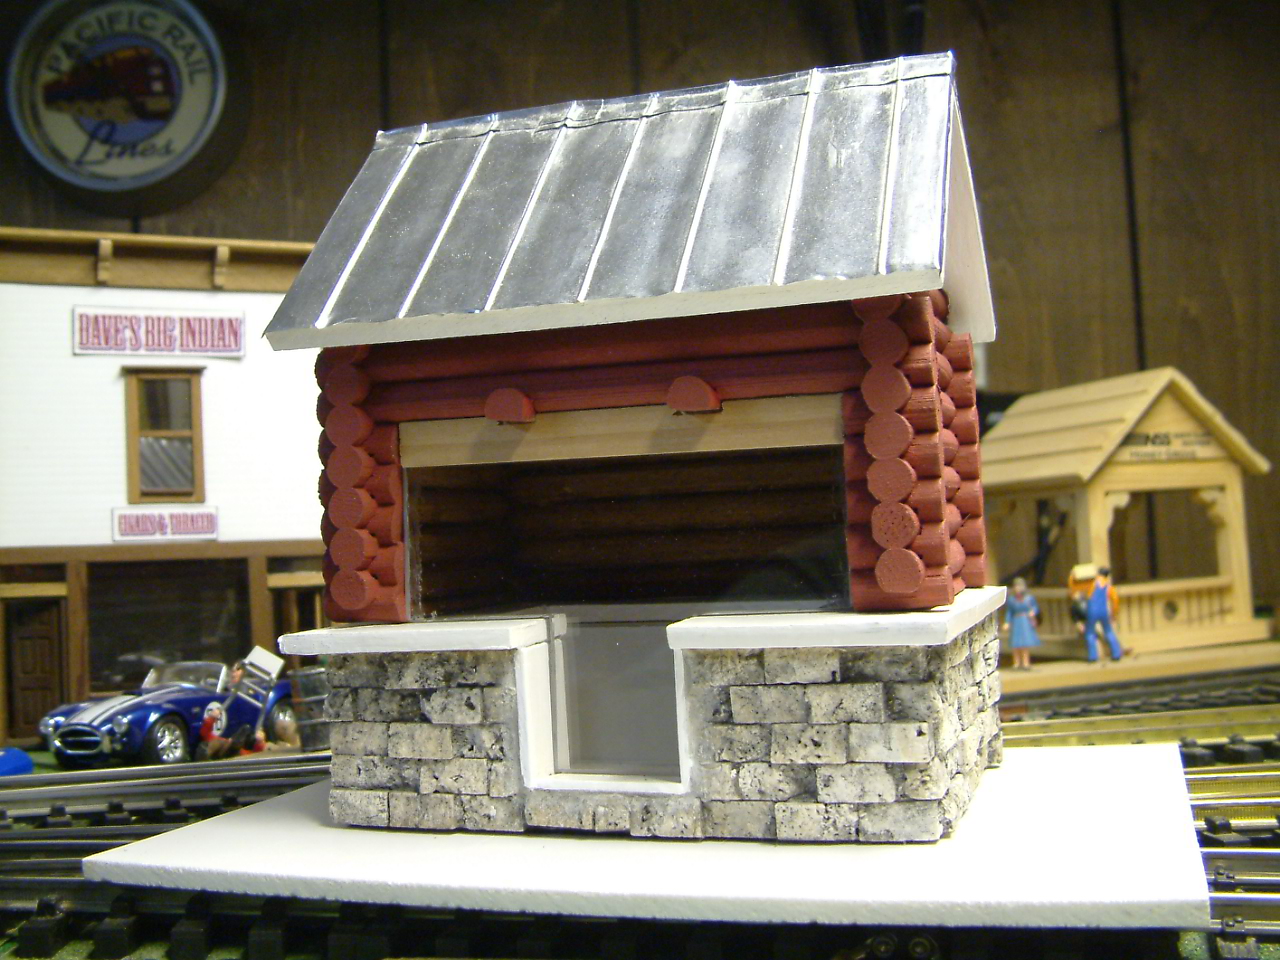
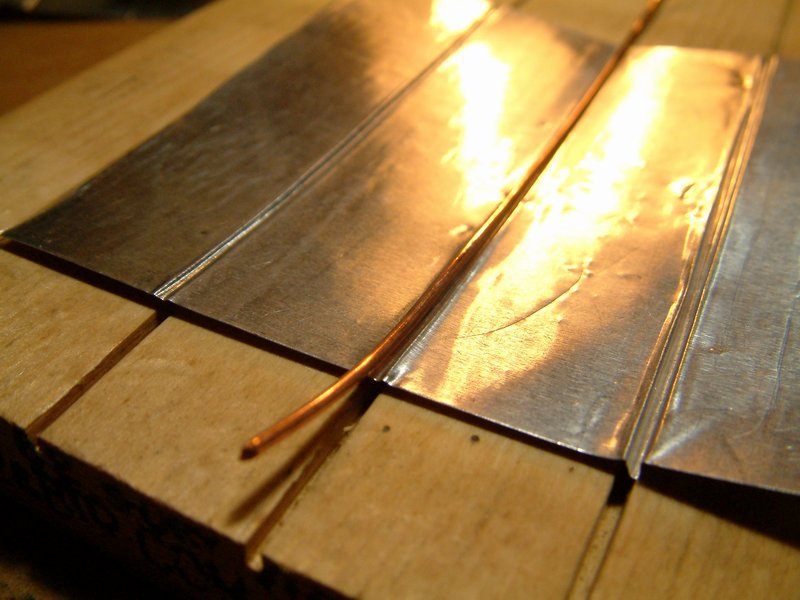
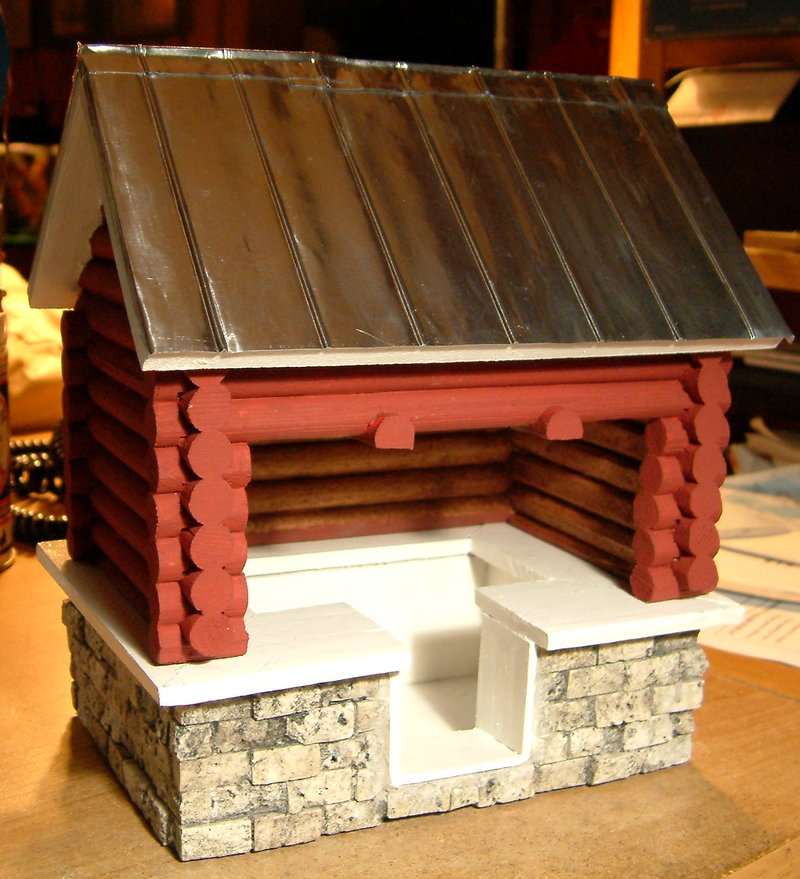
Here is a sneak peak at what it might look like…

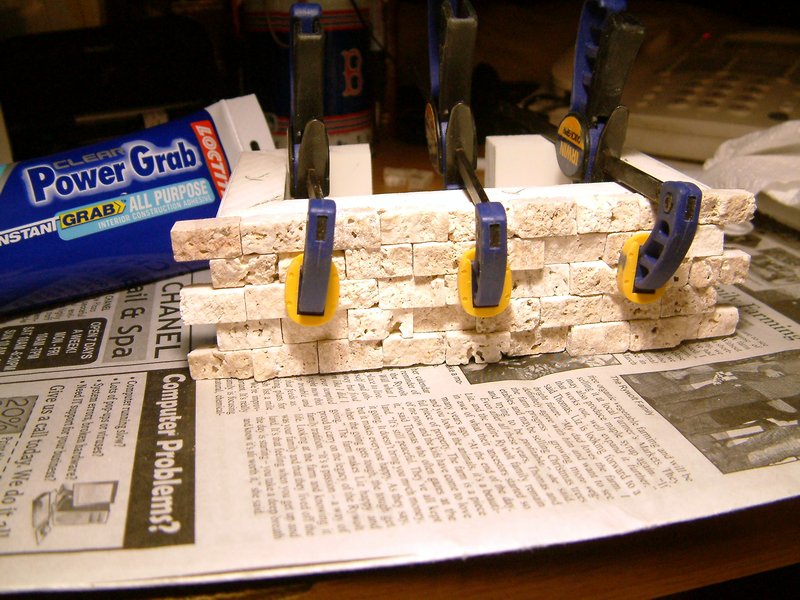
So part of the weekend was spent applying the stone to the PVC foundation using Loctite PowerGrab I chose the indoor type only because of the dispensing tube,. Hopefully it wont be exposed to much water when I’m done.

Heres the first wall going on…
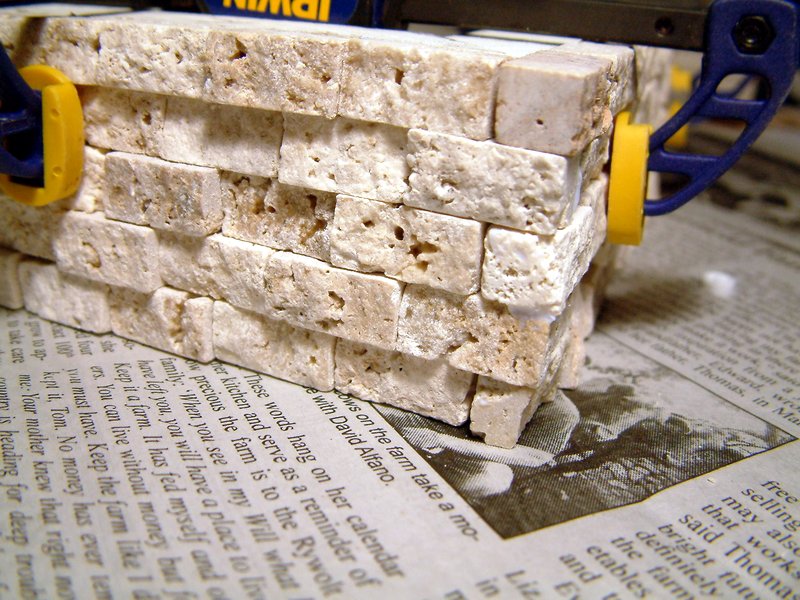
Then a side…

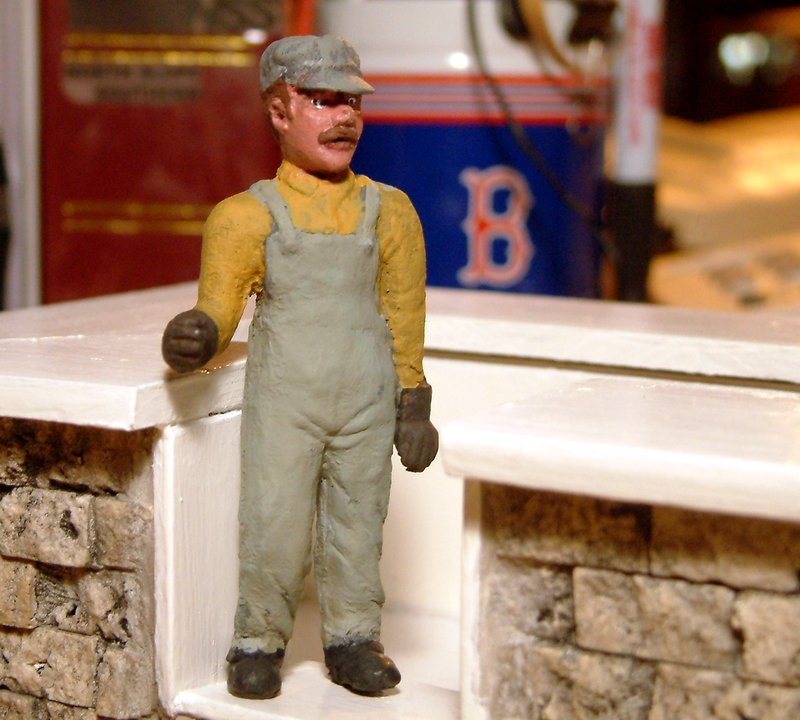
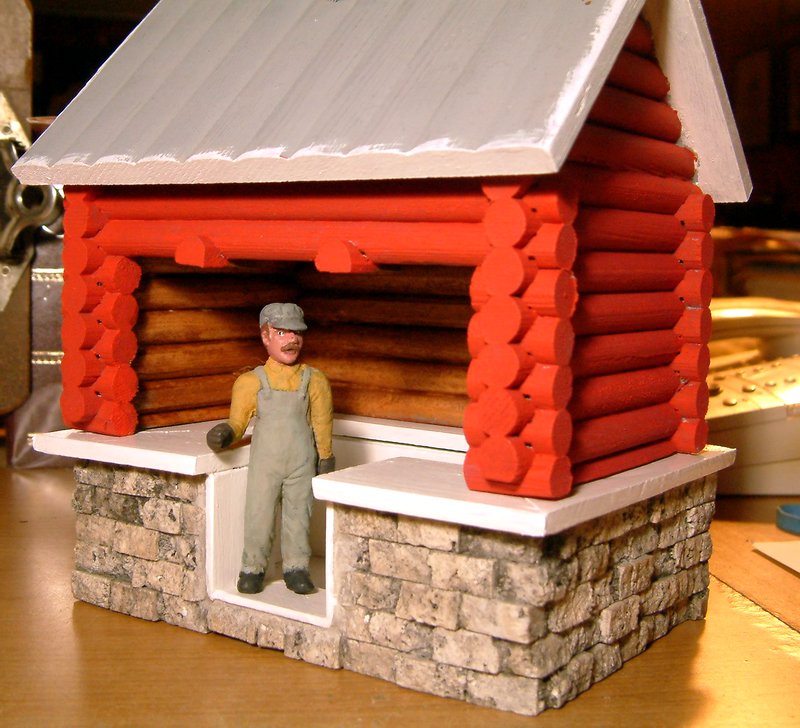
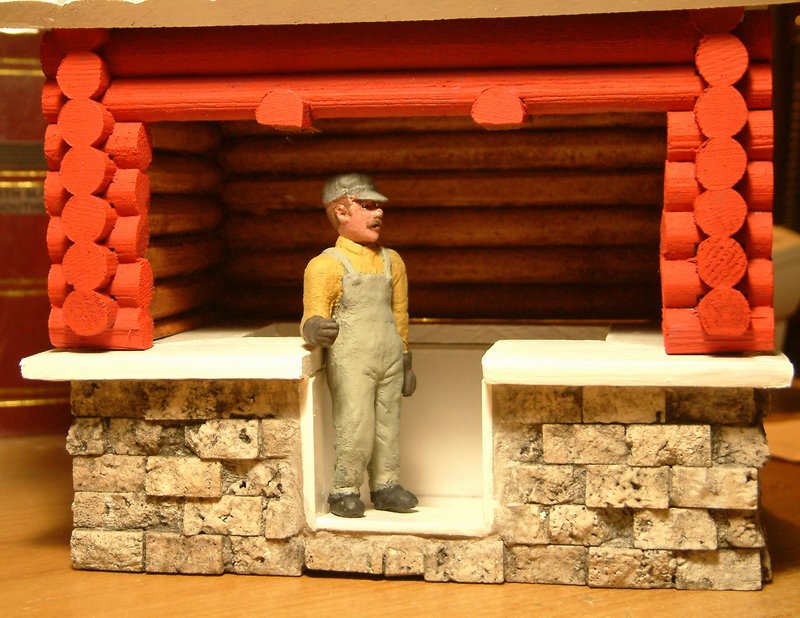
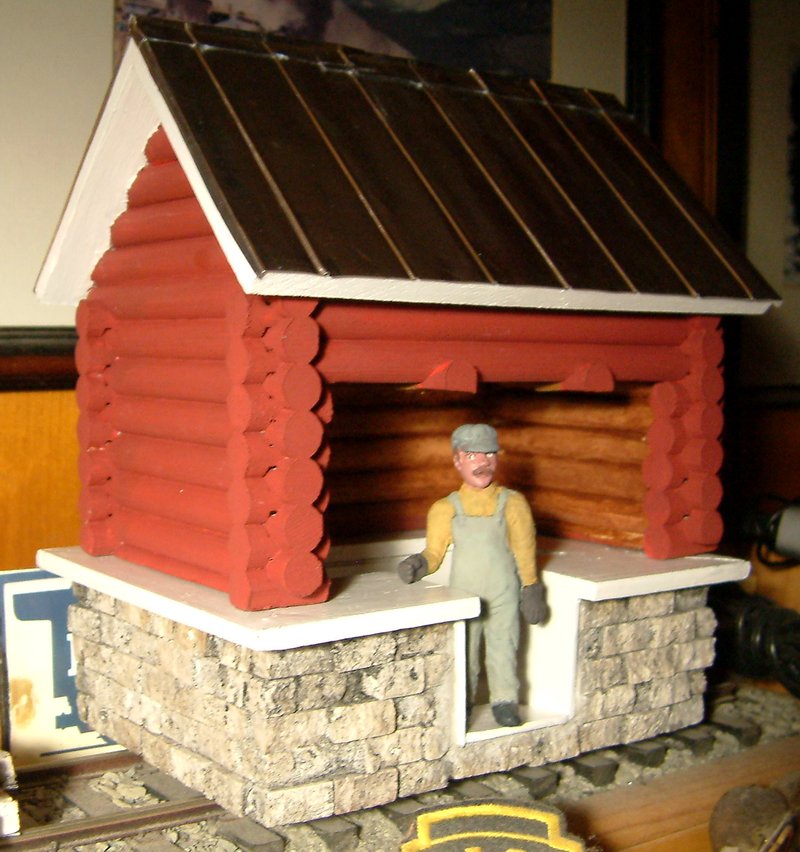
Tonight I finished up the front wall including a door sill. The figure is a 1:20 person about 6 foot tall…

I have two more changes I want to make. First I’ll add a redwood cap to the stone all the way around before attaching the birdhouse. This will dress up the transition line and protect the stone from direct water run off. Next I think I’m going to cut away the last two course under the window and the logs between the door and windows. I’ll build a front on a sheet of clear acrylic to fit in the void. Oh, and I think that chimney has to go. It will be replaced with a stove pipe.

That bird house was a nice find, The stone the makes a hudge difference, Once the stone is painted everything will come together nicely.

Jon,

Great rebuild, I like it!

The stone really sets it off.

I have that one!

Love what you’ve done with the place.

You can also cut the overhead logs to make them work in 1:24

(http://i1082.photobucket.com/albums/j371/AlleghenyValley/P3090018.jpg)

(http://i397.photobucket.com/albums/pp52/steamnut1917/new%20AV/P5130001.jpg)

(http://i397.photobucket.com/albums/pp52/steamnut1917/new%20AV/P4230007.jpg)

Lowes also sells little pieces of flashing (both aluminum and copper) which, when you use two, makes for much nicer roofs

Excellent build. The rock really makes the cabin look unique.

Thanks for the ideas Mik. I have all kinds of scrap aluminum sheet that could be used for roofing. I pulled a Pola shingle roof out of the junk box tonight and looked at it, but without removing the existing roof (nearly impossible) it looked odd from the gable side

I like the one with the porch. I’m thinking of overhanging eaves with corbels like a New England station. I just need to be careful and not create too many ideas that I don’t finish the project.

Tonight I hacked off the chimney and removed the bottom two courses under the windows and the pillars making the door opening. This leaves a large T-shaped opening in the front.

Then I got busy in Visio plopping in new windows and a door…

(http://lsc.cvsry.com/Log_Cabin/Visio-Composite800.JPG)

With 3 or 4 of those you could make a neat little summer camp scene. Haul the tourists out to the camp, then a week later haul them home…:wink:

BTW, what the heck is Visio?

I’ve seen you mention that before.

Good idea Ken, but let’s see if I can get 1 finished :]

Visio is a Microsoft CAD program. My copy is over 10 years old; not sure if they still make it. I’s pretty basic, but has enough power for me and I know it well. It’s the only drawing program I have that is easy to adjust scale in. I drew the above at no scale but could just as easily done it in 1:20.3 and shown scale dimensions rather than actual.

Some minor thoughts…

The glue used on these is kinda weird. When they’re new, fresh out of the store, it might as well be carved from solid wood. After a summer outside, you can pop the roof and chimney off with a putty knife. After TWO summers outside, you’ll be gluing pieces back on.

If you’ve got it, dip or spray them with water sealer. I think part of the reason the glue eventually fails is the roof continually tries to warp from rain and dew.

Putting two mothballs inside each building when you put them out in the spring seems to discourage earwigs, sowbugs, mud wasps and spiders from taking up residence… Which may help them last a little longer.

Still, $7 for the birdhouse vs $45 for a Piko house is probably a good deal. Even if the village does look like Dogpatch. (Anybody make Shmoos?)

Tonight was spent trying to get ahead of myself. I cut up some redwood on the table saw to use as a break between the stone and the birdhouse. I was all ready to start gluing it on when I realized I needed to caulk the top edge. I dug up some latex caulk and just before I cut the tube open I thought that I should paint the stone first. I decided to experiment on small scrap pieces first. Good thing because I need to grout before I paint. Oh darn, the grout I bought 10 years ago has dried up :[ So I’m stuck until I can pick up some grout.

The painting experiment went well. I decided to start with a very dilute India Ink / alcohol solution. I’m very pleased with the results and might just stop here as it’s very simple and fast.

Here’s my test piece next to an original…

(http://lsc.cvsry.com/Log_Cabin/LogCabin009.JPG)

Looks good Jon. I elected to not paint my stones. Around here we have a lot of Limestone faced buildings.

It’s been a while since I updated this thread. I have been making slow progress. The foundation is complete…

(http://lsc.cvsry.com/Log_Cabin/LogCabin010.JPG)

The sill plate and door frame is redwood painted with Acrylic. I ran a bead of latex caulk around the top edge of the blocks before gluing on the sill with PowerGrab. Once it dried I ran another bead of acrylic caulk around the outside under the sill where it meets the face of the stone,

While I had the paints out I decided it was time to paint George my Shay Engineer. He’s been in primer for just a few days under two (or is it three) years now…

(http://lsc.cvsry.com/Log_Cabin/LogCabin011.JPG)

This is my first attempt at figure painting. I did everything but the eyes - Marilyn did them.

I also painted the logs inside and out. My color scheme is based on the red New Haven depots of New England. The red isn’t quite as bright as the photo shows…

(http://lsc.cvsry.com/Log_Cabin/LogCabin012.JPG)

(http://lsc.cvsry.com/Log_Cabin/LogCabin013.JPG)

Next up is a metal roof made from .040 sheet aluminum and fabricating the doors and windows on a clear acrylic sheet.

Jon- Looks great! I made a similar cabin a few years back. I used the pop can crimper method for the sheet metal roof. I really like the look of your stone foundation. Can’t wait to see more.

-Kevin.

Getting back at it with my take on Standing Seam Roofing. I found a jig that came out of my father-in-law’s workshop. I have no idea what he made it for, but it’s close enough…

(http://lsc.cvsry.com/Log_Cabin/LogCabin014.JPG)

The pizza cutter just cut the material and my spline tool is too wide so I borrowed an idea from Bart’s jig - copper wire was forced into the grove with the aluminum…

(http://lsc.cvsry.com/Log_Cabin/LogCabin015.JPG)

The result…

(http://lsc.cvsry.com/Log_Cabin/LogCabin016.JPG)

The material I got from Yogi several years ago was the perfect size…

(http://lsc.cvsry.com/Log_Cabin/LogCabin017.JPG)

I created a ridge cover…

(http://lsc.cvsry.com/Log_Cabin/LogCabin018.JPG)

(http://lsc.cvsry.com/Log_Cabin/LogCabin019.JPG)

Installation complete. Notice that I toned down the red with a custom blend…

(http://lsc.cvsry.com/Log_Cabin/LogCabin020.JPG)

George likes the new roof…

(http://lsc.cvsry.com/Log_Cabin/LogCabin021.JPG)

I think I’ll leave it mill finish and let it weather on it’s own.

The roof turned out nice :slight_smile:

Ralph

Is that Shawn?

It’s been just under 2 years since I started this project. I think it has sat on the shelf long enough (http://www.largescalecentral.com/externals/tinymce/plugins/emoticons/img/smiley-surprised.gif)

I finally cut a piece of .25" clear acrylic to fit the T-shaped opening in the front…

This was further trimmed to fit in the opening. Some strip cedar will fill in arouund the windows and door…

I had a Grandt Line door in stock that will work…

And I ordered a few windows on eBay. Not sure if I will use the 4 or the 6 pane version…

I’m trying something new with this post. The pictures are 1280x960 but LSC auto-shrinks them to 800 wide. If you want to see the higher resolution version, use your browser’s View Image function. Please let me know if they load too slow. If they do I can compress them a bit more.

Wow John, That roof came out great. Nice job.