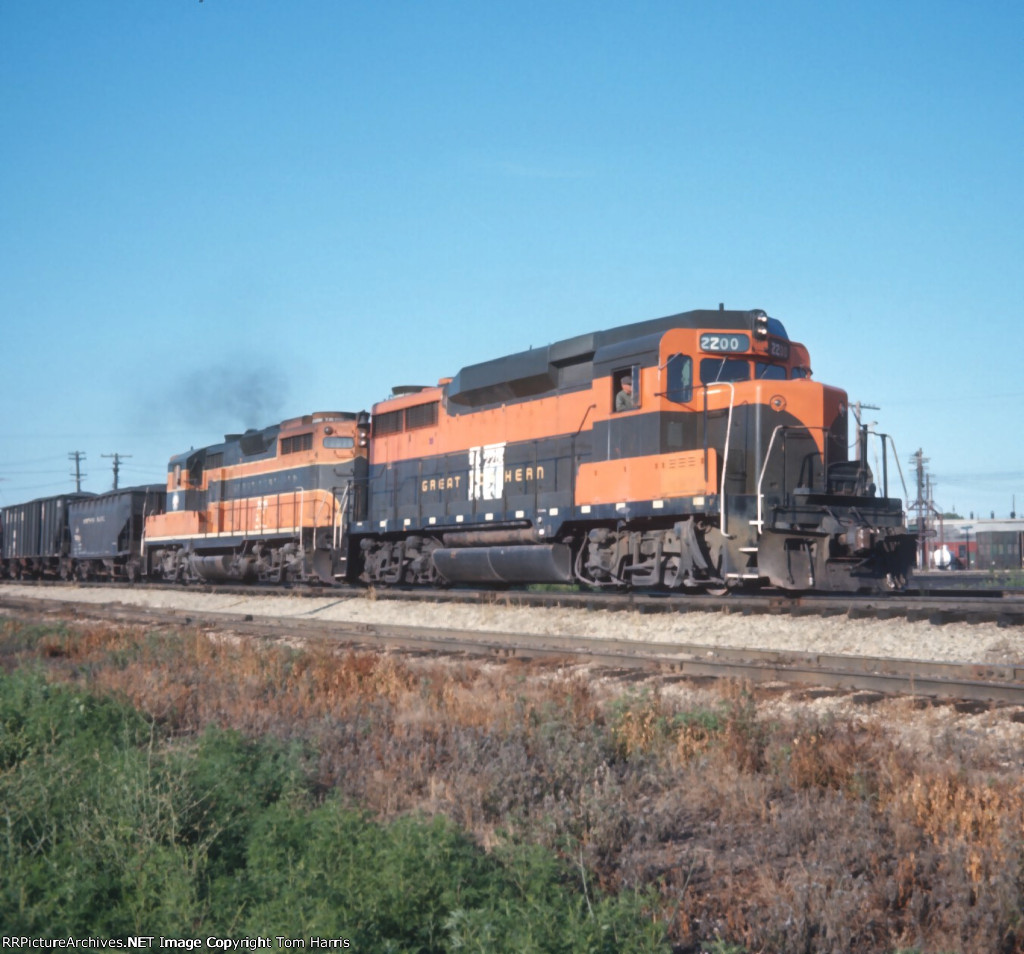
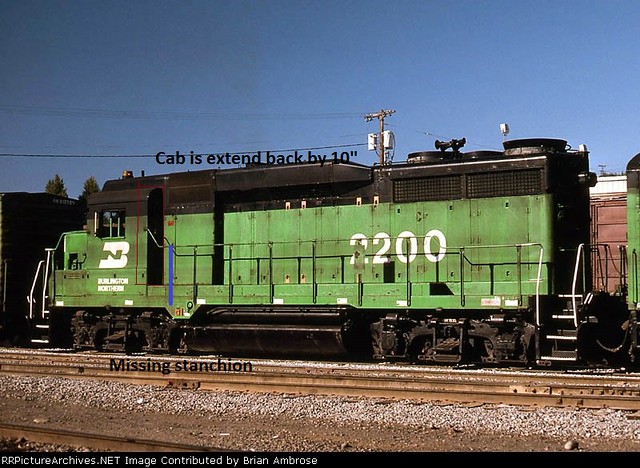
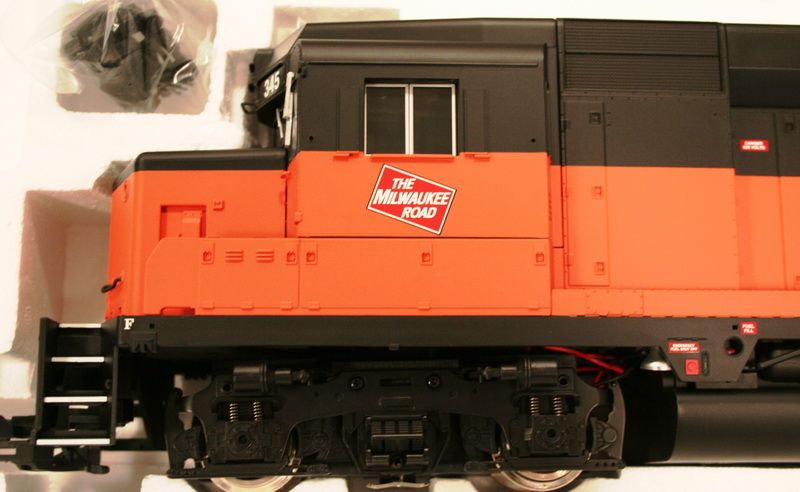
So I’ve made enough progress now I can start sharing my latest project. As with the rest of my builds don’t expect this one to be done anytime soon. After getting a great deal on a used GP30 to add to the roster of BN power I decided to model a former GN GP30 before it was repainted in BN green. The prototype was GN 3000 before it was renumber with the merger to BN 2200.
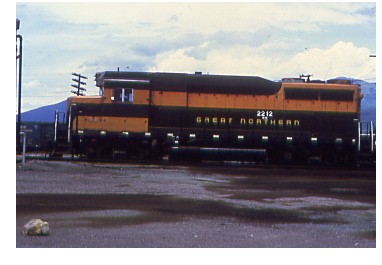
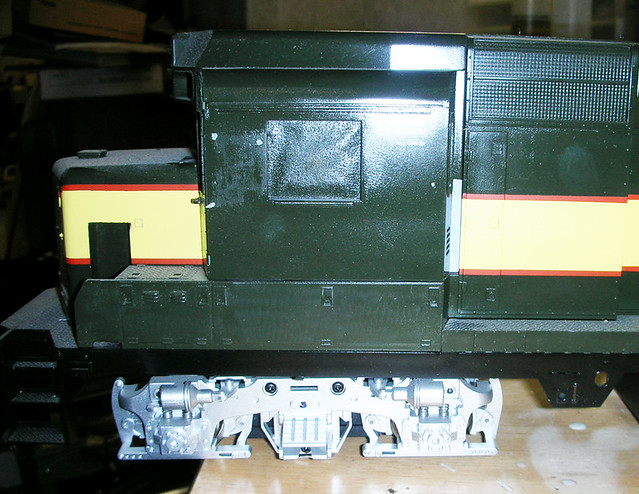
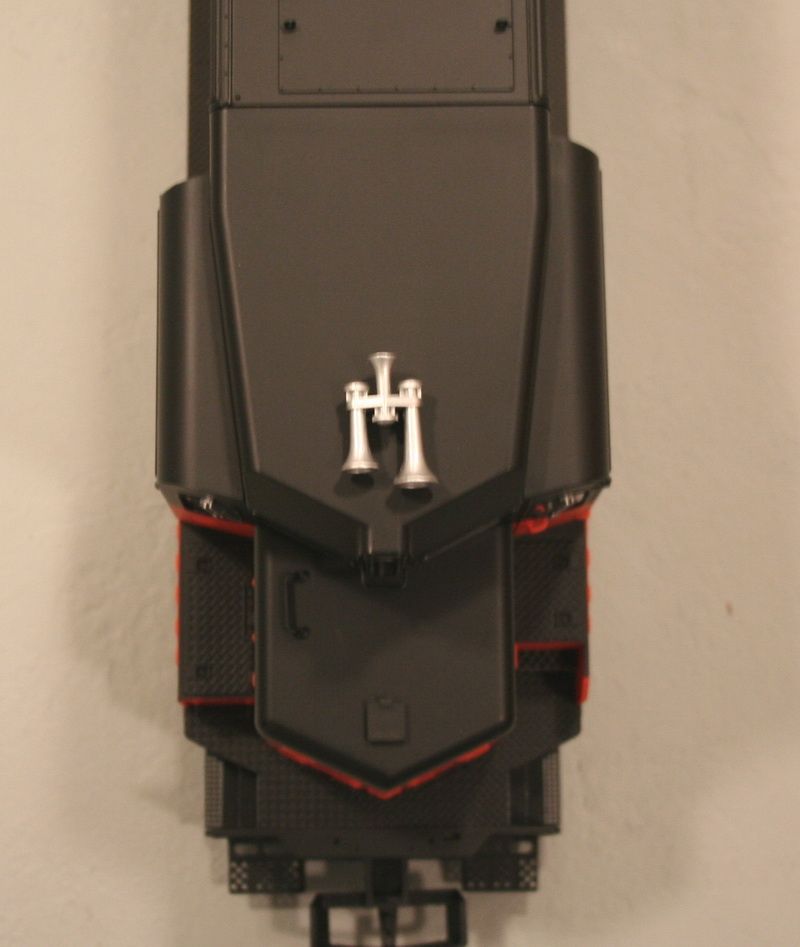
Notice it doesn’t have the BN number yet, but here it does.
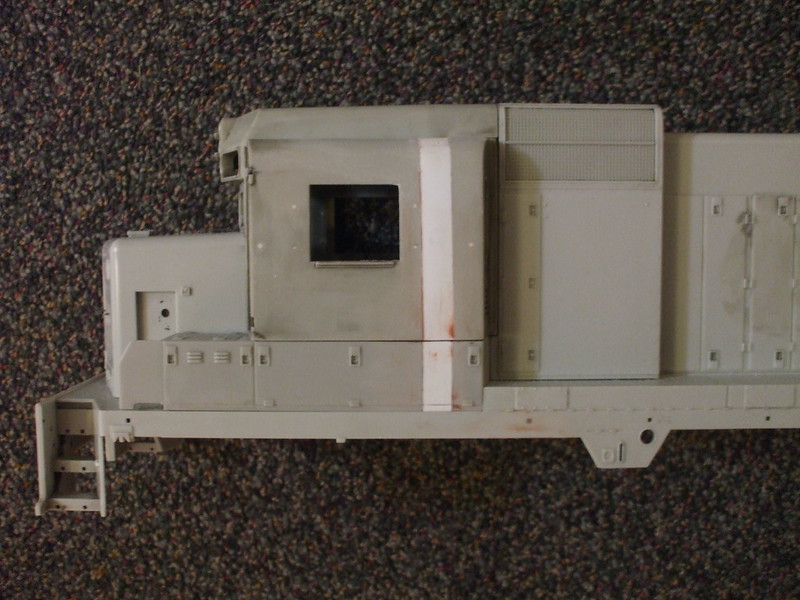
The burned out area is where the BN patch and number normally are. Kind of like this one.
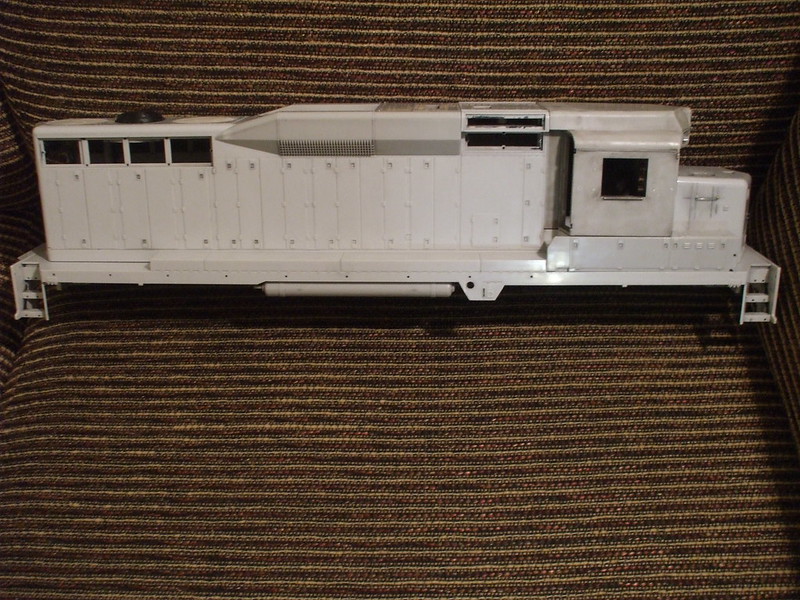
So without further background here’s some photos. Bare and naked, after stripping down with 90% rubbing alcohol
As with almost every single model of a GP30 that has been made the fan spacing is incorrect due to the original EMD drawing showing the fans spaced wider. So first off was to move the fans.
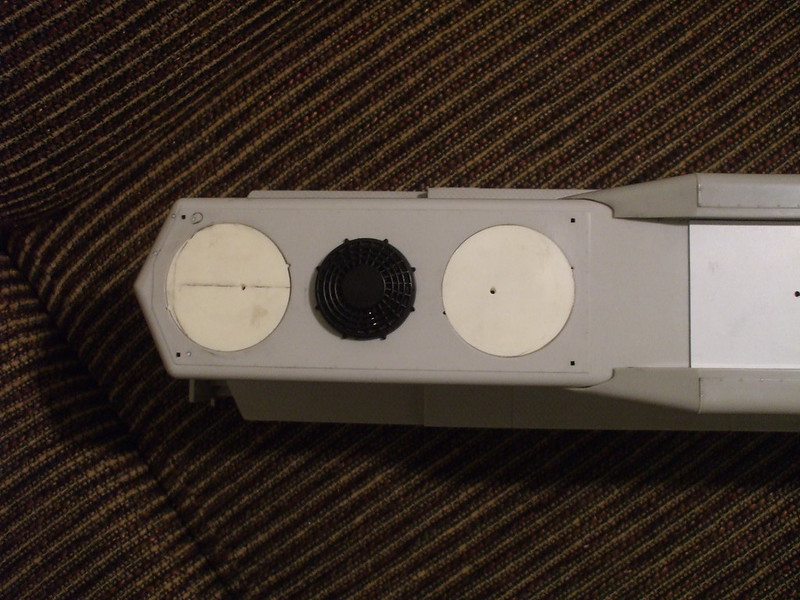
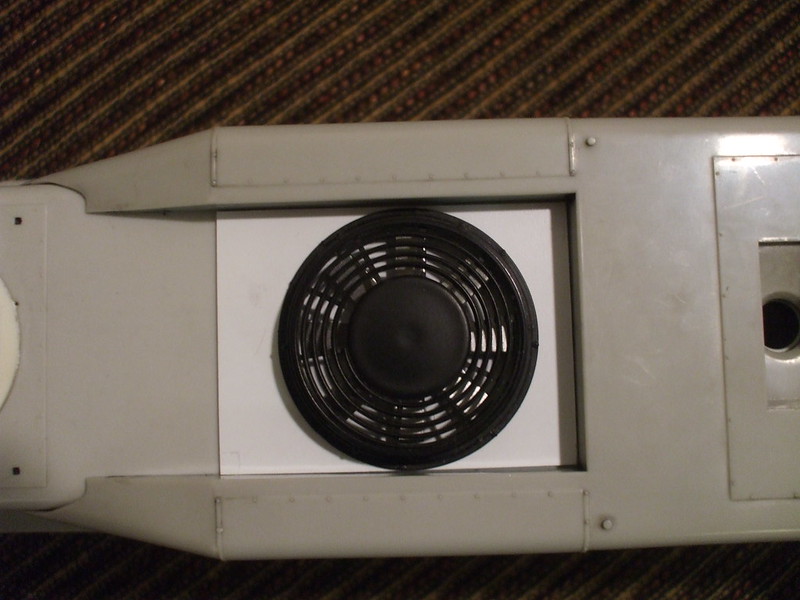
While I was at it I also added the ~1" scale metal plate over the dynamic brake fan.
Say what happened to the last fan?
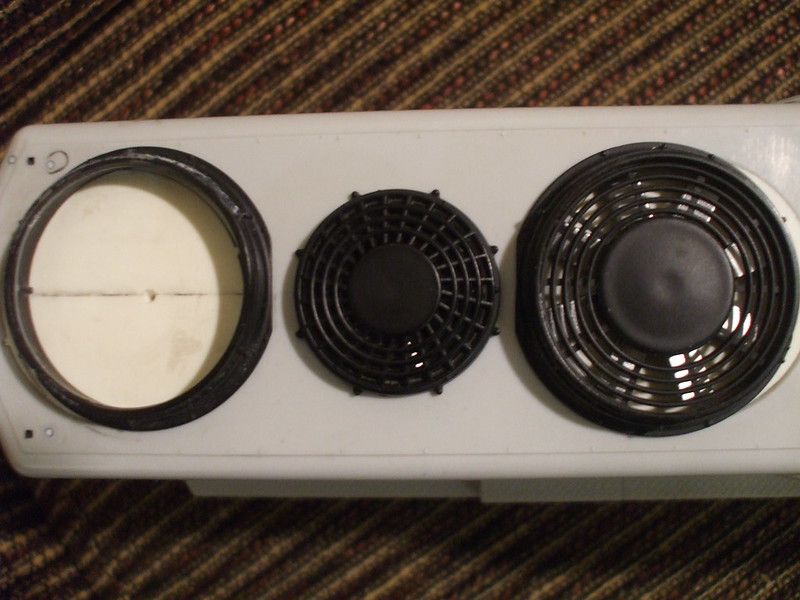
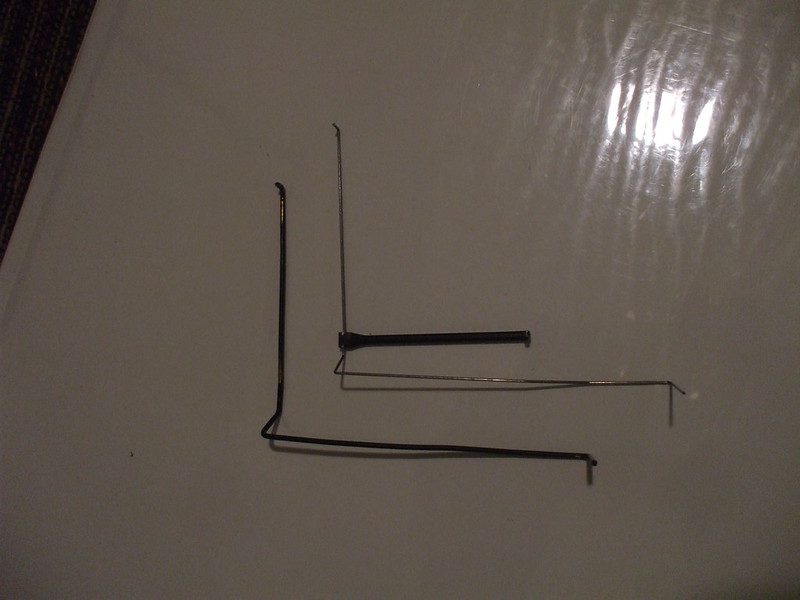
The last fan will be changed to a 48" flared fan that EMD used for a short time on GP20’s. The BN 2200 was built with a 48" flat fan, but at some point in time it was replaced with the 48" flared fan. I’m also changing the grab irons and hand rails to 0.025" music wire to better represent the correct thickness
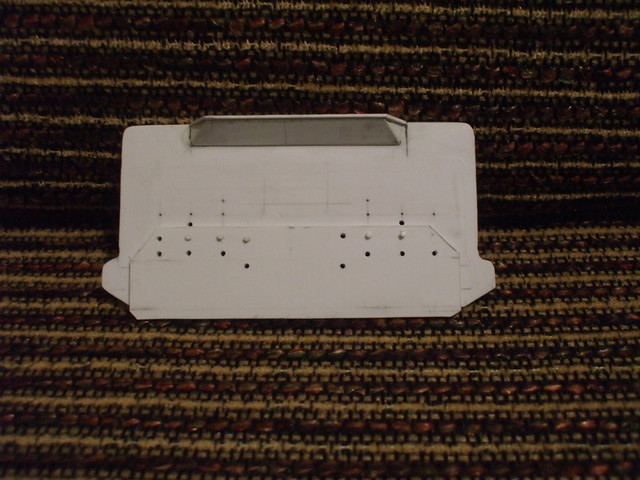
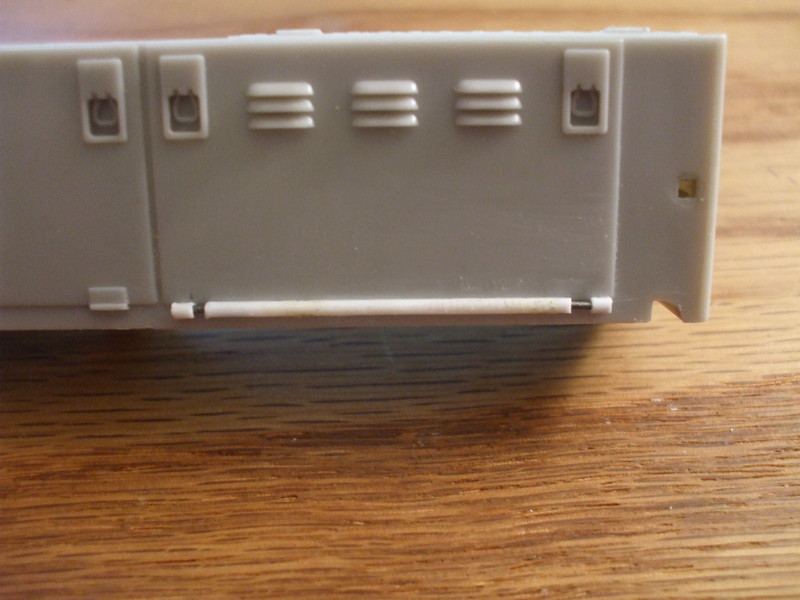
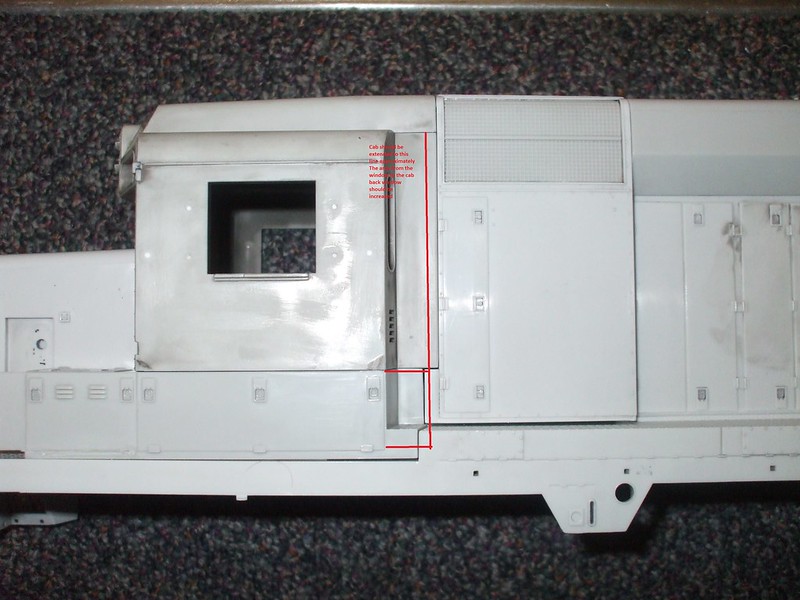
A new pilot sheet was built as well.
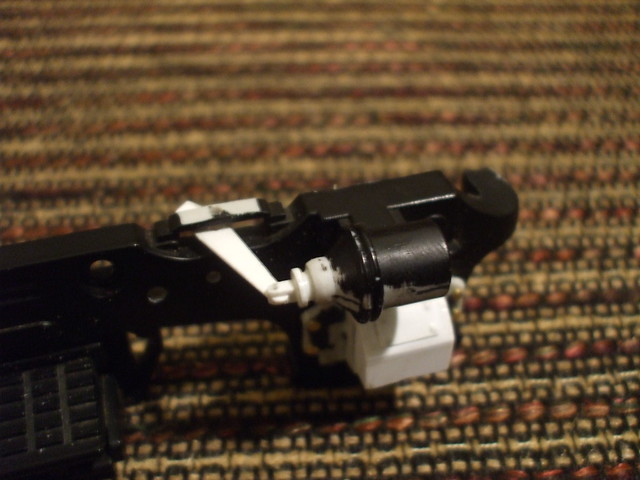
And if all that wasn’t enough to drive me crazy with details I also started to rebuild the sideframes
If all of this seems a bit random, well it is I’m not really following any specific order on what I do, but changing what I want when I see that it looks overscaled… Next up on the list is to build new narrower steps, maybe detail the interior of the cab, and finish all the half done parts! Craig

