I got around to weathering another car last night. I figured I would take some progression pics of the process, so somebody new can see what it looks like. Also, what it looks like inside is completely different than what it will look like outside.
I know I’m a novice at this…since this is only car number 4 that I have done, but I figured it might somebody just starting out like I am. Pictures are always good!
Sorry the pictures are crappy, it was late last night, minimal light in the room, and I took them with my phone.
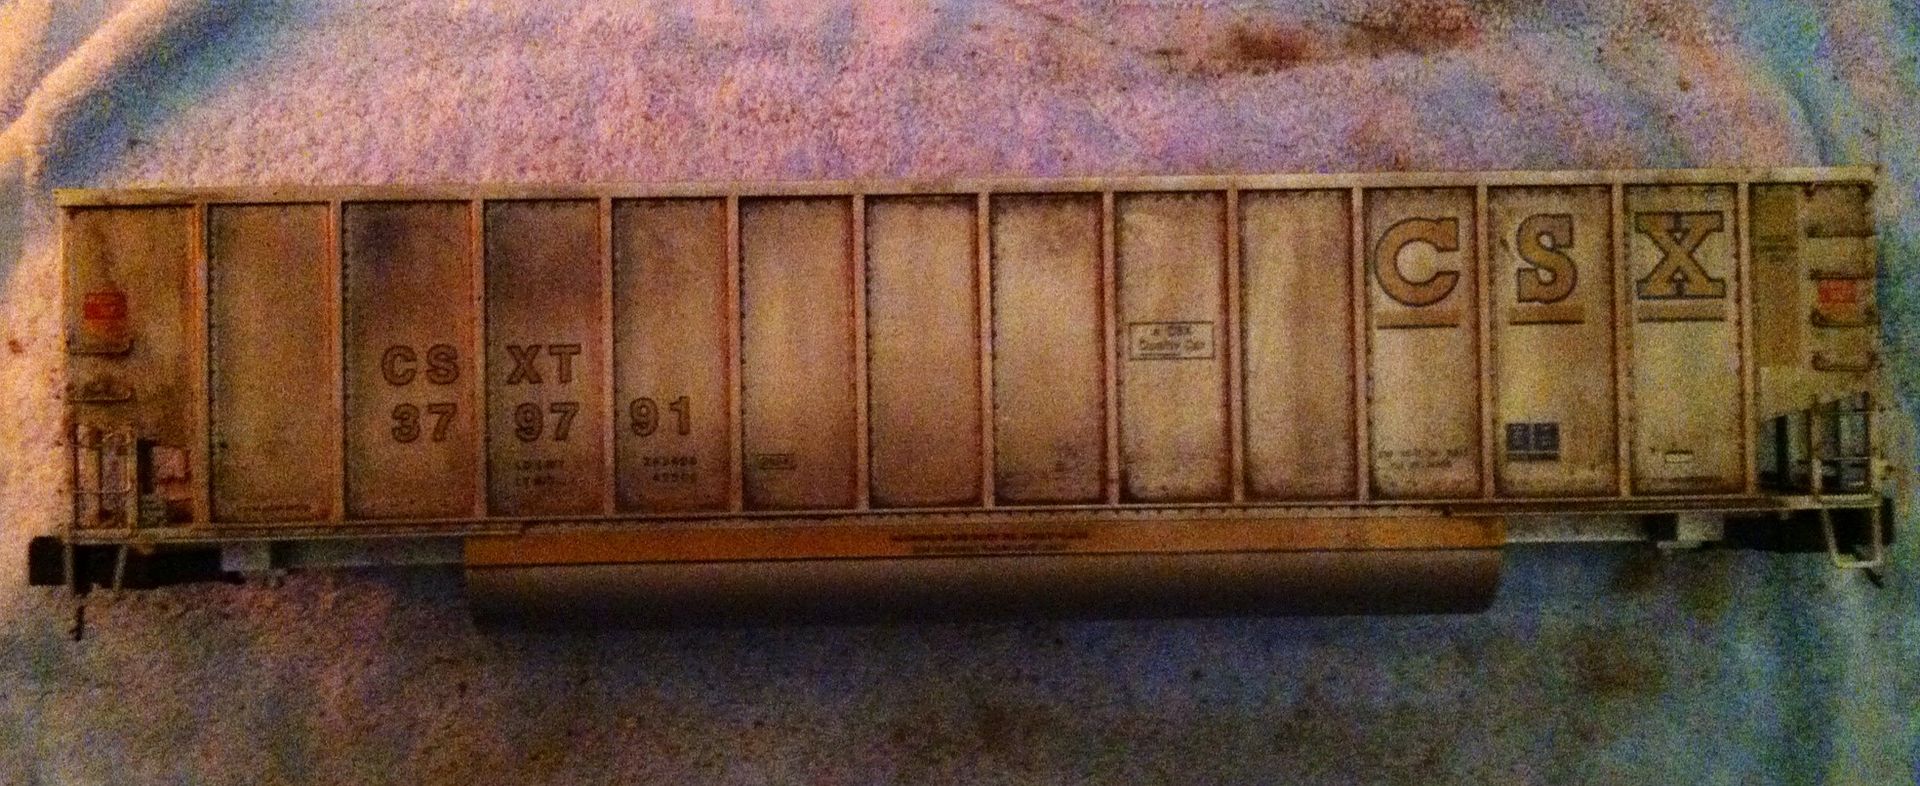
I’ve already applied one coat of dulcoat to the car. Then I start.
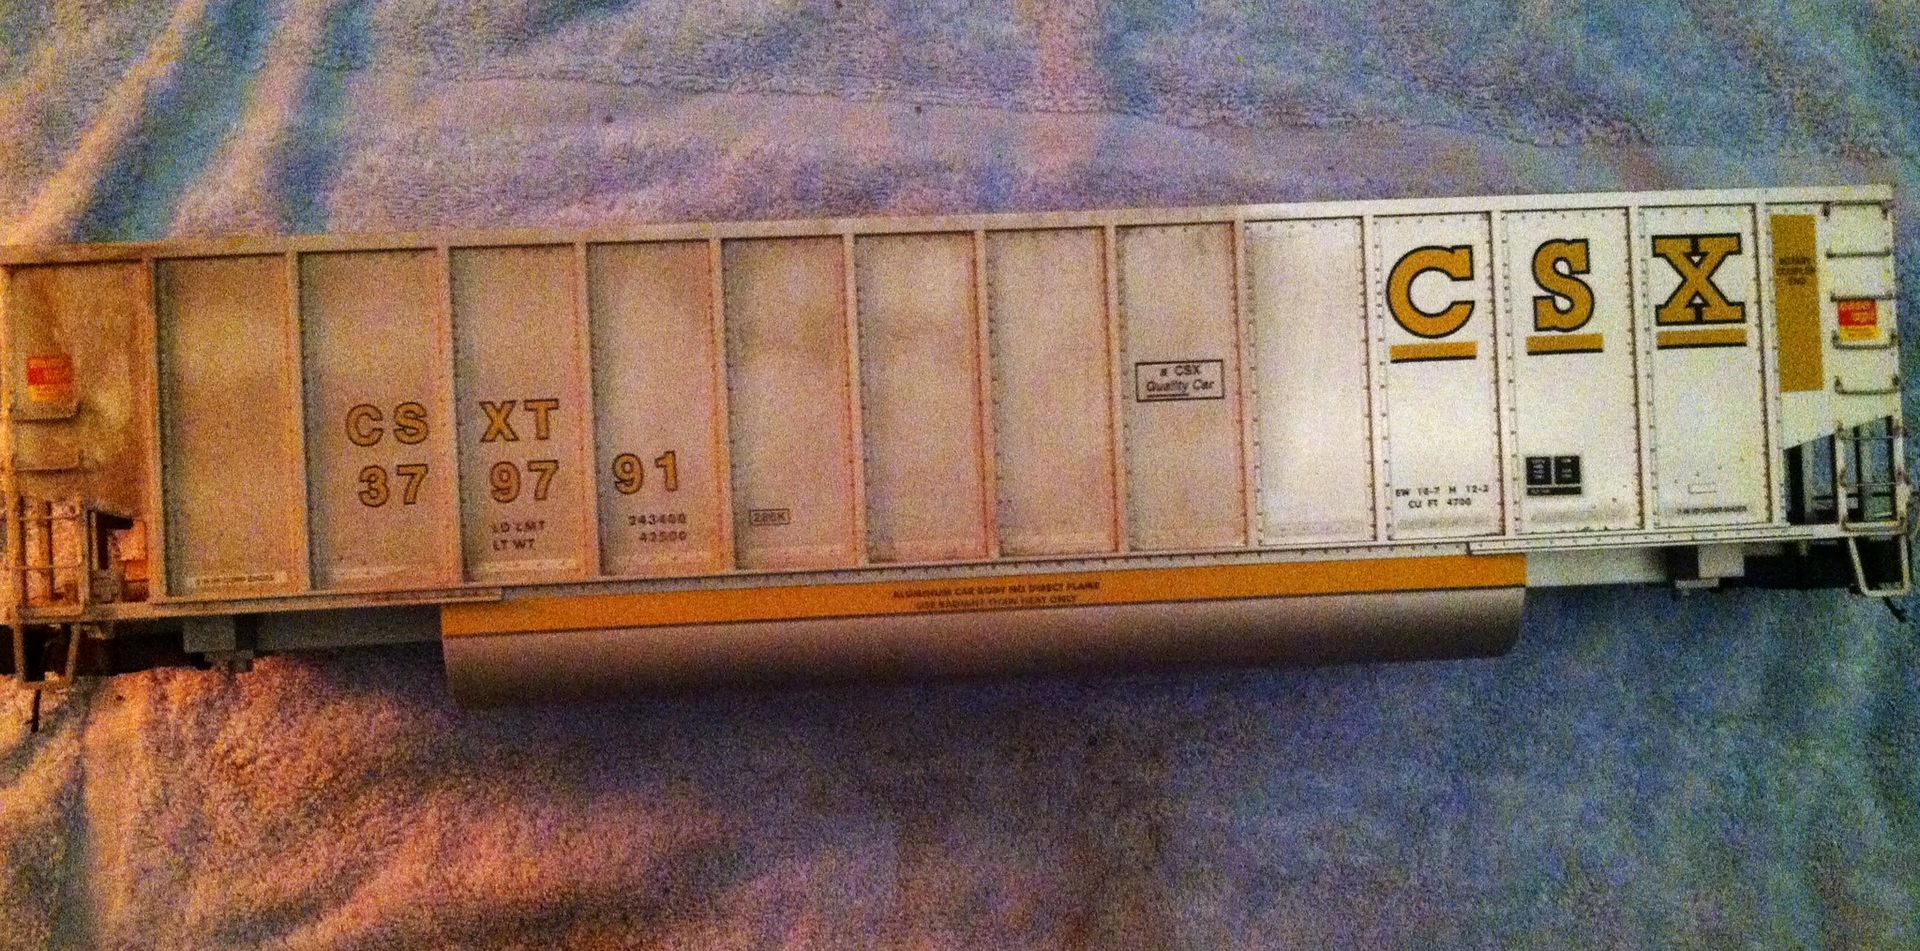
First coat of weathering is done and I’ve applied more dulcoat
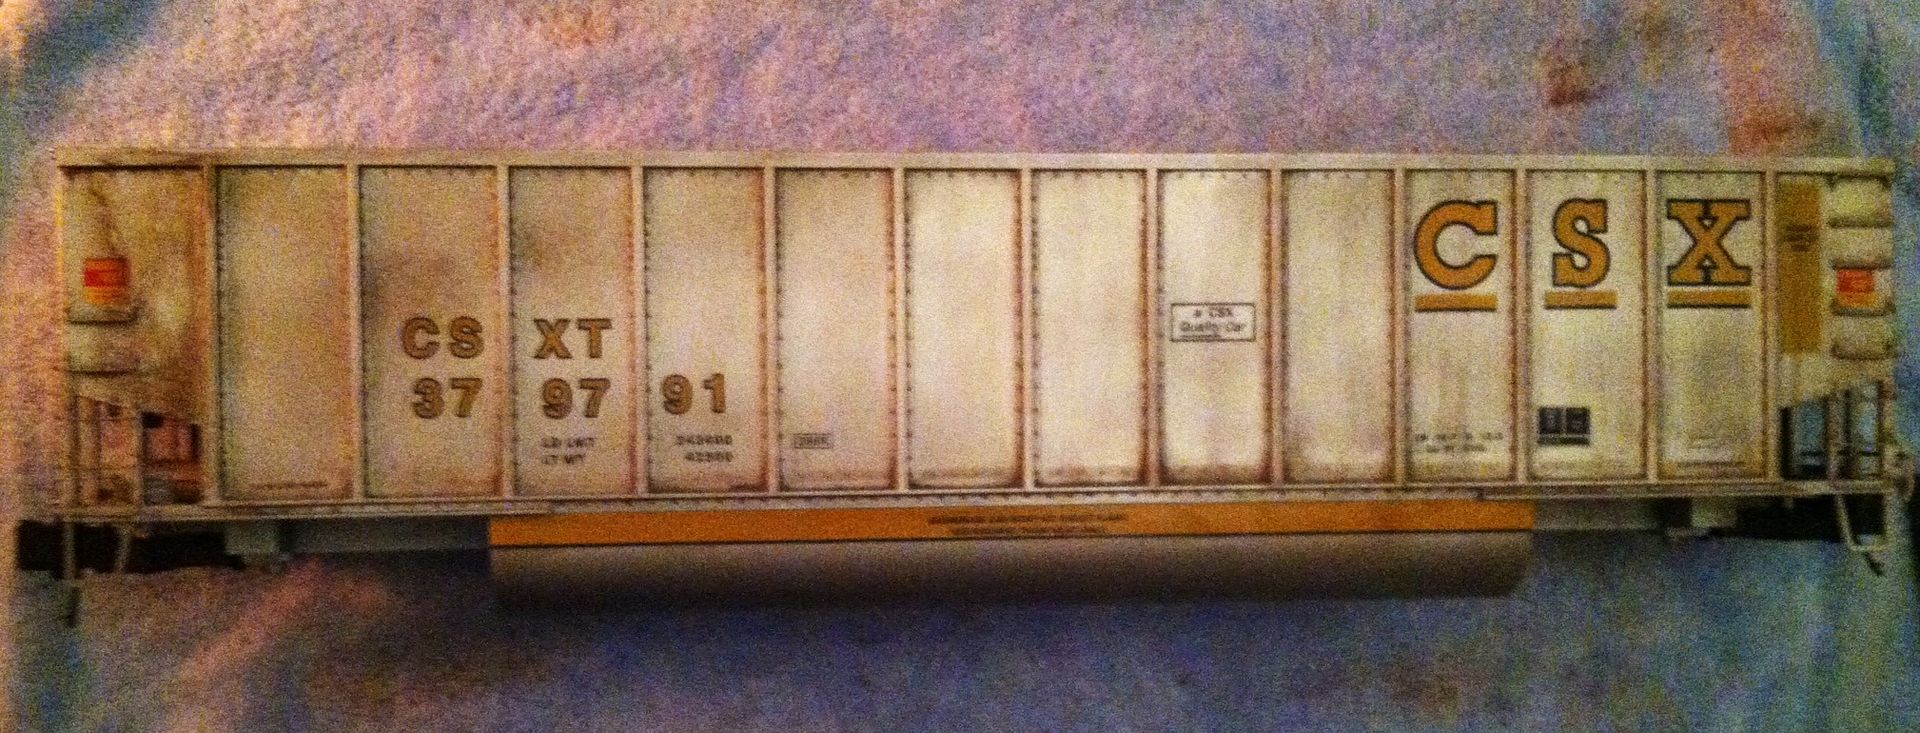
more weathering, more dulcoat
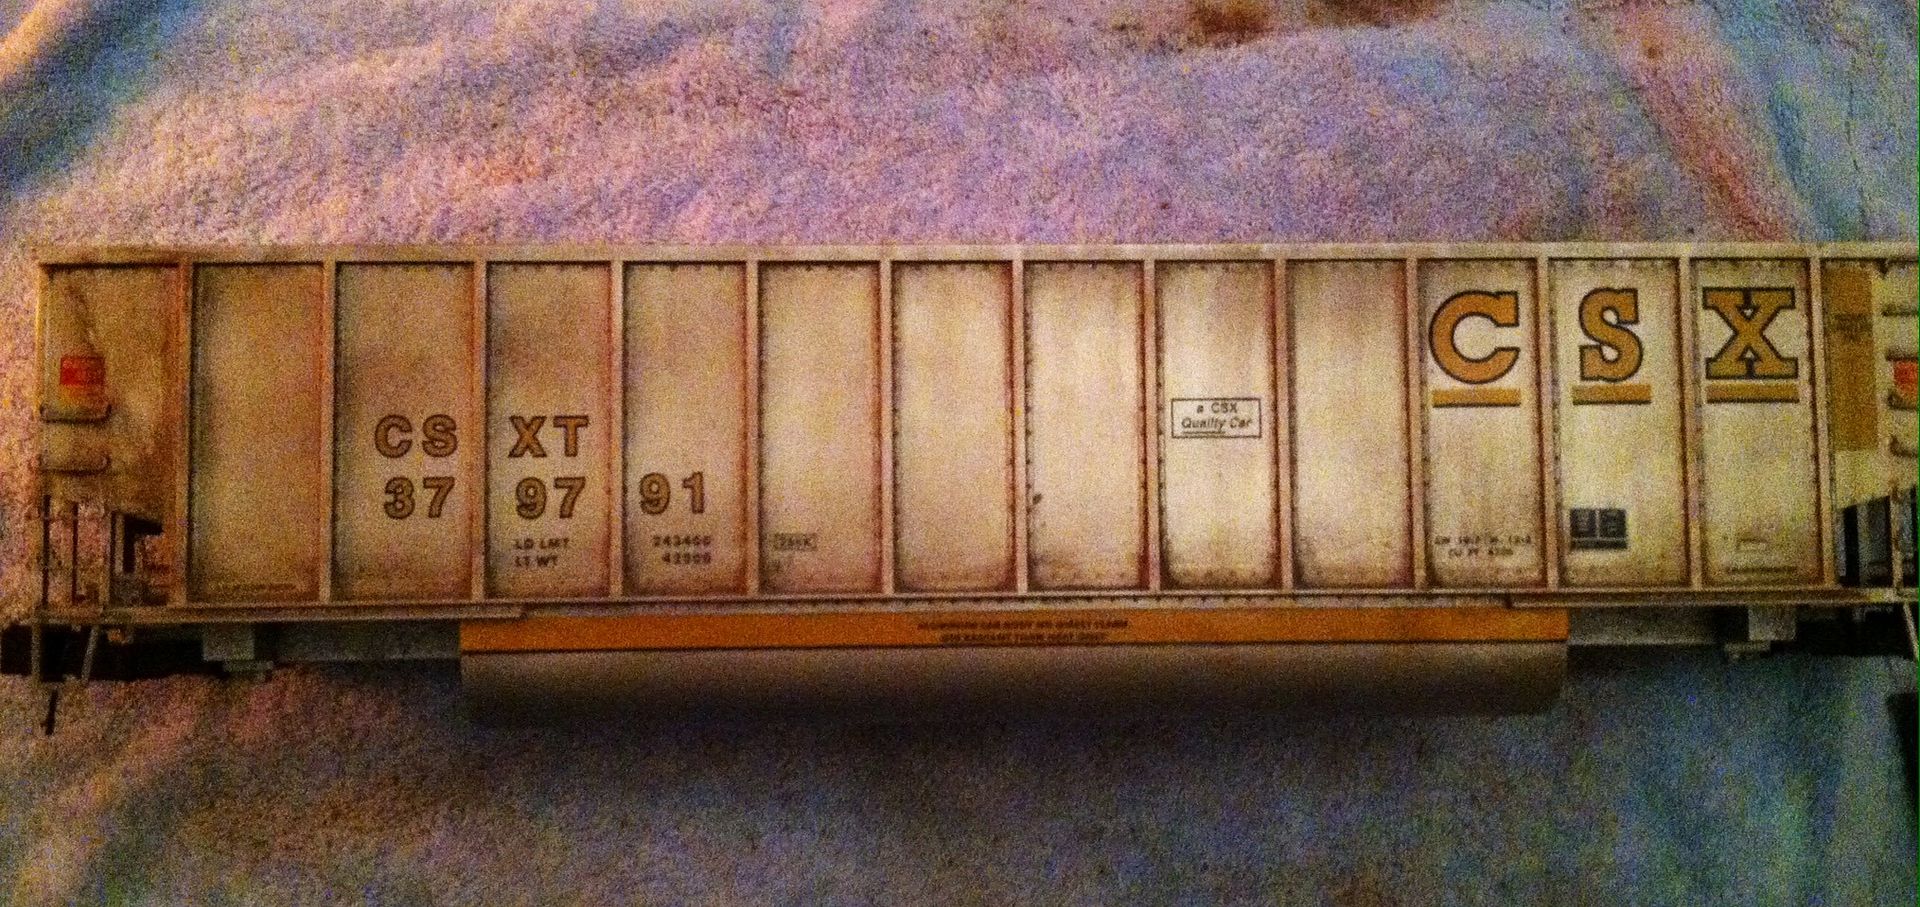
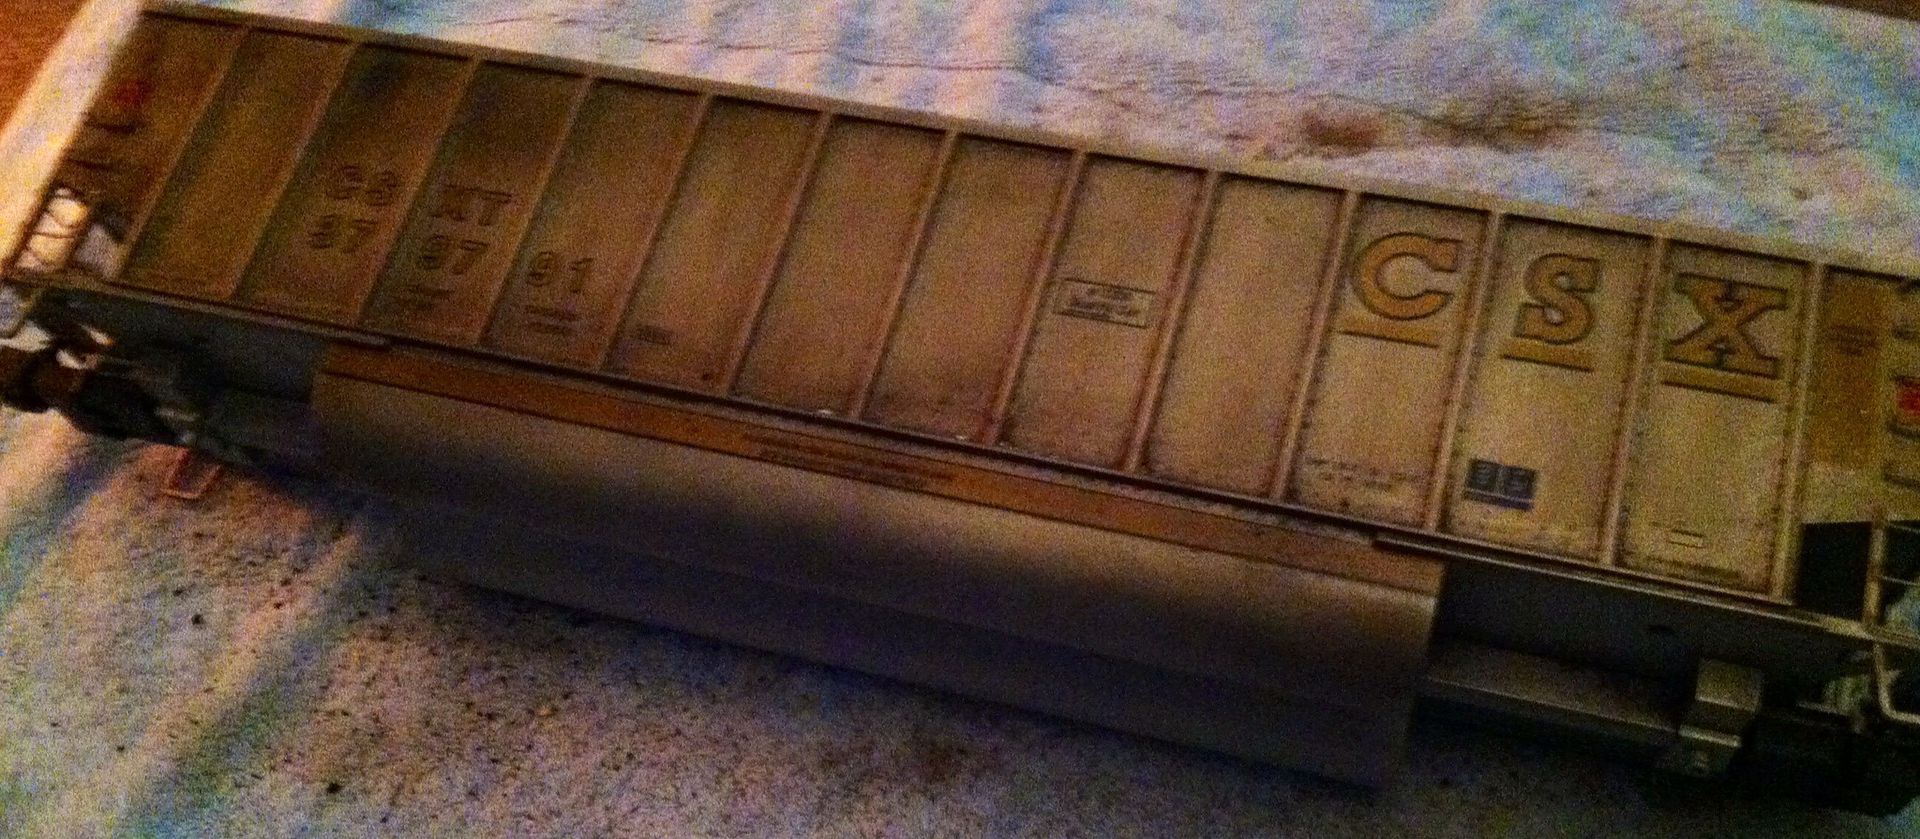
yet another coat of both
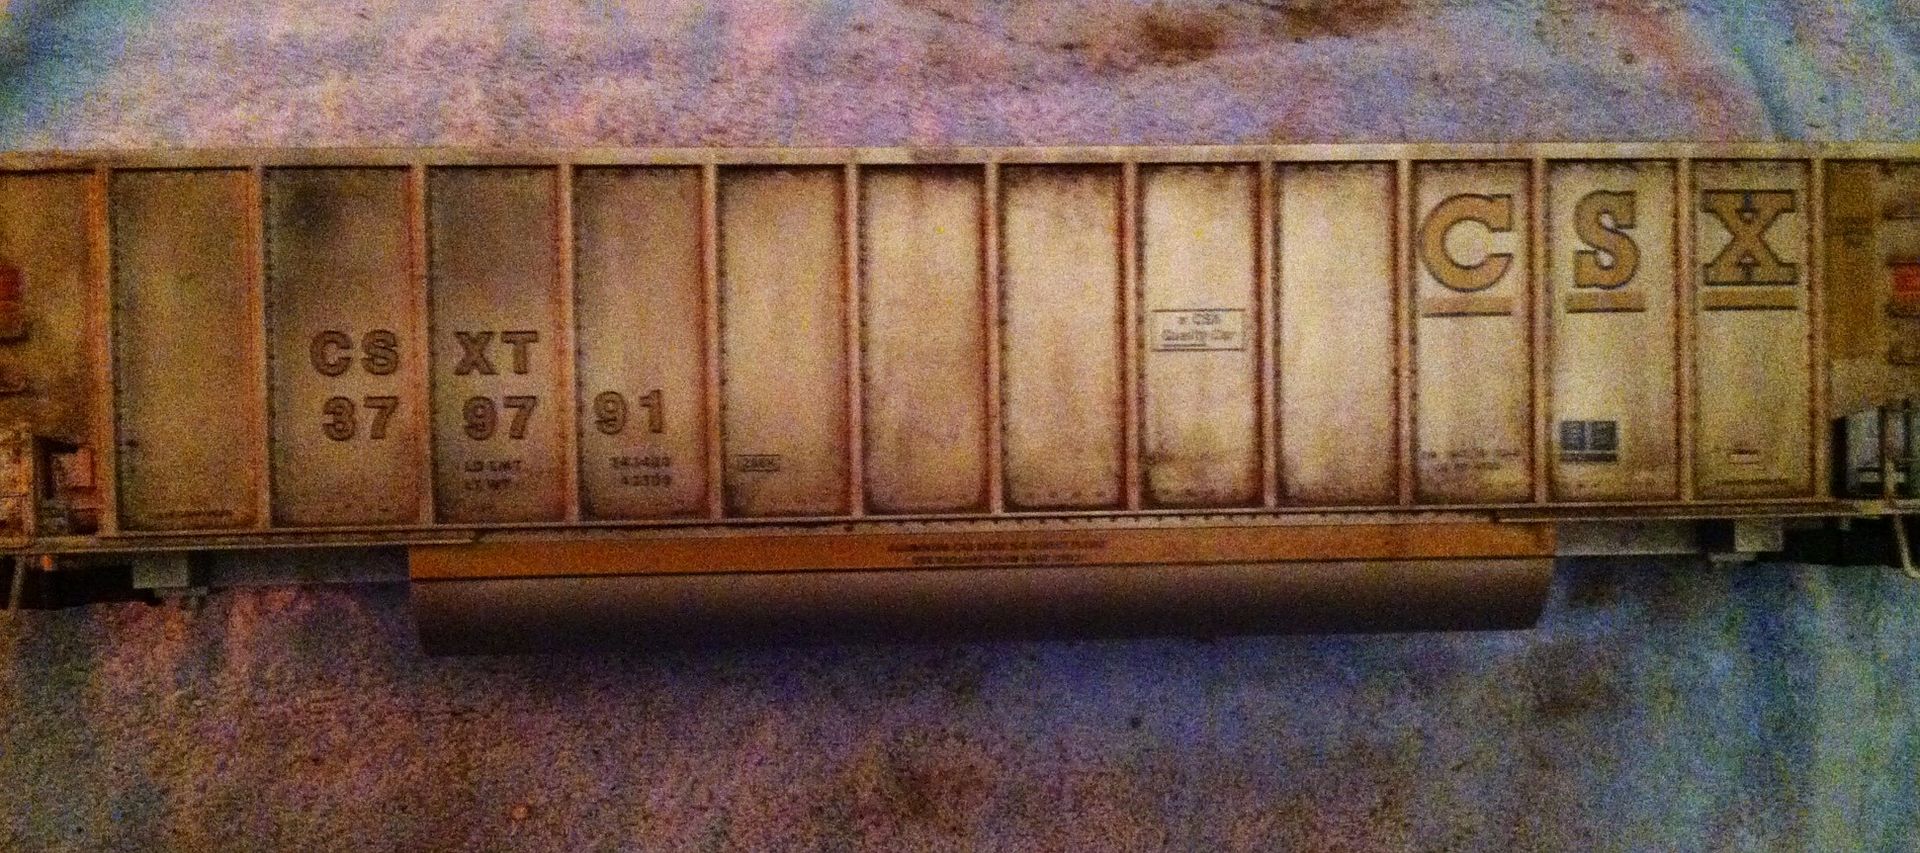
I’m calling this side done, need to weather the bottom now. I know what you’re thinking. IT’S DARK! But trust me. It’s the lighting.
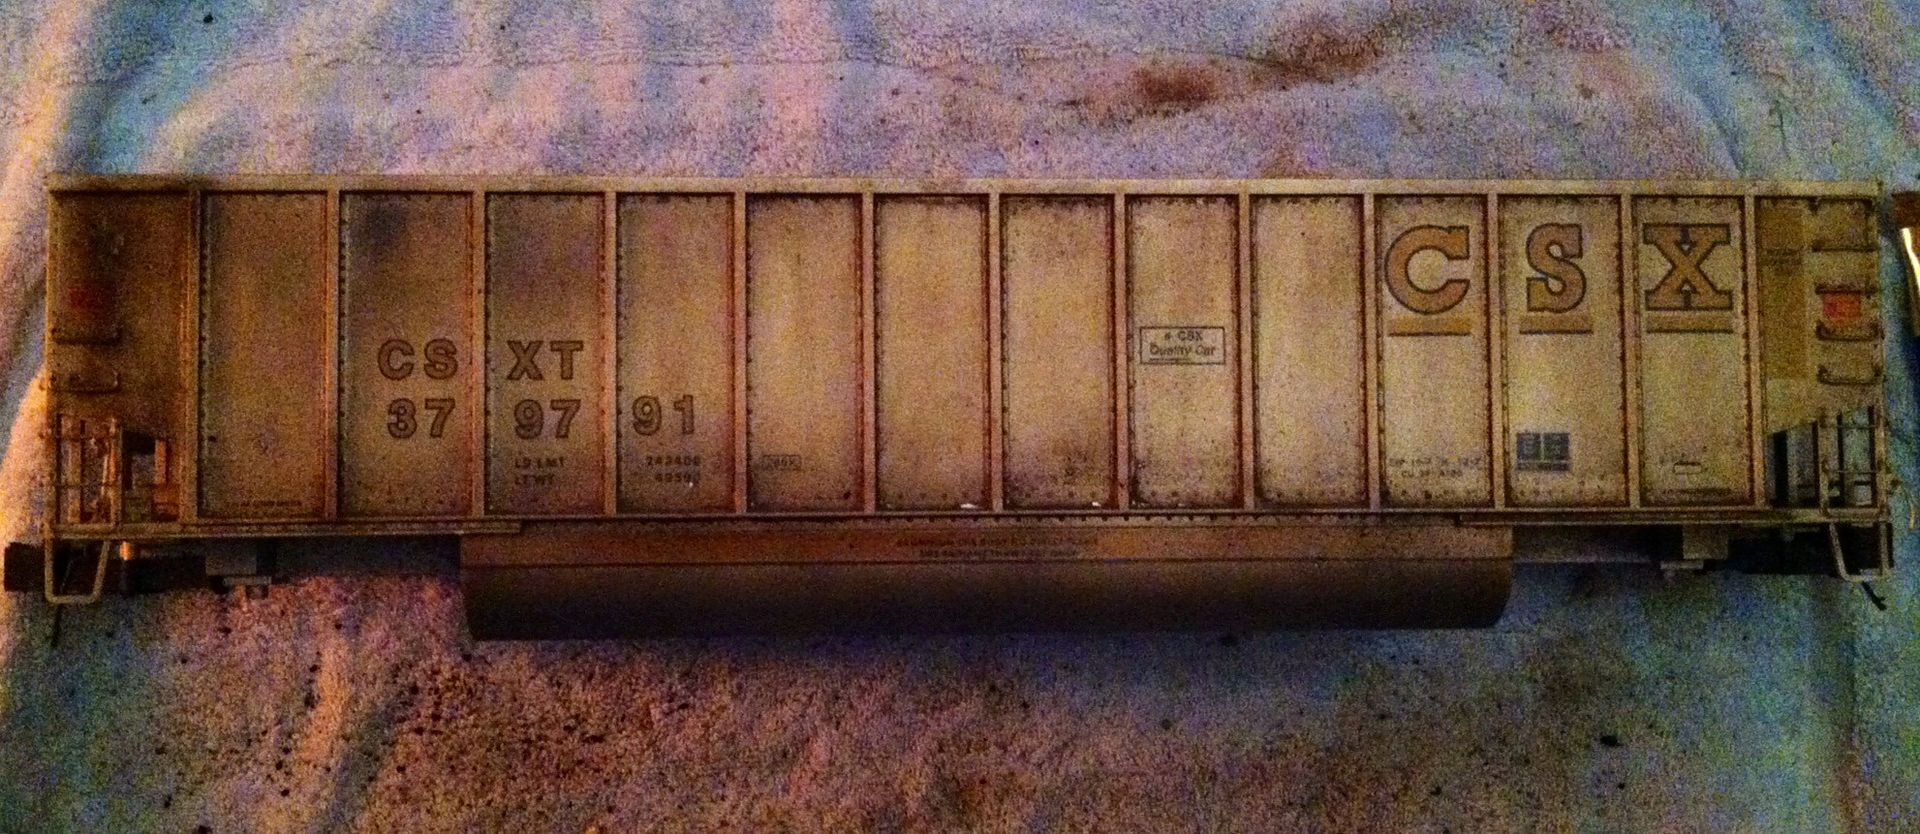
more weathering, more dulcoat
And it’s done. Well, this side is. I still need to touch up the steps, but it’s basically done.
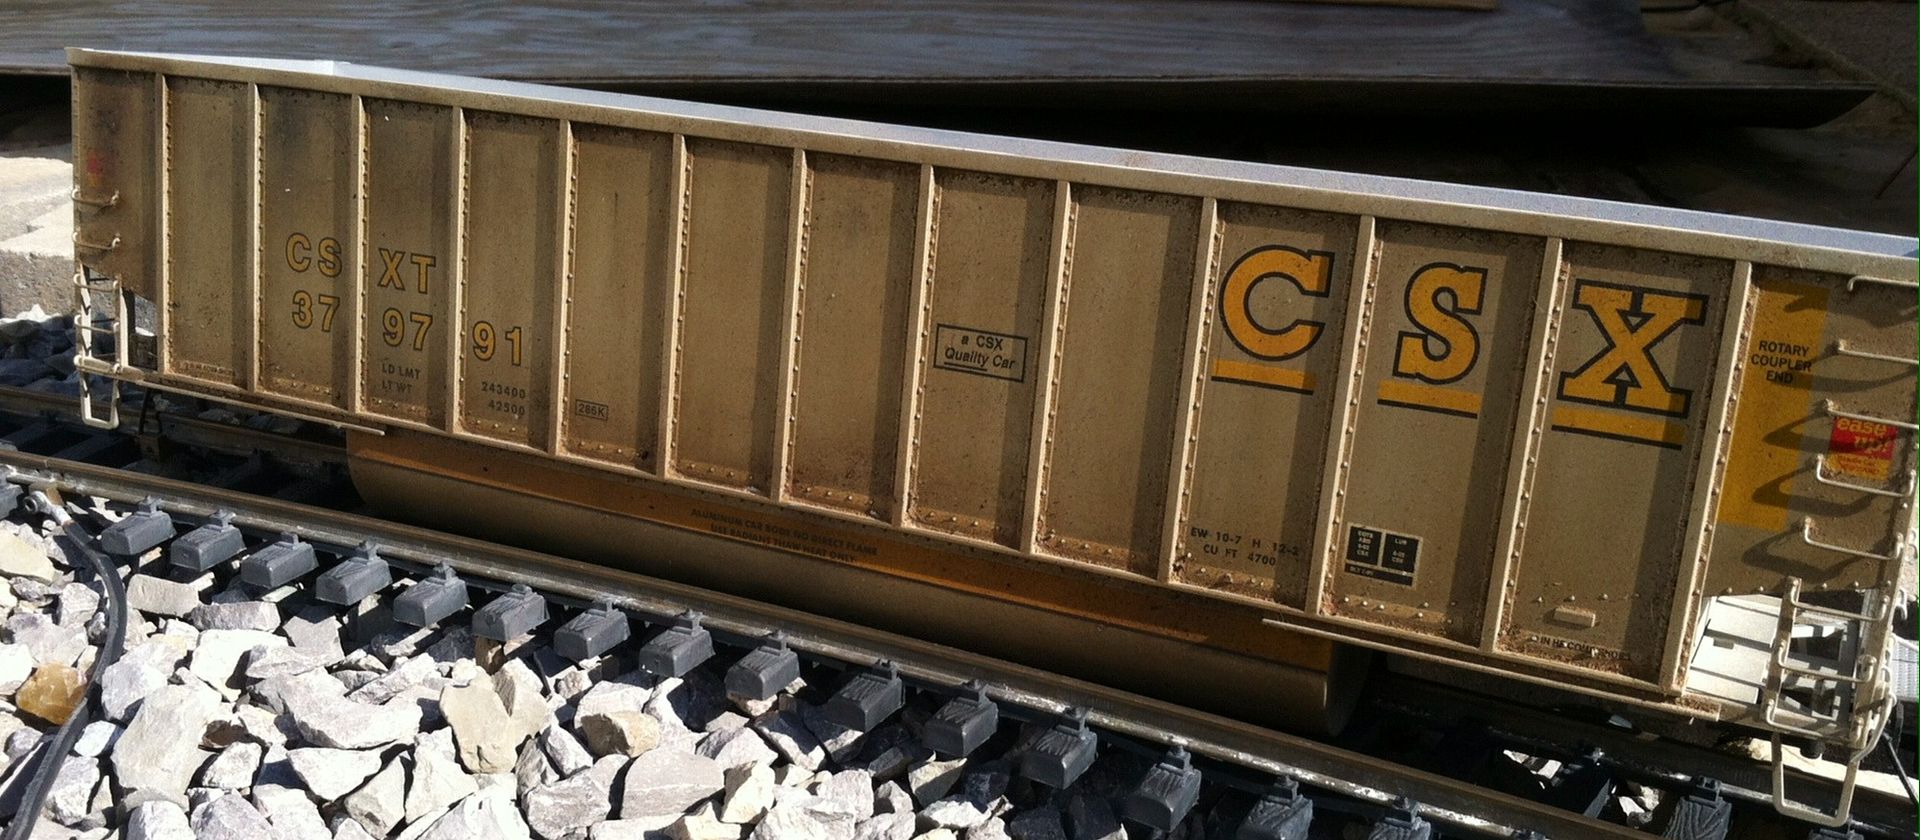
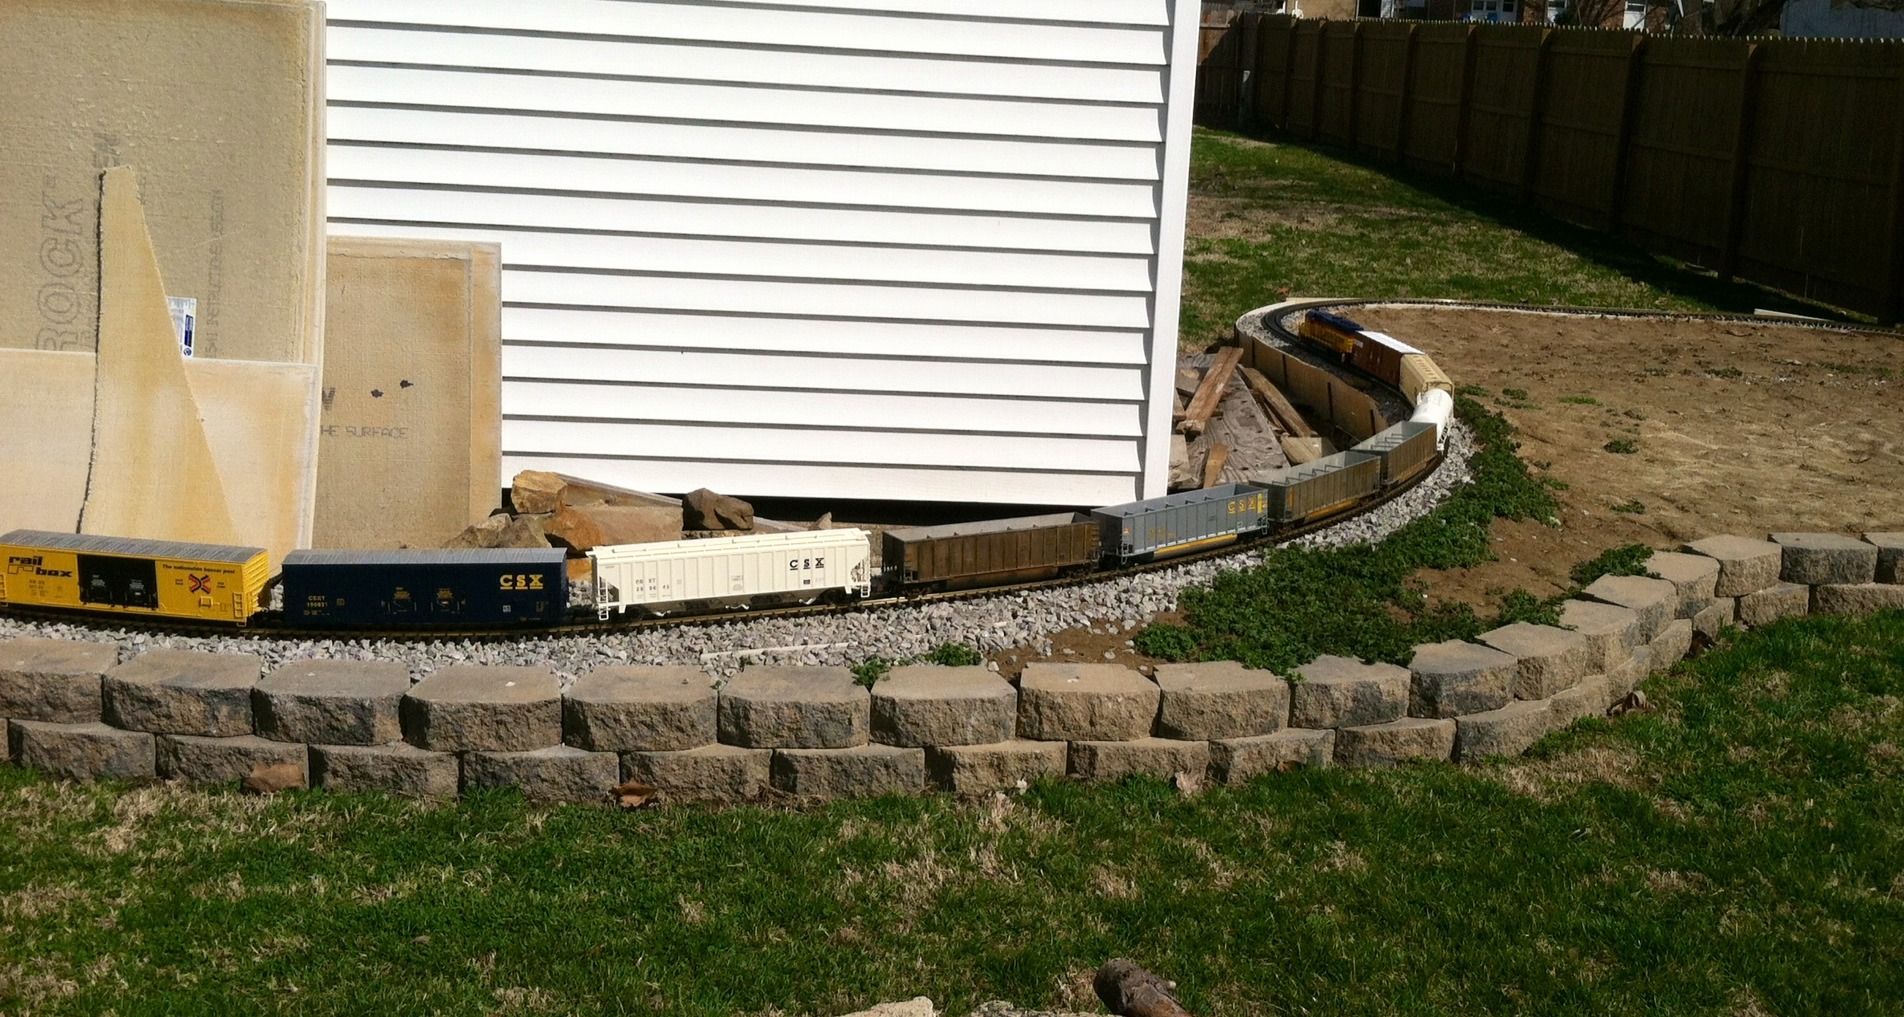
And here it is outside in natural light.
