Large Scale Central

My Pond Build

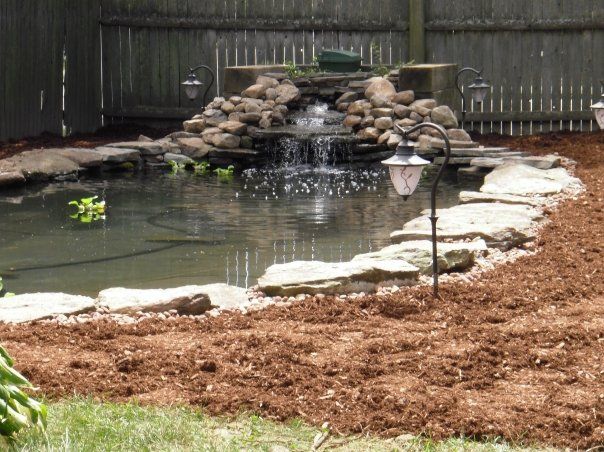
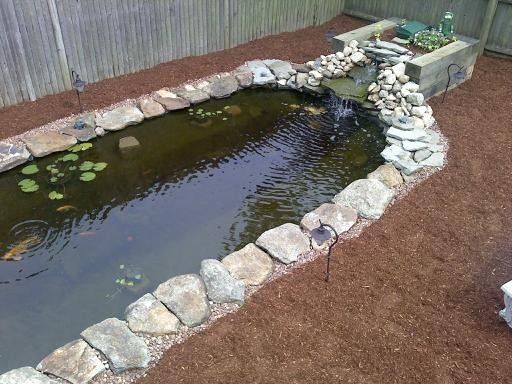
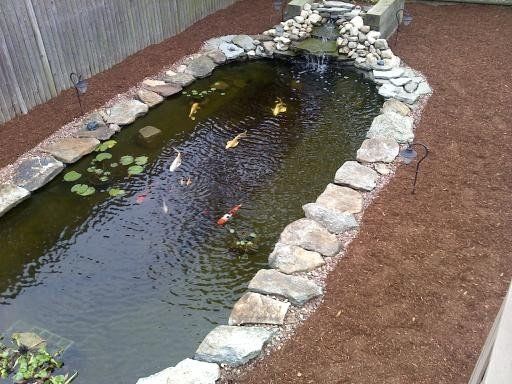
For those of you that didn’t see this posted on MLS here is my latest pond build that I did back in 09:

I wanted to post some pic’s on my pond build that I did a few years ago, this will be incorporated into my new garden railroad that I plan on building this year finally!
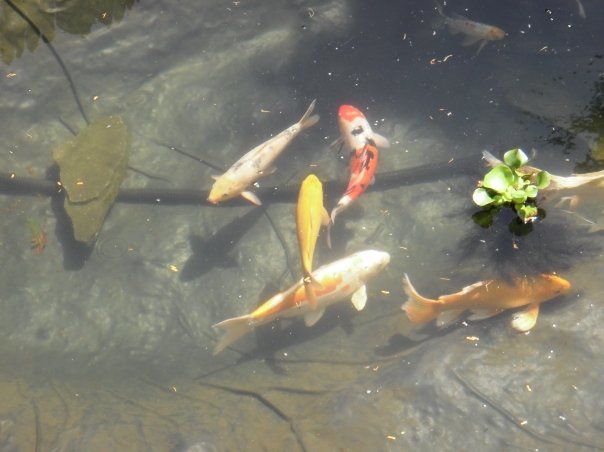
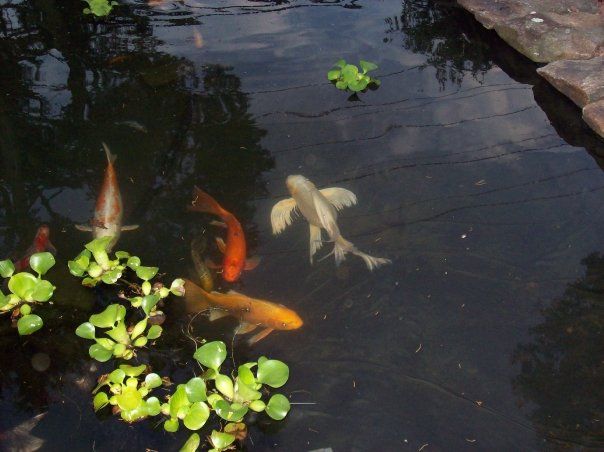
When I had the pleasure of getting divorced 5-years ago about the only thing I managed to keep was my fish!
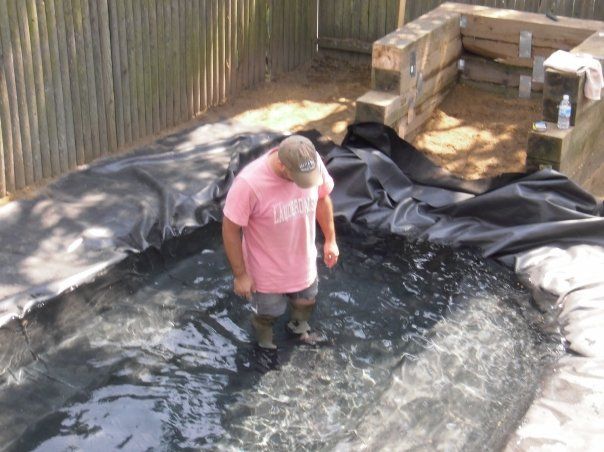
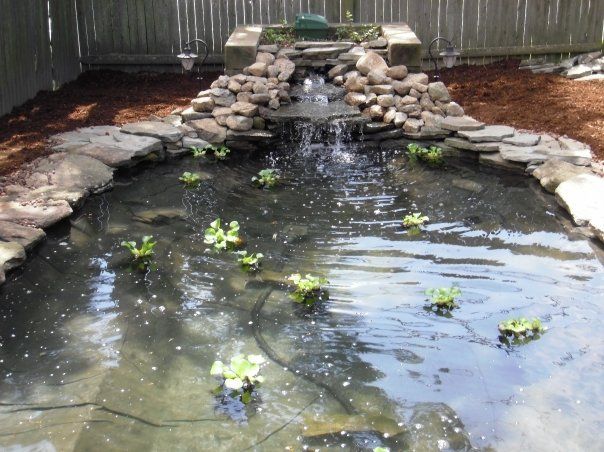
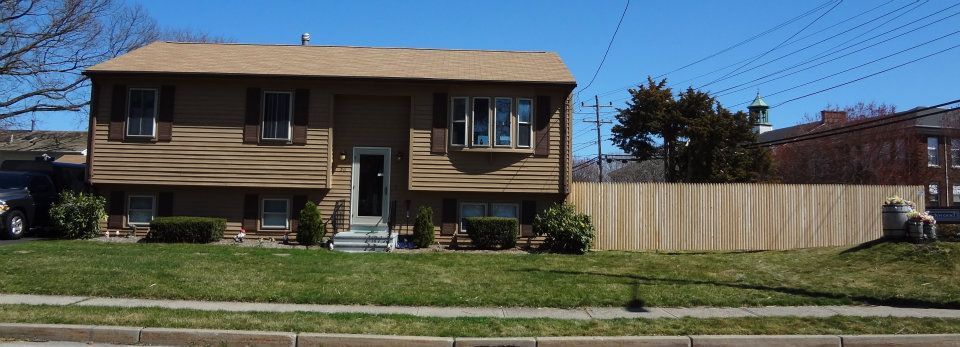
So that meant as soon as I could find a new to me house the first thing I had to do was build a new pond so I could give my fish a new home. I also had to have the old fish pond(s) and garden railroad removed from my previous home (lots of fun).

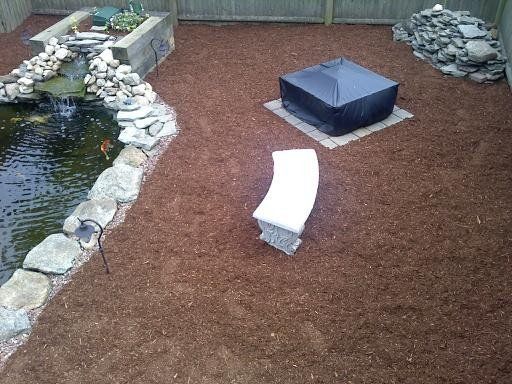
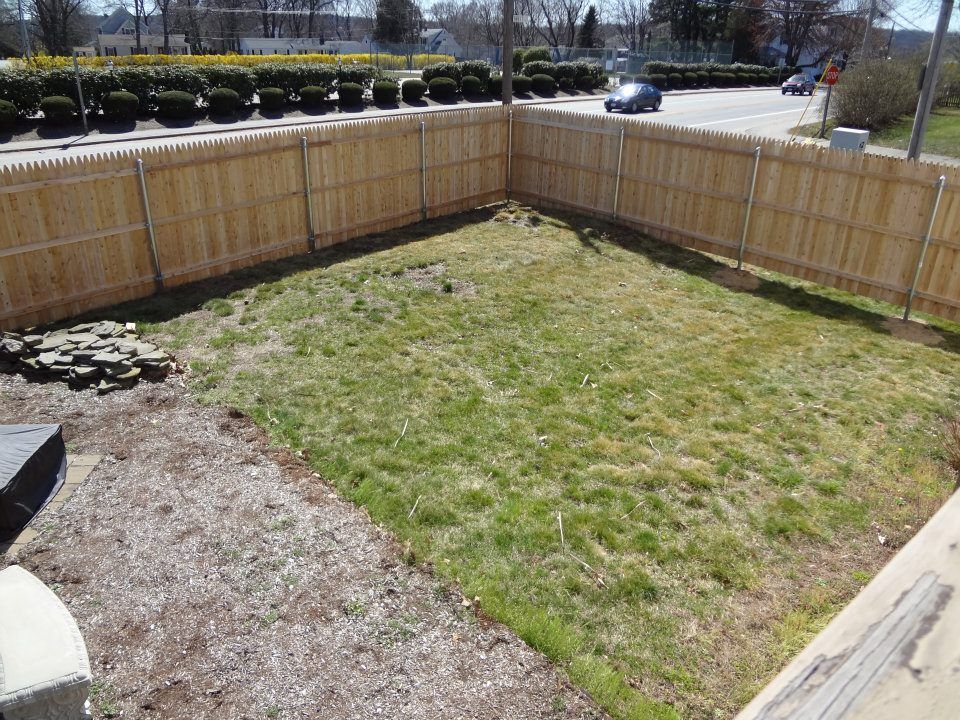
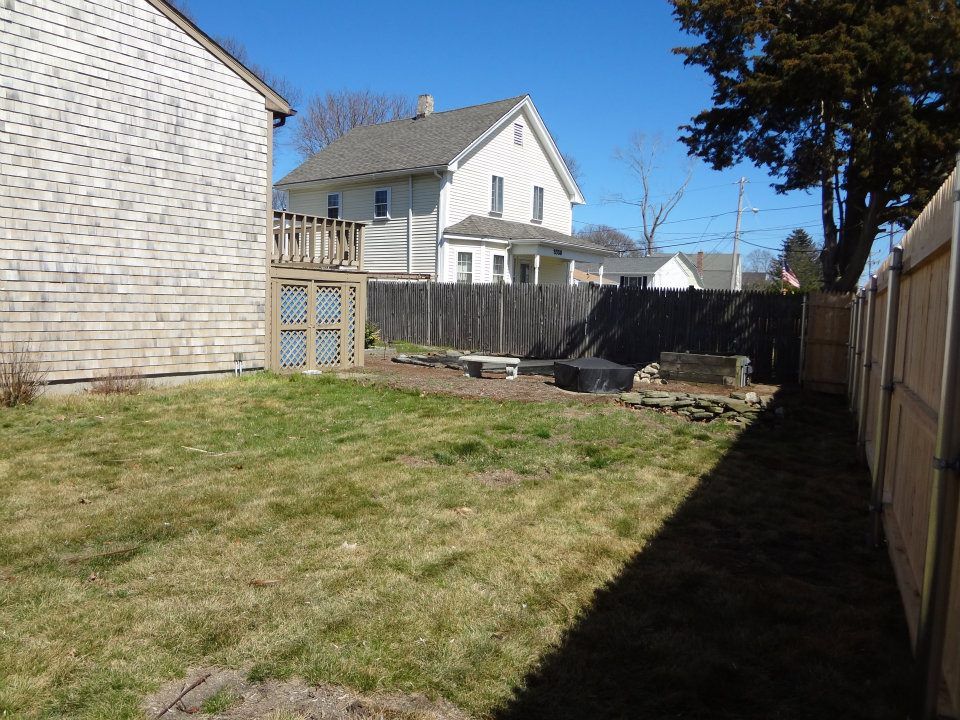
My new yard is not the biggest but I will make do with what I have and hopefully have a fun and interesting layout.
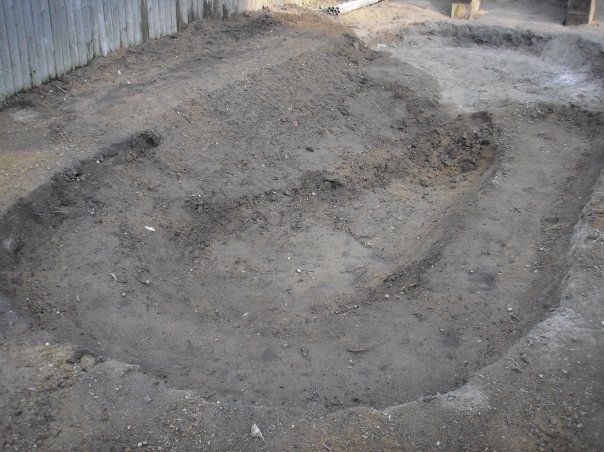
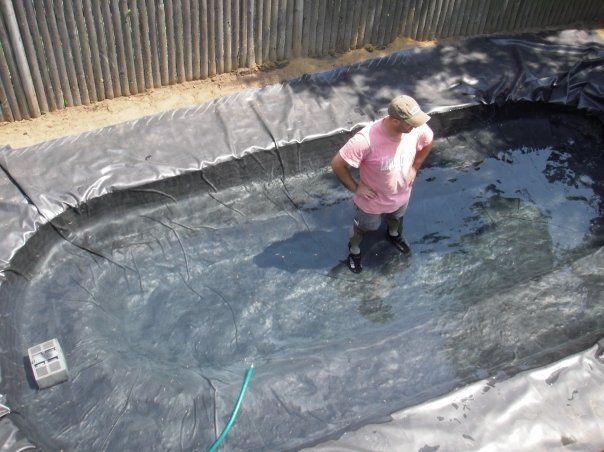
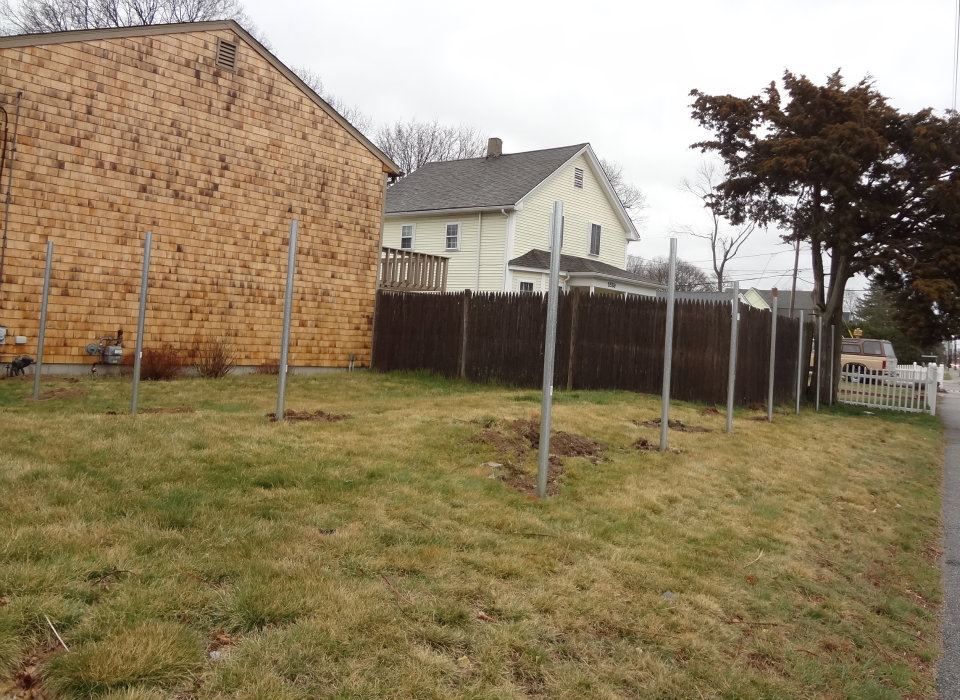
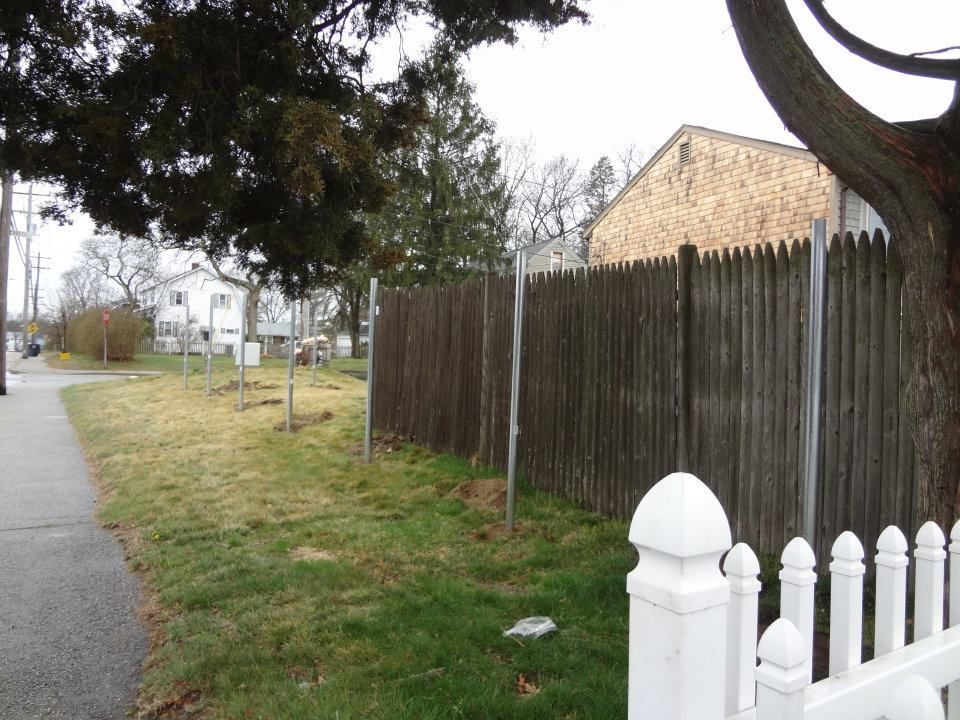
First thing I had to do was rent a sod cutter and remove all the grass in the area.

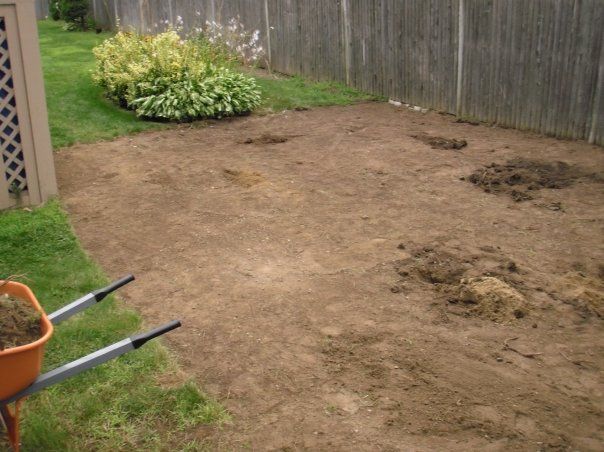
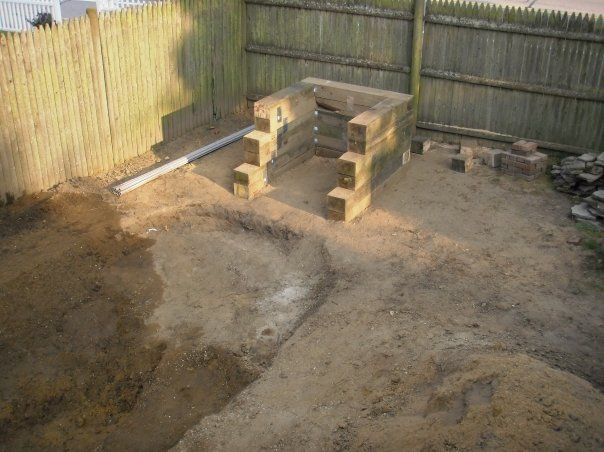
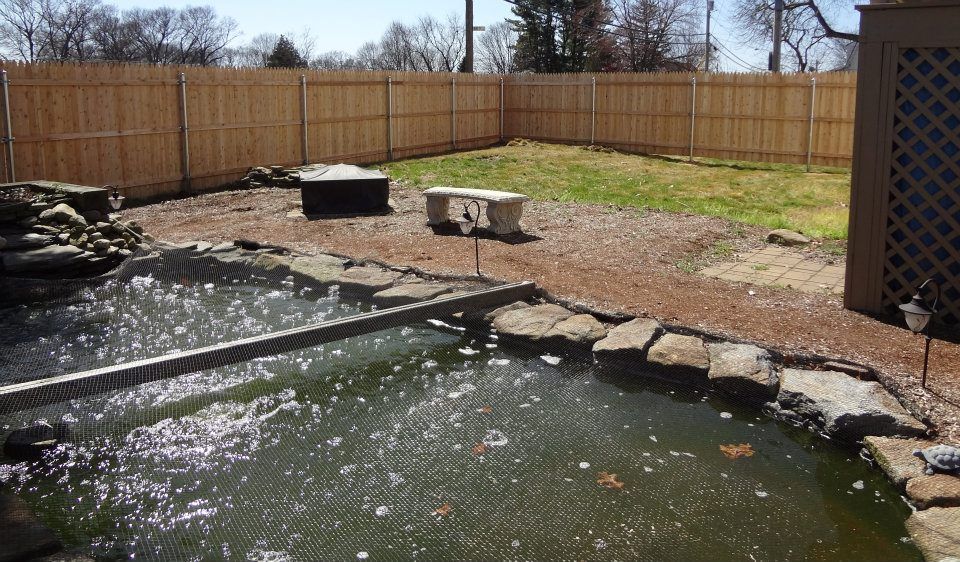
Then I had to move over from the old pond all of the stone without having the old pond cave in!

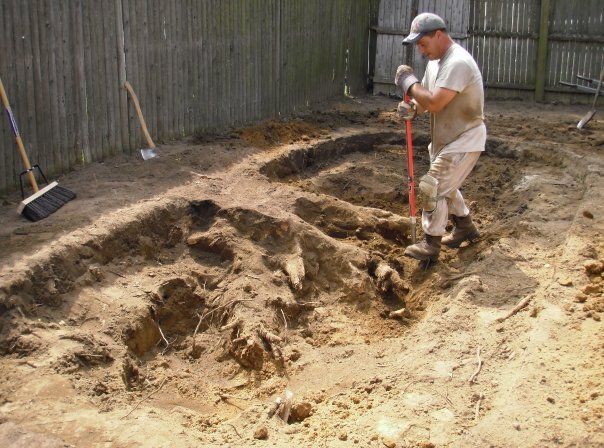
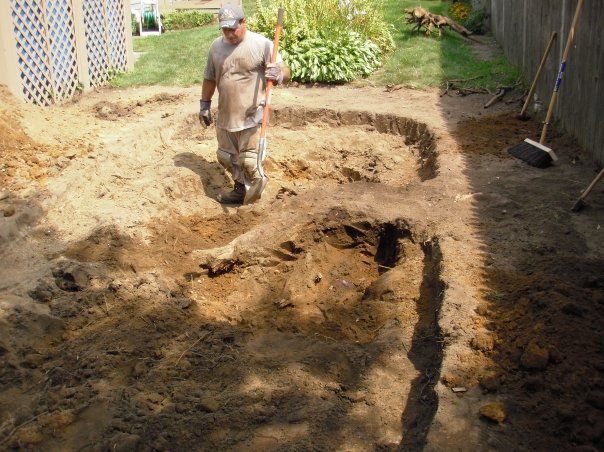
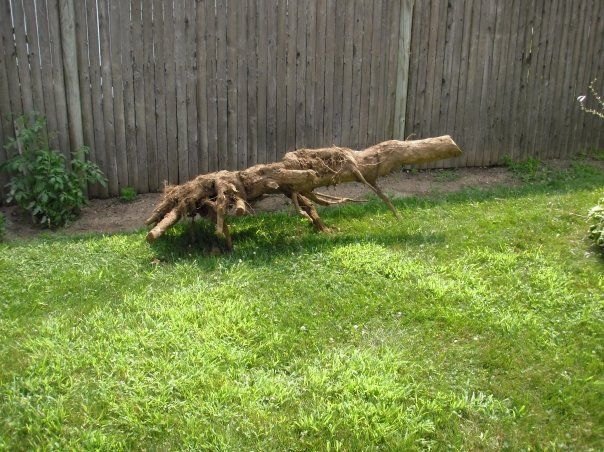
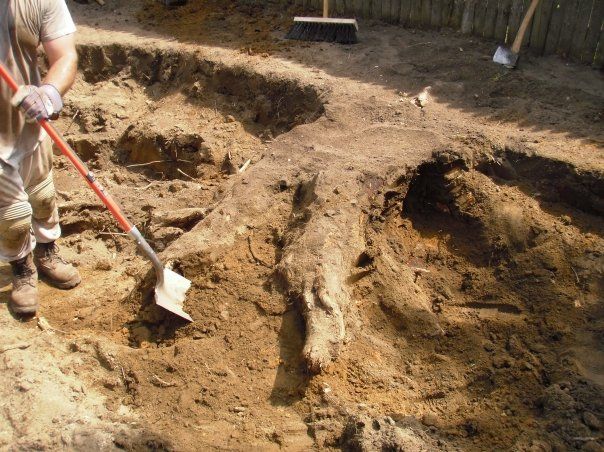
Then the fun of digging and finding something that would turn out to be a major PIA!.

Yes, we un-earthed a HUGE tree stump…lucky me!

Here is one of the small roots we managed to get out…

(http://i18.photobucket.com/albums/b107/139vinny/New%20Pond/Newpond6_zps15f1bcac.jpg)

We tried hard getting it out, but it was too much and had to call in a tree service to grind the stump out.

(http://i18.photobucket.com/albums/b107/139vinny/New%20Pond/Newpond7_zps7f0c661b.jpg)

So after that mess was over it was on to building the waterfall area.

(http://i18.photobucket.com/albums/b107/139vinny/New%20Pond/Newpond8_zps9636acd5.jpg)

And rebuilding the side wall of the pond that was taken out by the stump grinder.

(http://i18.photobucket.com/albums/b107/139vinny/New%20Pond/Newpond9_zps7f52fe17.jpg)

On to adding the liner and some water, I figured it would be best if I stayed in the pond while it was filling up!

(http://i18.photobucket.com/albums/b107/139vinny/New%20Pond/Newpond10_zps40fa9012.jpg)

(http://i18.photobucket.com/albums/b107/139vinny/New%20Pond/Newpond11_zpse3f4fff9.jpg)

Started making the waterfall…

(http://i18.photobucket.com/albums/b107/139vinny/New%20Pond/Newpond12_zpsa2f18dca.jpg)

Adding some stone around the edges…

(http://i18.photobucket.com/albums/b107/139vinny/New%20Pond/Newpond13_zpsa6bc4c22.jpg)

Starting to look like a pond!

(http://i18.photobucket.com/albums/b107/139vinny/New%20Pond/Newpond14_zps9545ffbe.jpg)

Finished up the waterfall area and stone, added some lighting, decorative small stone and mulch.

(http://i18.photobucket.com/albums/b107/139vinny/New%20Pond/Newpond15_zps0ca554bc.jpg)

(http://i18.photobucket.com/albums/b107/139vinny/New%20Pond/Newpond16_zps4aaccc78.jpg)

(http://i18.photobucket.com/albums/b107/139vinny/New%20Pond/Newpond17_zpsed9abf6a.jpg)

(http://i18.photobucket.com/albums/b107/139vinny/New%20Pond/Newpond18_zps10099b67.jpg)

(http://i18.photobucket.com/albums/b107/139vinny/New%20Pond/Newpond19_zpse51b3b88.jpg)

Went and rescued my fish!

(http://i18.photobucket.com/albums/b107/139vinny/New%20Pond/Newpond20_zps1c3addea.jpg)

(http://i18.photobucket.com/albums/b107/139vinny/New%20Pond/Newpond21_zpsf9ac1228.jpg)

Added a bench & fire pit…

(http://i18.photobucket.com/albums/b107/139vinny/New%20Pond/Newpond22_zps3a3d3486.jpg)

Finished!

(http://i18.photobucket.com/albums/b107/139vinny/New%20Pond/Newpond23_zps7595a666.jpg)

(http://i18.photobucket.com/albums/b107/139vinny/New%20Pond/Newpond24_zps4195ee11.jpg)

Pond measures 18’ long x 8’ wide (water surface) and is 2’ deep, which is deep enough for my area for the fish to survive in the winter months. Total build time start to finish was 5-days, that includes the day wasted waiting for the tree service to come and grind the stump out of our way! I think my girlfriend made more trips to get me water to drink and towels to wipe sweat away as of course I did this on the hottest week of the summer of 09. The temperature all week was 95 to 98 degrees with of course 100% humidity!

Here are some pic’s of the enlarged side yard where the layout will eventually go. We had to remove and add some fencing to make the yard larger, should have plenty of room now for a decent layout.

(http://i18.photobucket.com/albums/b107/139vinny/New%20Pond/S1_zpsf806807d.jpg)

(http://i18.photobucket.com/albums/b107/139vinny/New%20Pond/S2_zpsb70f884f.jpg)

(http://i18.photobucket.com/albums/b107/139vinny/New%20Pond/S3_zps57f10b1e.jpg)

(http://i18.photobucket.com/albums/b107/139vinny/New%20Pond/S4_zps8760fab9.jpg)

And come this spring / summer here is where the trains will go!

(http://i18.photobucket.com/albums/b107/139vinny/New%20Pond/S7_zps5b988fbe.jpg)

(http://i18.photobucket.com/albums/b107/139vinny/New%20Pond/S6_zps402ab12a.jpg)

(http://i18.photobucket.com/albums/b107/139vinny/New%20Pond/S5_zps80afc7a4.jpg)

Looks really great Vinne.

Needs a diving board…:wink:

Great job!

Ken Brunt said:

Needs a diving board…:wink:

Great job!

That’s coming this summer when I get my bridge across it! I figure plenty stuff should fall in!

Very Nice!

Vincent D’Agostino said:

Ken Brunt said:

Needs a diving board…:wink:

Great job!

That’s coming this summer when I get my bridge across it! I figure plenty stuff should fall in!

Looks great! A good reason to put guard rails and walkways with railings on the bridge. Last I knew, locomotives don’t swim well ":]

Very nice.

Jon Radder said:

Vincent D’Agostino said:

Ken Brunt said:

Needs a diving board…:wink:

Great job!

That’s coming this summer when I get my bridge across it! I figure plenty stuff should fall in!

Looks great! A good reason to put guard rails and walkways with railings on the bridge. Last I knew, locomotives don’t swim well ":]

Here is the bridge I have built for the pond, it is nothing fancy as I am not that great at building things. It should however do the job well and get my trains safely across the pond.

It measures 10’ across.

(http://i18.photobucket.com/albums/b107/139vinny/New%20Pond/Bridge5_zpsb5e16f7d.jpg)

If I could find some type of pre-made hand rail I could install I would certainly get it!

The base of the bridge is actually (2) 10’ pieces of galvanized strut, tied together with (4) cross braces.

The bridge will be self supporting so no braces will be needed in the pond to help hold the bridge up.

In this picture you can see the two pieces of strut that the wood is attached too.

Everything is screwed together from underneath using all stainless screws.

(http://i18.photobucket.com/albums/b107/139vinny/New%20Pond/Bridge1_zps11df96a2.jpg)