I see that Greg is posting about BBT’s chassis and I didn’t want to hijack his thread.
So,
A while back I started a thread asking the driver to driver spacing on Bachmann’s K27.
https://www.largescalecentral.com/forums/topic/28971/k-27-driver-to-driver-distance
Thanks to David Maynard and Joe Zullo for suggesting I contact Barry. Unfortunately, that’s just about the same time we all where informed about Barry’s health. I hope the best for Barry and his family.
And many thanks to Pete Thornton for getting me the dimensions and many modeling suggestions.
My intent was to buy the K27 drive rods from Bachmann and kit bash a 2-8-0 form an old battery powered Big Hauler I bought for $20.00
We’ll y’all, I did.
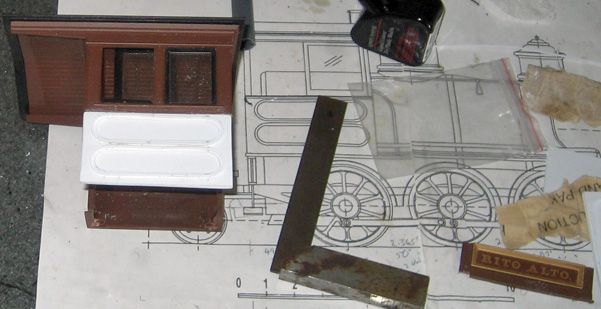
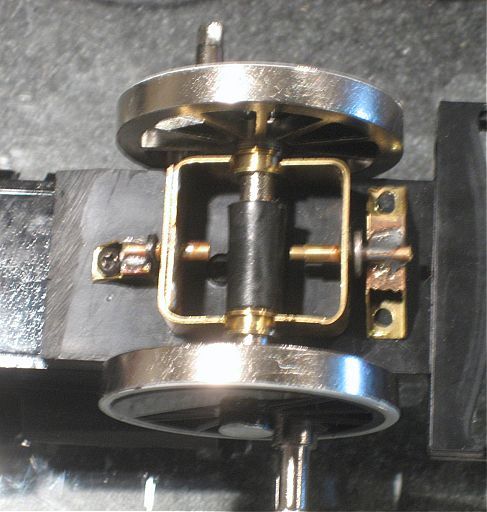
I started with buying the side rods from Bachmann and a couple 12" brass bars and a bar of nylon stock from McMaster-Carr.
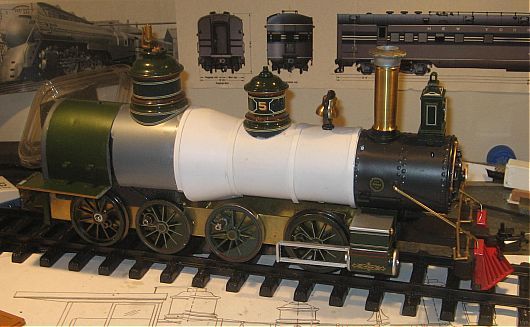
I cut up and used a Bachmann Gen. 5 chassis, I had from one of my many Anniversary chassis change-outs, machined the axle bearing slots in the brass side plates and attached it all to the chassis with nylon blocks, machined from the nylon bar.
I used the Gen. 5 motor, gearbox and flanged rear driver wheel. I also used the front flanged driver with chuff sensor contacts, of which I added two more for proper chuff timing. And two blind drivers in between. I positioned the number 3, blind driver in the same position as the middle driver on the 4-6-0 so the connecting rod would operate without any modifications. The second drive wheel back, also a blind driver, needed to have the rod pin shortened to clear the main connecting rod as the wheel rotates.
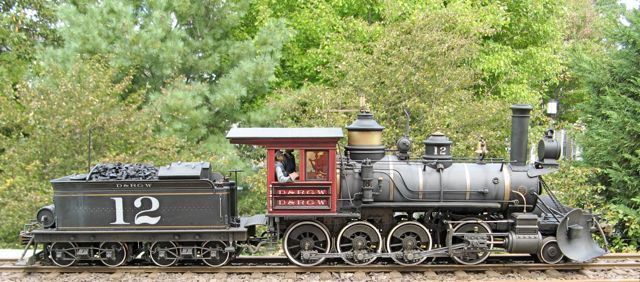
As for other modifications, I removed the air tanks from the locomotive and lowered the front running boards level with the rear running boards. I added a second air pump. new brass hand rails, an Anniversary pilot, modified a broken four wheel pilot truck to a two wheel pilot. I also added an LED light in the cab, head light and added Aristocraft classification lights, also with LED s, to the front of the smoke box. Inside the boiler, I added a Revolution Train Engineer controller and a MyLocoSound sound card, the new blue one. These continue to get better and better for a $79.00 sound card.
As for the tender, I shortened the coal load to make room for an air tank. Added an LED light to the, now offset, rear light. It comes on in reverse. I fashioned air piping and brackets for the air tank. Add a mini 4 pin connector for the speaker and rear light and reused the original two wire connector, that was originally for the speaker, to power the locomotive from a self built 14.4 volt Li-ion battery pack in the tender.
I started this build in December 2018 and the locomotive has been running for at least the past five months.
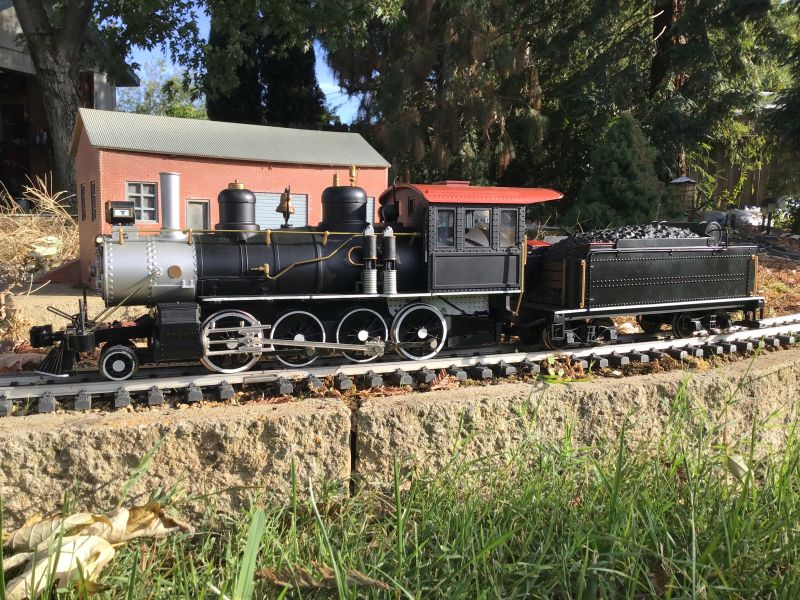
I wasn’t sure how well this would run, so I just started this project with what I had on hand and only bought what I really needed. I also didn’t want to start a build thread in case this didn’t turnout so well. Please go to my freight shed
and you can see the photos I’ve uploaded and the changes I’ve made over time. The photo above was taken today and is the latest and probably the final incarnation, until I apply D&RGW decals.
Below is a video of it running. As you can see, it runs extremely smooth and tracks nicely.
https://www.youtube.com/watch?v=gYFamBDDGPE
I’m very pleased with how this turned out. As a matter of fact, This is currently my favorite locomotive. I’ve run it for probably 25-30 hours and it just seams to run better and better. My other 4-6-0s start moving at about 18-20% on the Revolution controller. This 2-8-0 starts moving at about 14-16%.
Now I just have to figure out what I should number it. I already have a #7 D&RGW
Adam


