Large Scale Central

My take on manual remote switch operation

I have several locations on my indoor railroad that have manual switch machines that are out of easy reach. While building the expansion of Willow Hill this winter I decided to try a twist on the Choke Cable throw. I’m not knocking what Fred and Crew have done up on the I.P.P.&W., but I wanted something that worked a little smoother and used a ‘scale’ machine. I’ve had a little exposure to RC airplanes and thought that the tried and true method to attach control surfaces to servos would work well for switches. It took some trial and error but in the end it works flawlessly.

I began my quest at the local hobby store. He had this carbon fiber control rod set in stock. One factory sealed and one missing parts. I bought the sealed one and he threw in the open one for free. This is a common brand name in the RC plane game, so they should be available most anywhere…

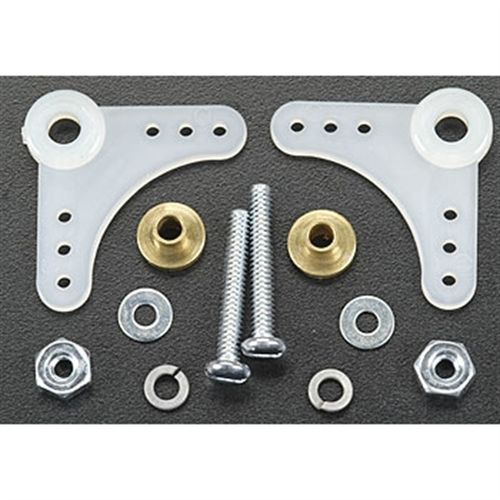
I experimented with home-made bell cranks made from hardware corner reinforcements, but operation wasn’t smooth enough for me so I put another $3 in the budget an picked up a couple of bags of the Dubro 90 degree Bell Cranks - Part #DUB167

I am also using Bachmann Large Scale switch throws which work great. I’m going to be hunting for more at the ECLSTS this week.

The switch I chose had a broken throw bar, so the first step was to repair and reinforce it with a small brass strip drilled to fit…

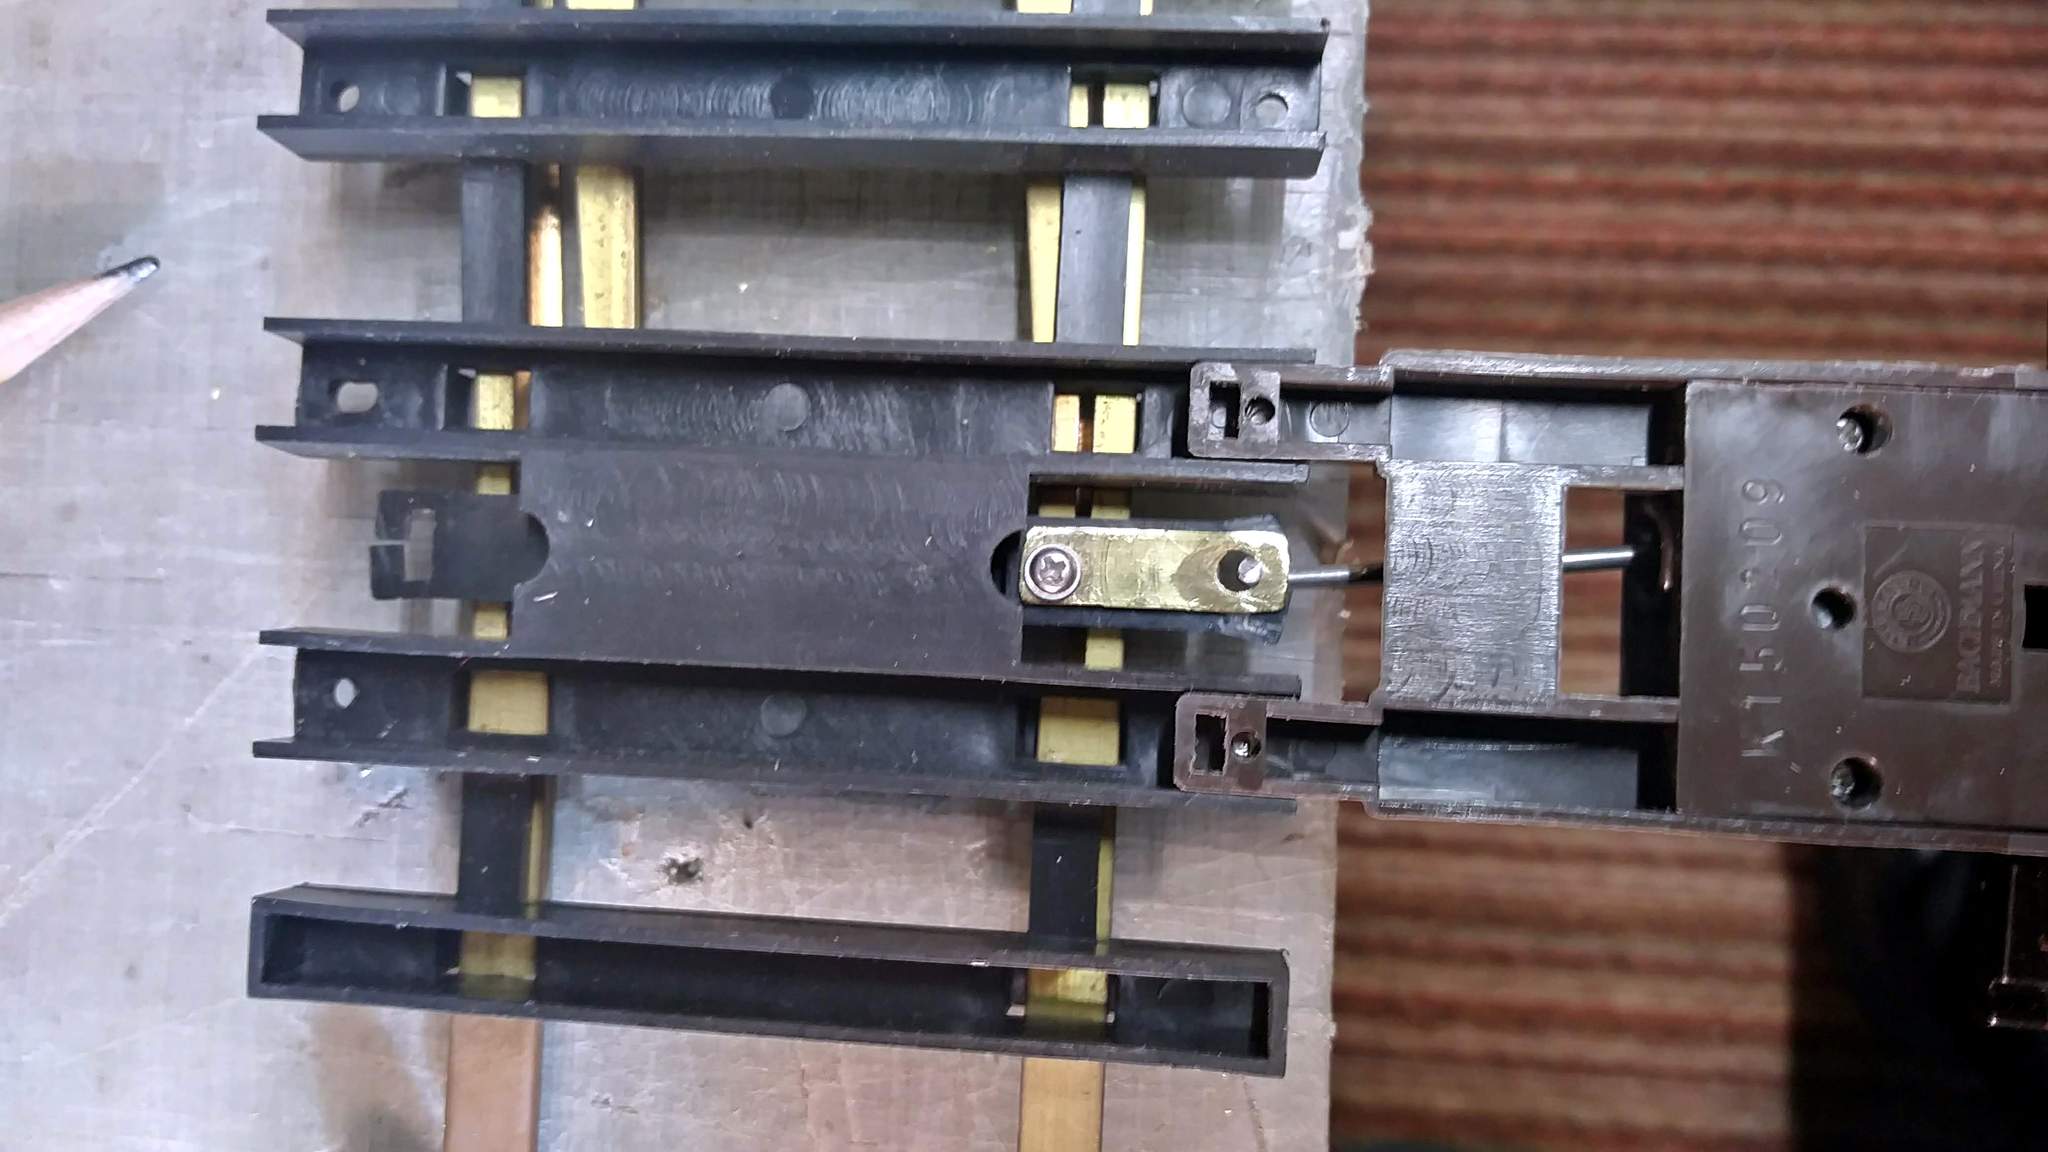
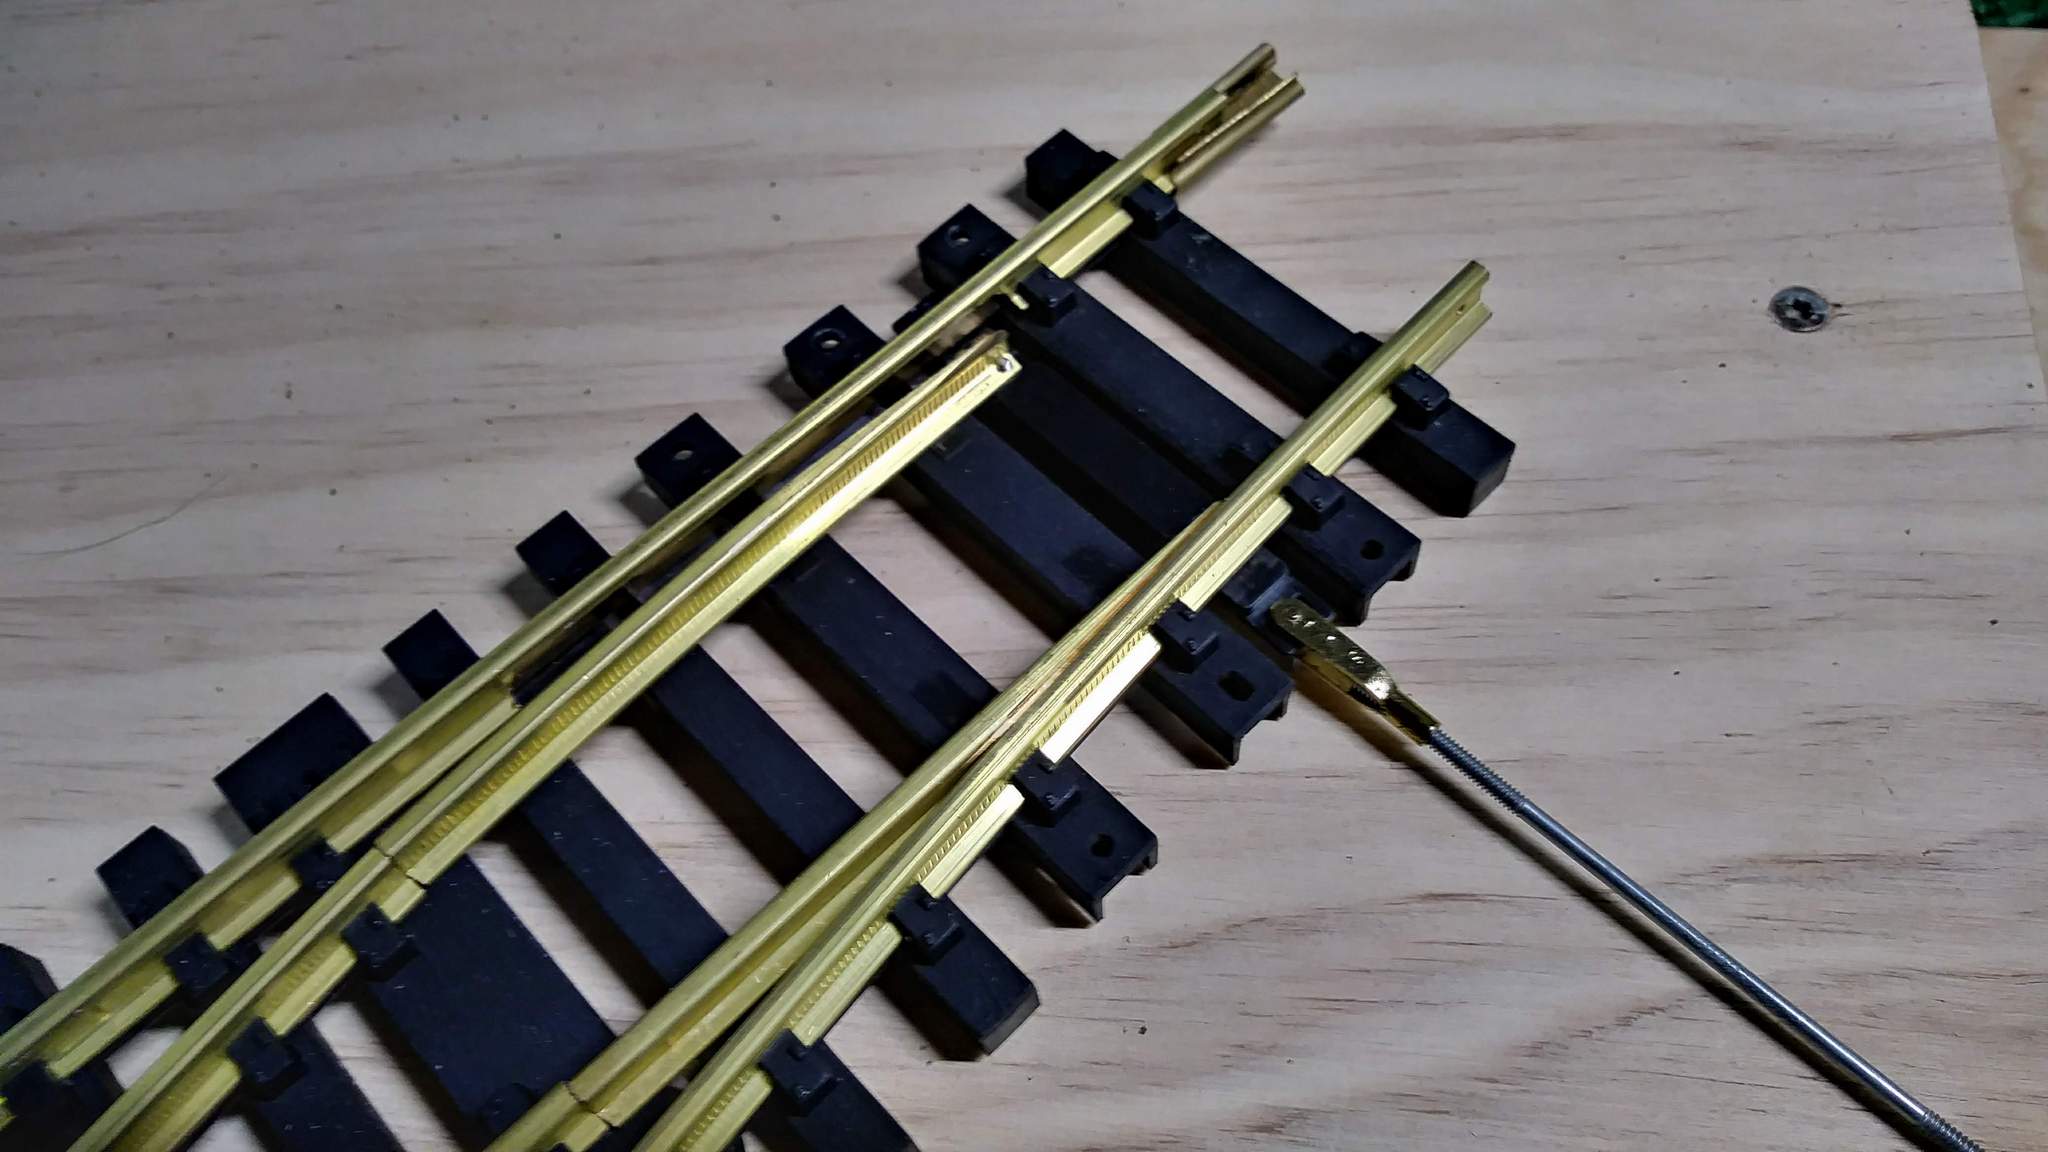
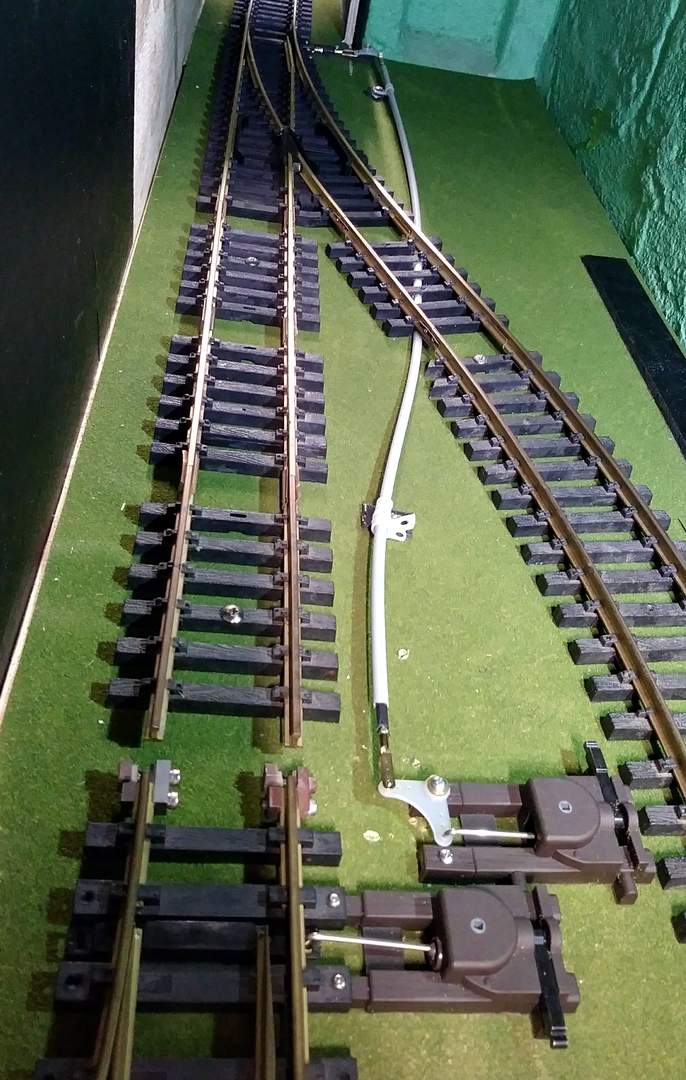
The machine was removed and a brass clevis that was included with the rod was attached to the throw bar with the included solid rod…

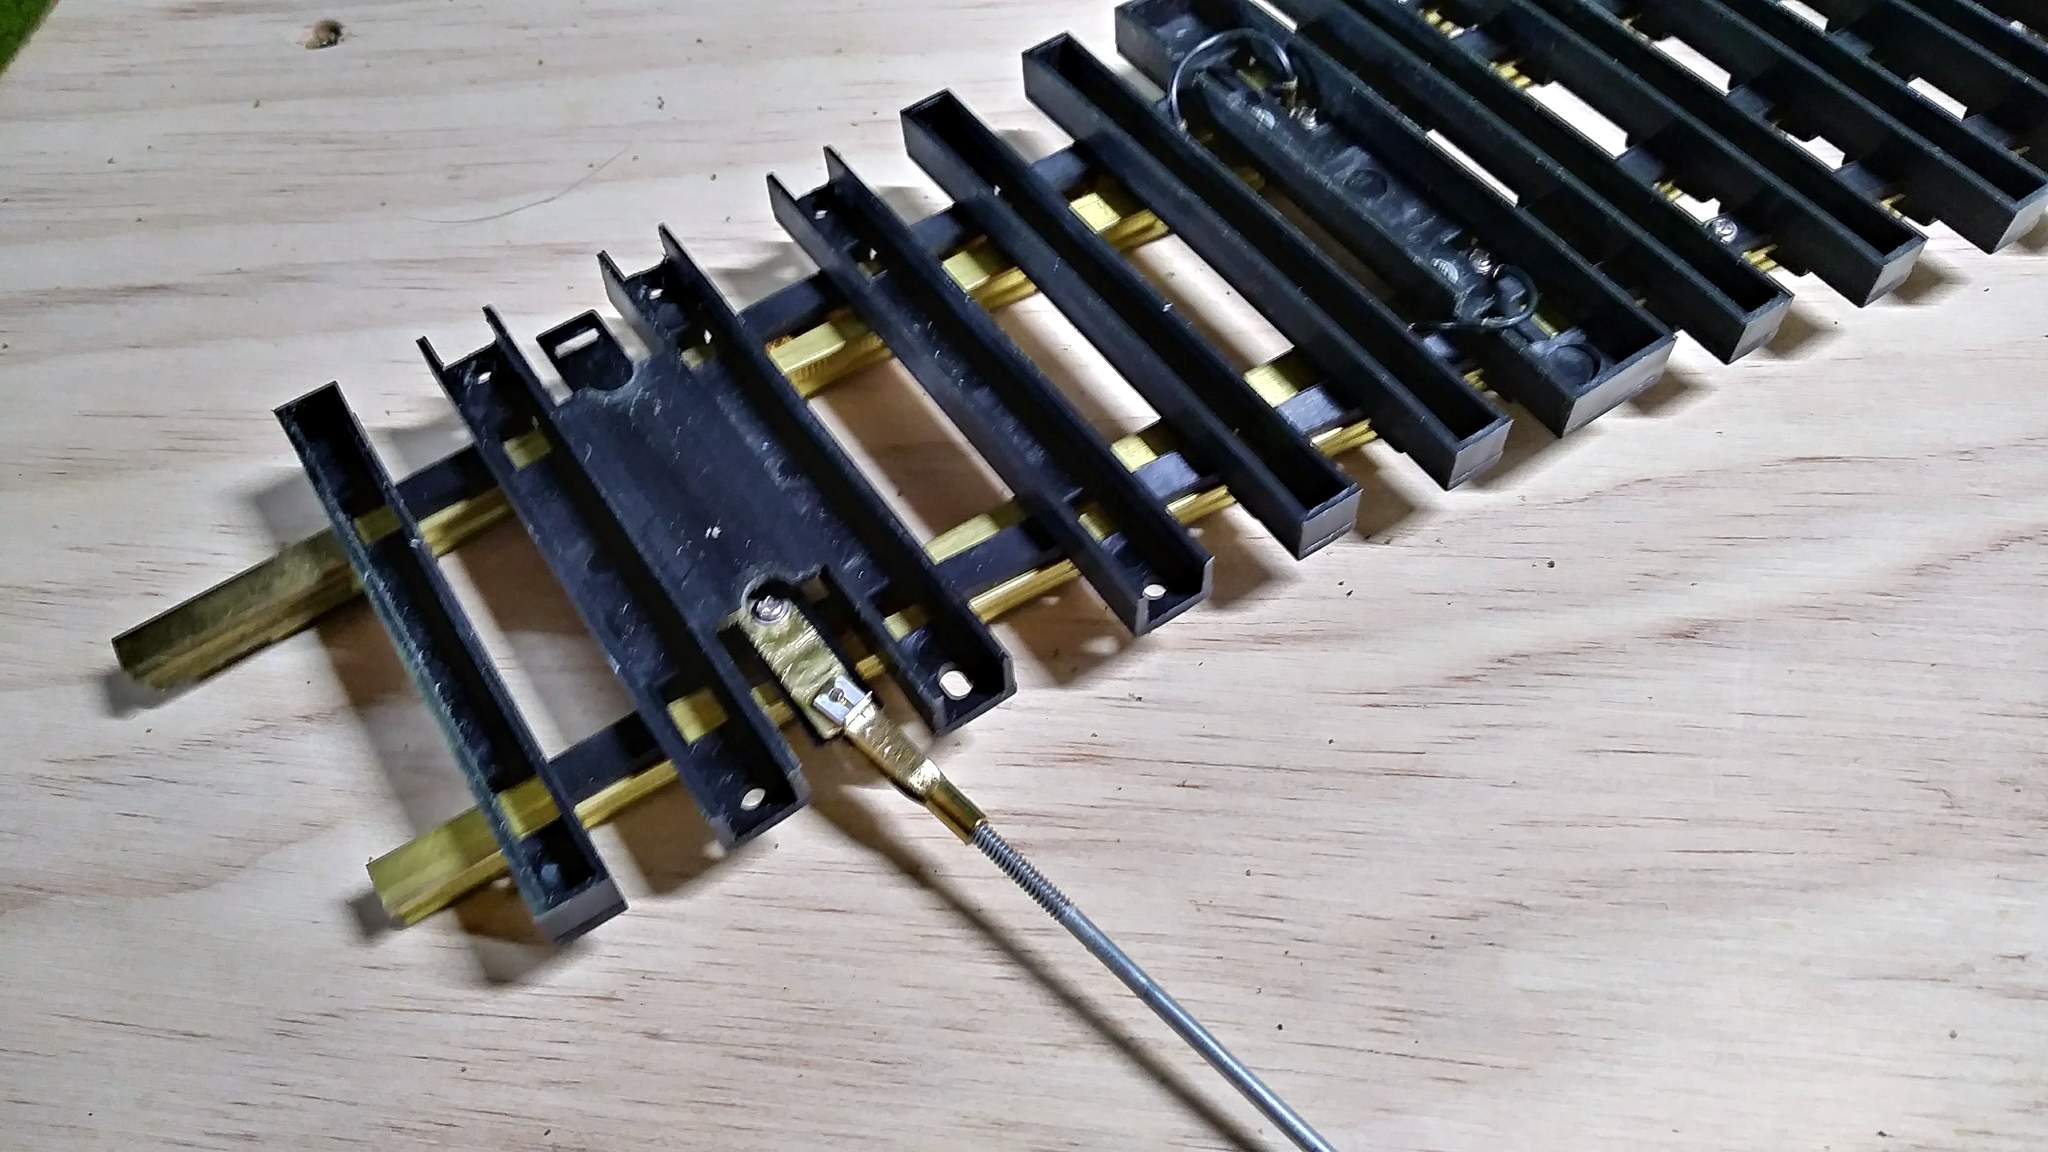
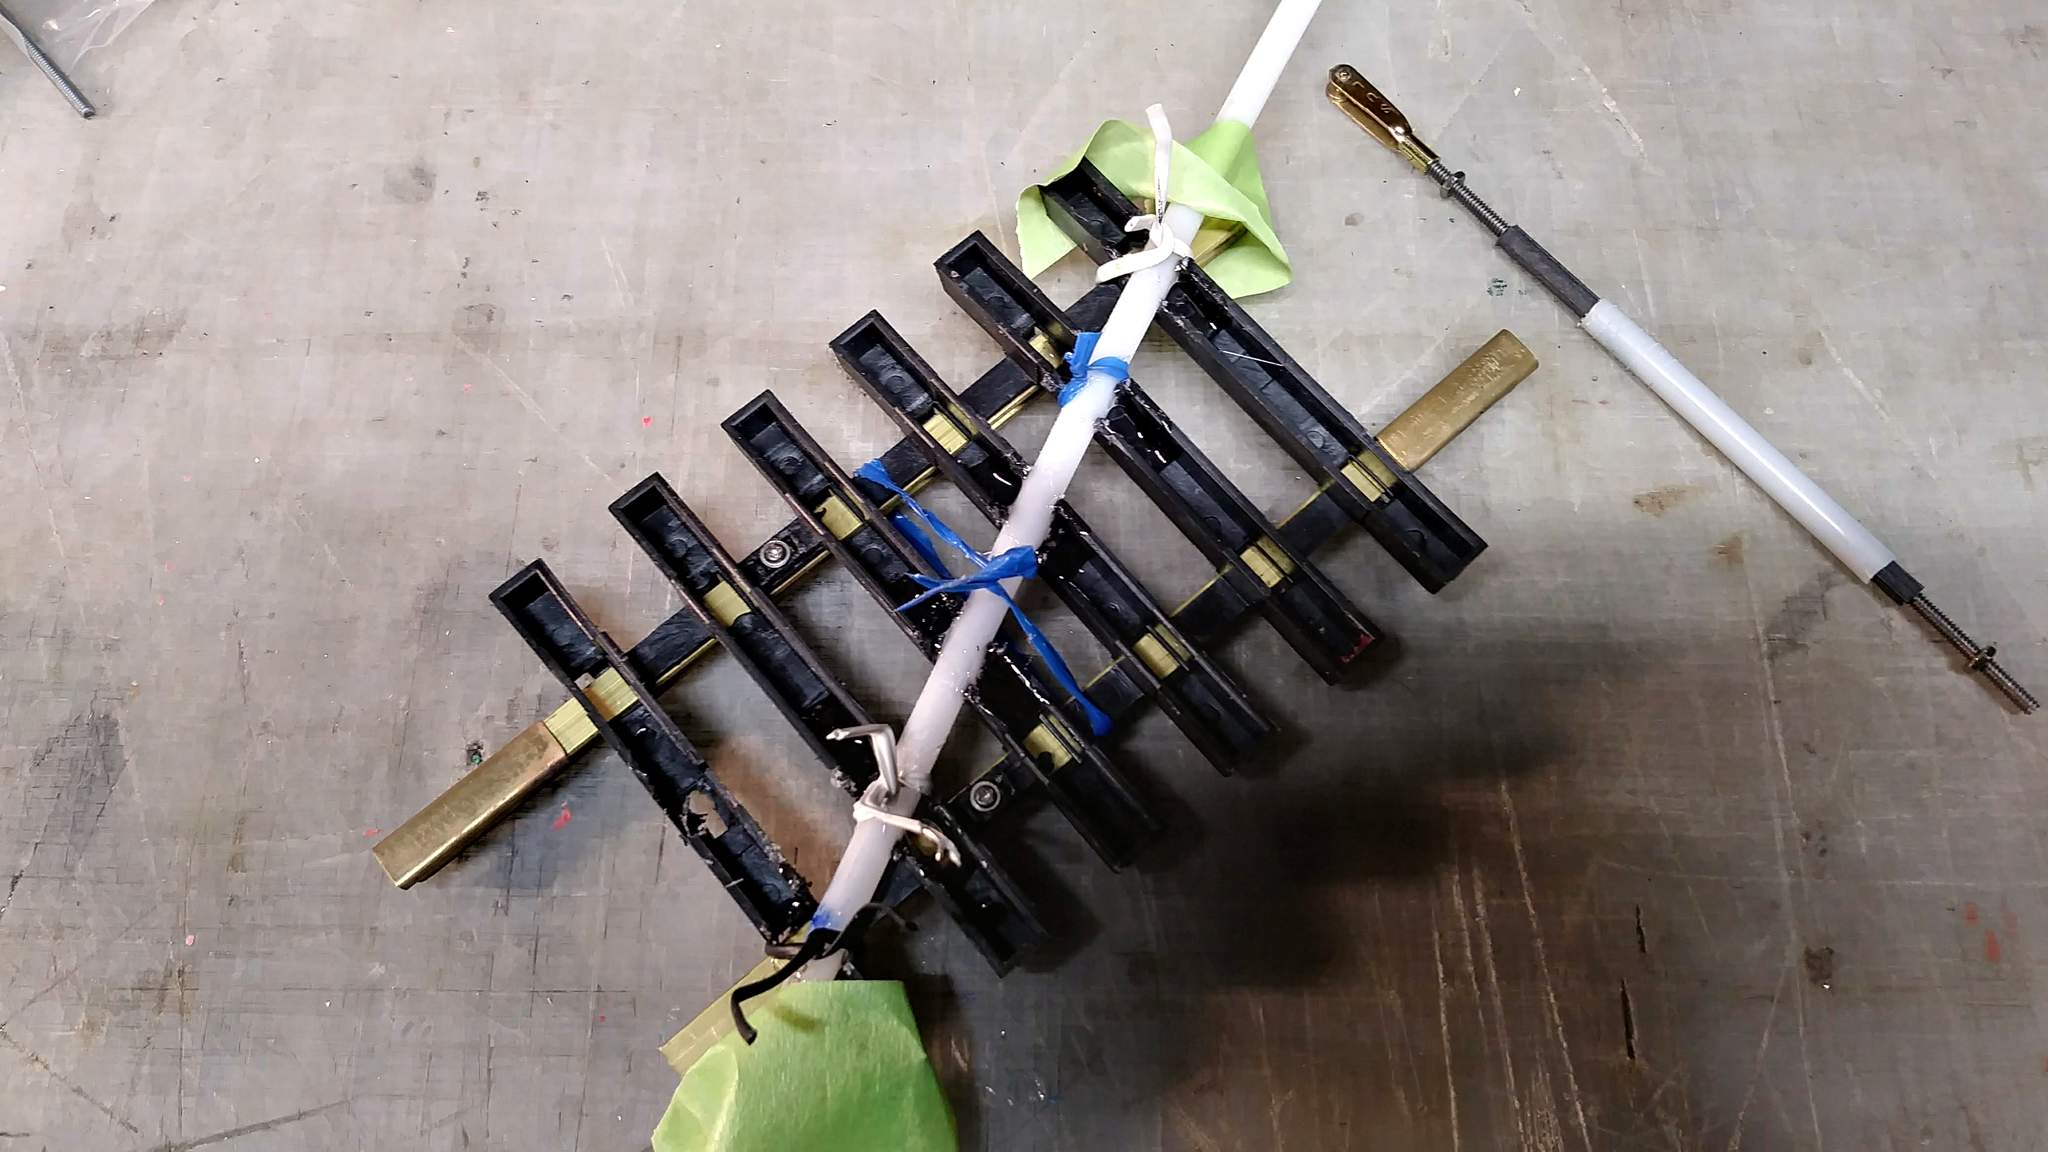
In my application, the rod will need to pass under a track, so the ties were notched out and the rod cover glued in place with E2000. The tape and bread ties are to hold the cover while the glue cures…

While the glue was curing, I set up a breadboard for testing on a small piece of plywood, attached a switch, and started playing…

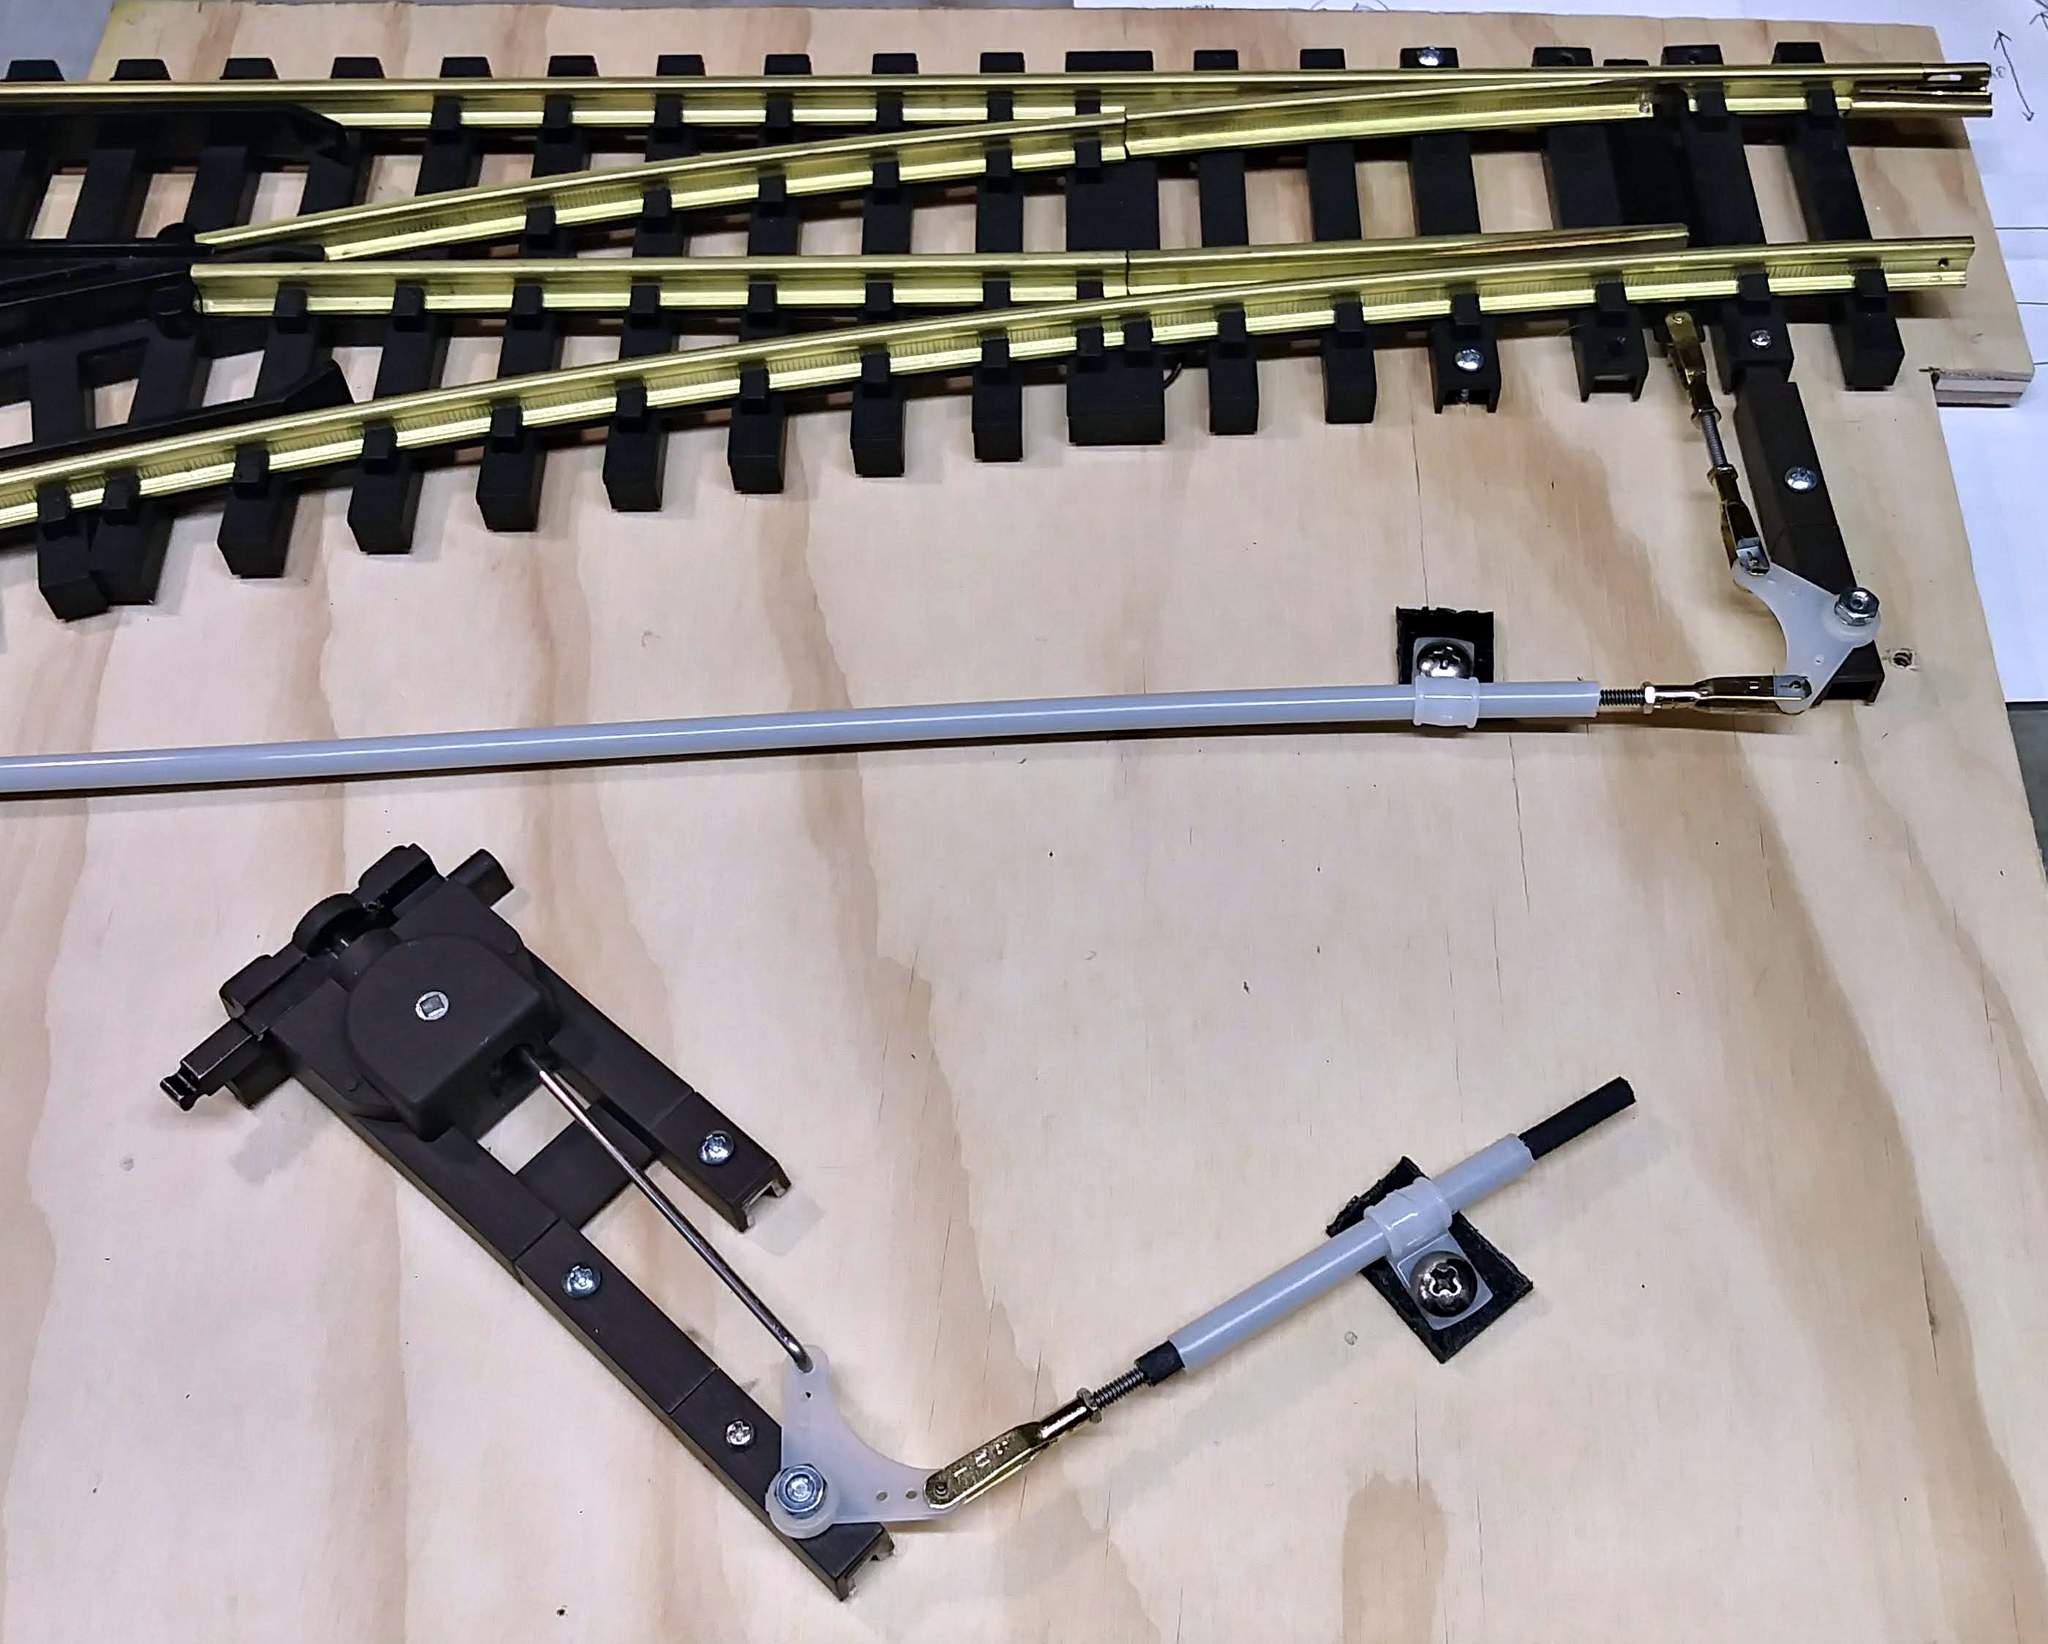
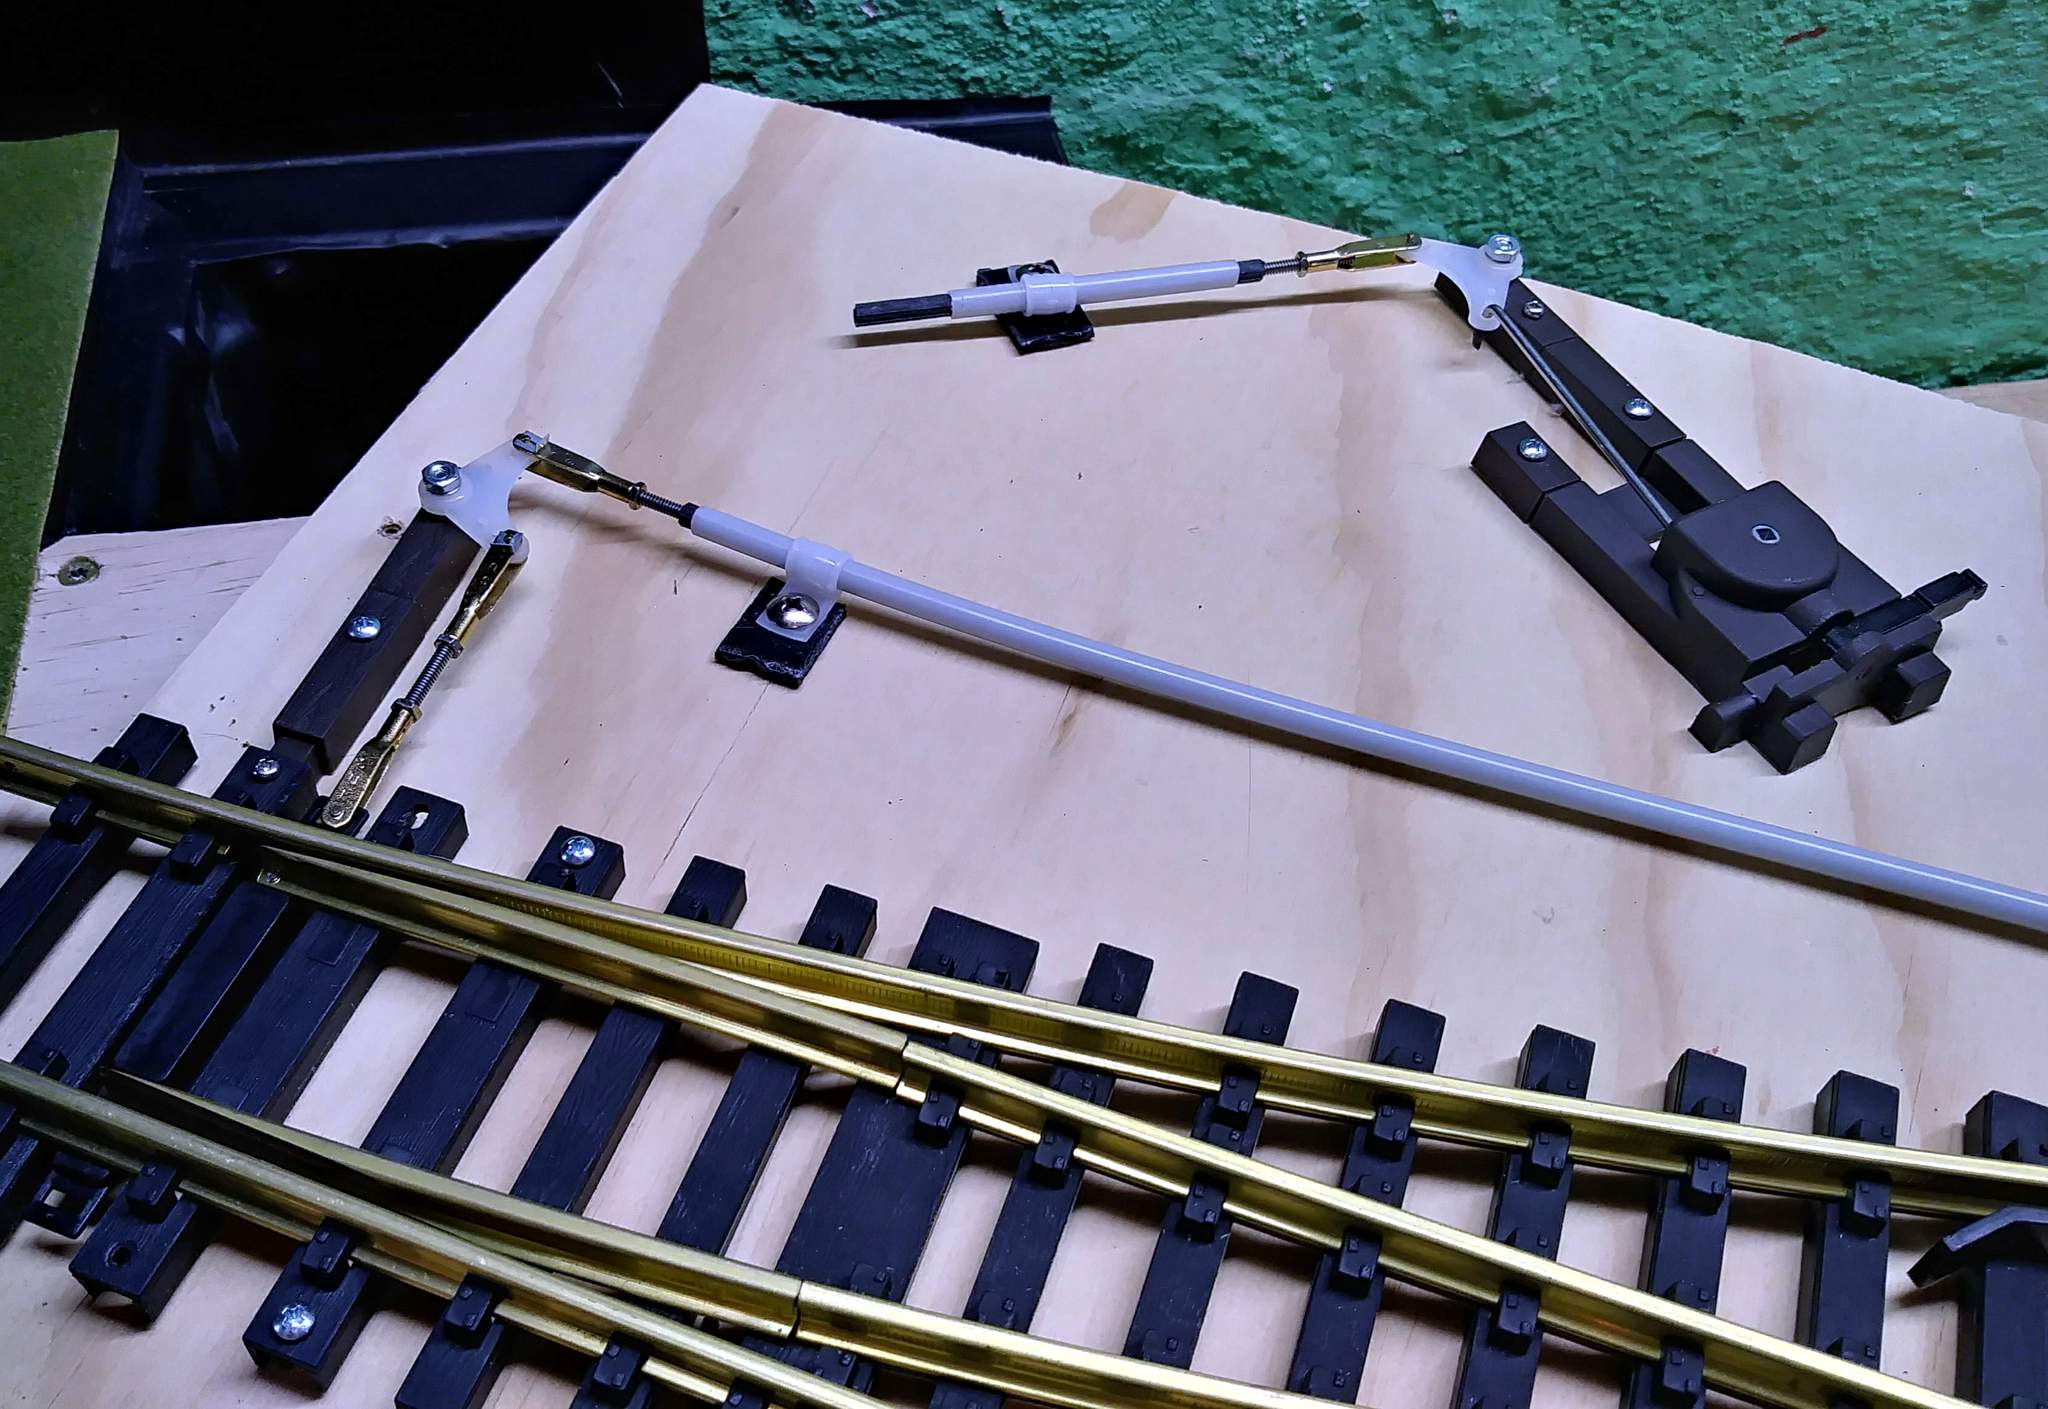
The above test was purely to prove theory and required some changes before I realized smooth operation. As soon as the new bench work was ready, the switch was placed for operational testing. I needed to work out some issues of uneven throw which were directly related to not mirroring the angles created by the bell cranks. Once I got that sorted out the throw worked great. Here are some early shots just after tweaking was complete…

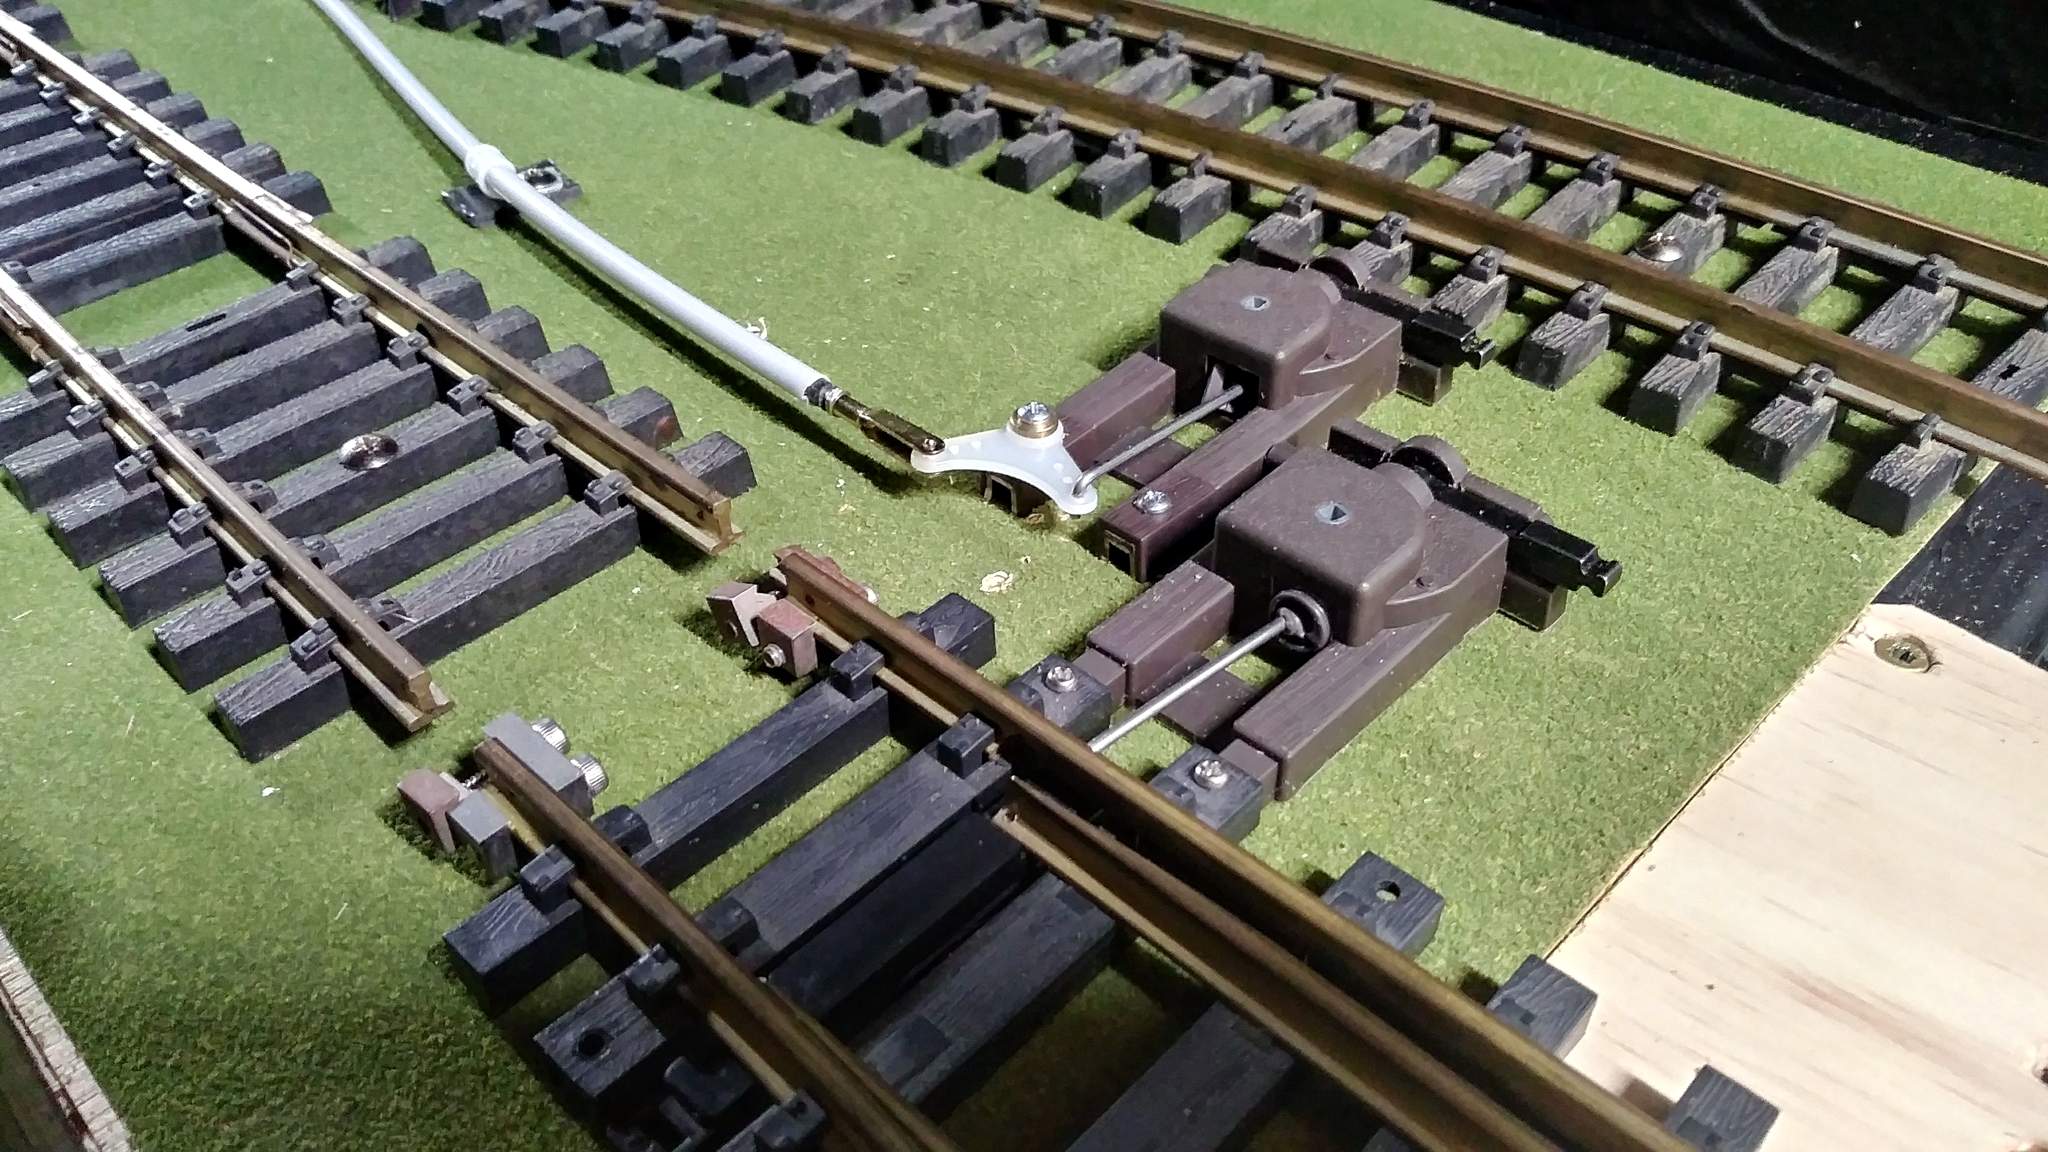
I would rather not have the machines so close together, but fixing that would require taking it all apart for the third time to shorten the outer cover and the rod. I got lazy, filled that gap in the track, and called it done…

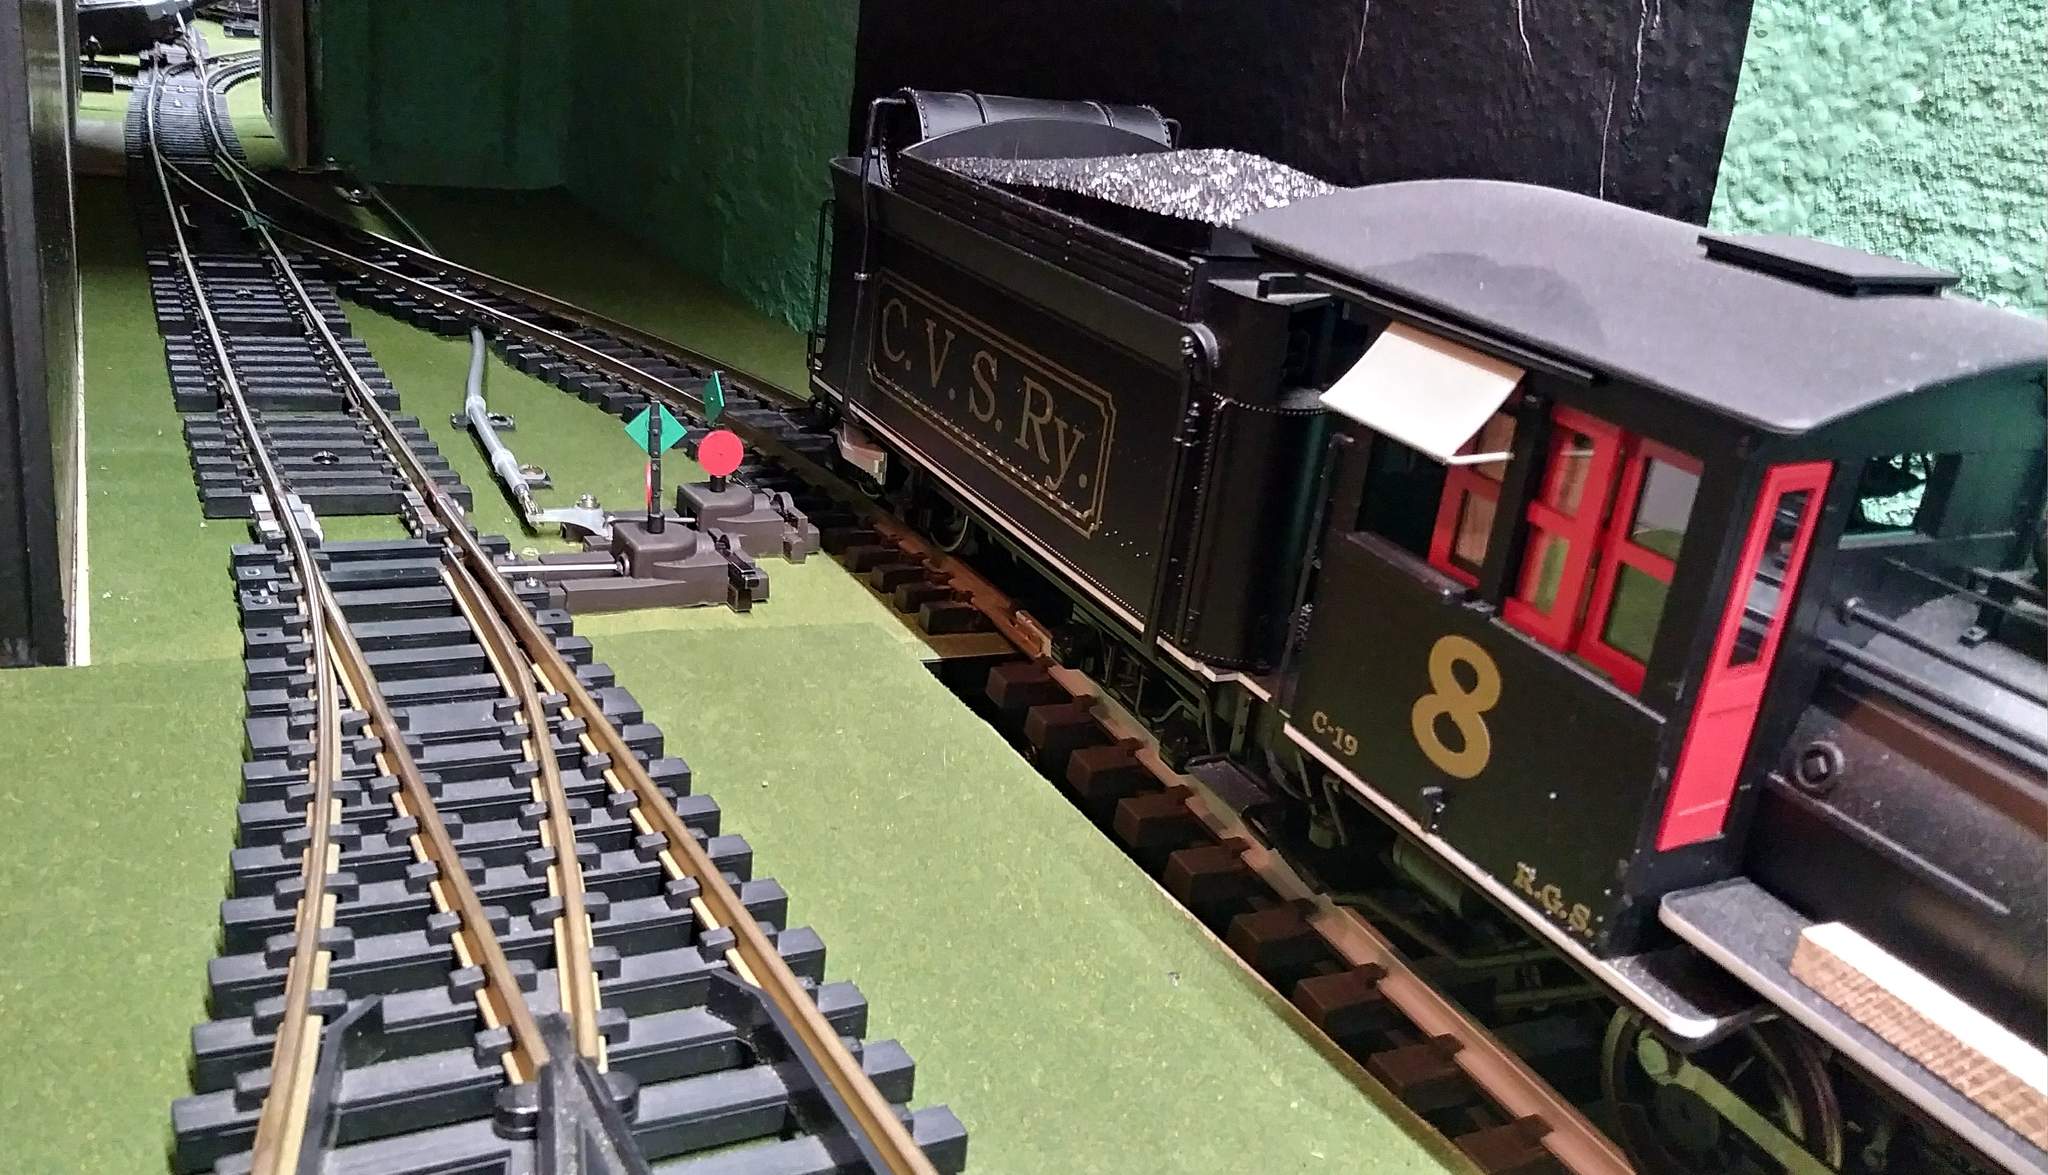
Now that it’s done and has proven very useful during operations. I have several other places where this method would help. Installing more of these is on the agenda! I might also think about using the same method for a tall mount outdoors for ground switches.

Jon, The above is much appreciated, as I have a couple of switches that are hard to reach on the bottom portion of my inside layout…

Your process seems to be a fitting application for those switches…

Thanks

Andy

Thanks Andy. Hard to see in this old pic, but for the switch against the wall (3rd track) on this early version of Willow Hill, I simply used a round dowel attached to the throw-bar with wire. It’s flat on the bench just past the middle shelf support - in front of the box car. Pull or Push the dowel to throw the points. Not fancy at all, but it worked! The new method is a lot cooler!

Wow Nicely done Jon and it looks great.

I had a similar problem outdoors at the far side of my WYE where the switch is located under a tree. I wasn’t at an angle like yours so I used plastic tubing that came in 4’ lengths and I used a greased wire that was inserted, bent to a T handle at one end and a 90 degree bend at the other that was placed into the switch throw arm. I secured the switch and the tubing with wood stakes and it works.

Your setup is so much nicer.

Thanks Tod. Not sure this stuff would be good outside. Water could easily enter and live in the splined inside rod, Freeze would probably split the outside tube. If I do use it outside, the sleeved part will likely only be vertical.

We use automotive “Choke cables” all the time out-of-doors, BUT…we see no pleasure trying to operate out-of-doors, in below freezing temperatures, let alone running in circles in the snow (Which isn’t the same scale as our railroad equipment), so don’t have any problems.

Fred Mills

Thanks Fred. I’m sure you noticed that I did credit your choke cable system as the inspiration for this method. I’m not worried about winter operation either. Those days are over for me!

I used choke cables to link the crossover switches on my HO module. Since they should get thrown together, I linked them with a choke cable so they always throw together.

Non scale snow? Oh My! (https://www.largescalecentral.com/externals/tinymce/plugins/emoticons/img/smiley-yell.gif)

Jon, Is there a grommet to seal the rod/casing area, I think this would work great for my outdoor switches and would not have the rust worry and are probably way less expensive than choke cables. and by having them in straight lines from the switch I wouldn’t need the bell cranks. Thanks for the pictures and the explanations

Pete Lassen said:

Jon, Is there a grommet to seal the rod/casing area, I think this would work great for my outdoor switches and would not have the rust worry and are probably way less expensive than choke cables. and by having them in straight lines from the switch I wouldn’t need the bell cranks. Thanks for the pictures and the explanations

No there is not. The inner rod must be allowed to extend beyond the end of the sleeve in most applications. I suppose it might be possible to seal it and only have the 4-40 rod extending beyond, but since it needs to move it couldn’t be water tight.

I know this is an older post, but this is a great way to control switches, powered, or manual operation. My HOn3 layout were I had switches in places where I could not get the Tortoise switch machine were it was accessible for service if needed, they are in remote locations on the layout for obvious reasons. This setup is heavy duty compared to what I used on the HOn3 layout for obvious reasons, but it’s a great system to use for remote locations, either powered, or manual operation.

trainman