I like to build structures from scratch. But there just isn’t enough time to create every building I need to populate the layout. Styrene plastic kits help fill the void. I recently assembled a few kits from Colorado Model Structures. Since we have a few newcomers here, I thought it might be appropriate to share a dozen tips I followed in preparing these structures to be “planted” on the layout. I actually follow this process for every structure I build. It may be old news for some of you, but just remember – all of us were noobies at one time and someone showed us what worked for them.
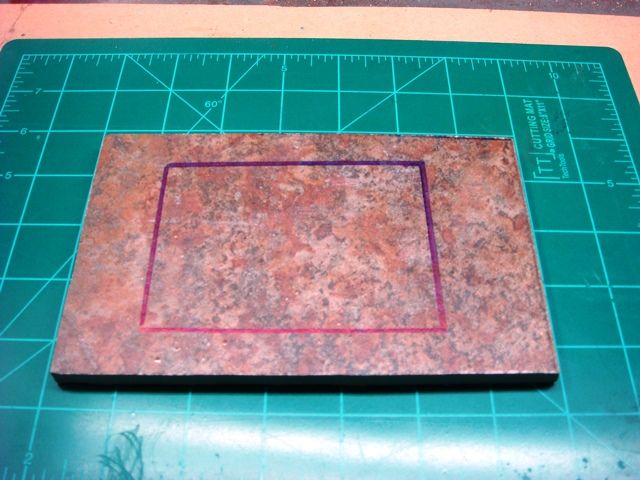
Tip #1 – All structures need to be securely mounted to a base. The base provides a solid footing for the structure, keeps it level, prevents it from moving, and isolates it from the ground. Sometimes I want to bring a structure in from the elements during non-operating periods, particularly my scratch-built ones. But even the plastic ones that stay out permanently need to occasionally be brought in for maintenance. The base makes it easy to pick them up and carry without damage. Here in Oklahoma, where the wind comes whistling down the plain, things tend to blow around a lot. The base provides the weight necessary to keep the building immobile in all but the worst case storm. I use pieces of ceramic floor tile for the bases. It is cheap, durable, heavy, water proof, insect proof, readily available, and can be cut to any size needed. I make the base a few inches larger than the actual structure footprint to allow room for some minimal ground cover and perhaps a few details.
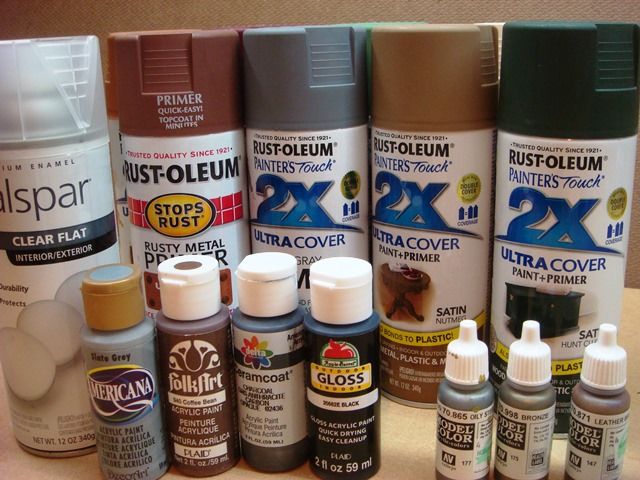
Tip #2 – All structures need to be painted with weather resistant and UV protective coatings. I use Rust-oleum spray paint for basic coverage and follow up with additional brush painting with acrylics. I also use brush acrylics to “doctor-up” bricks by varying the colors and to add mortar. I use India ink washes and powdered pigments for weathering. I cover everything except window glazing with Valspar UV protective spray.
Tip #3 – All windows need to be glazed. Window glazing makes a structure look more realistic and keeps out the insects. I use .030 thick acrylic sheet from K&S. It can be scored with a hobby knife and snapped or cut to size on a hobby 4” table saw. It has a blue plastic film on both sides to protect it while cutting.
Tip #4 – All structures need a foundation. In real life, no structure (with few exceptions) sits directly on the ground. Foundations can be timber, concrete, or stone. I use stained 3/8” square cedar for timber foundations, painted 1/2” square poplar for concrete foundations, and real stones (from Lowe’s mosaic tile sheets) for stone foundations. Another advantage of foundations is that it makes the structure a bit higher. Since these are 1:24 scale buildings and I have a 1:20.3 scale layout, the extra height helps make the building look less undersized.
Tip #5 – All doors need hardware. At a minimum, I add door knobs or door pull handles. It’s a small detail, but one that helps to reinforce the illusion that this is a real structure. I also add a simple porch or stoop in front of the door except for sheds doors.
Tip #6 – No bright colors. There is no true black or true white in the real world. Same for red, blue, and green. Everything is somewhere in between. Structure colors should be muted and toned down. That’s where acrylic brush painting, powdered pigments, and ink washes come into play. Reserve bright colors for items you want to draw the viewer’s eye toward and use them sparingly. Remember to soften your colors even more to represent atmospheric dispersion and haze. A 1:20.3 scale structure that is ten feet away represents a real structure that is 203 feet away … even more for 1:29 or 1:32 scale. You have to “paint-in” the missing 193 feet by softening the colors. Otherwise the model looks garish and toy-like.
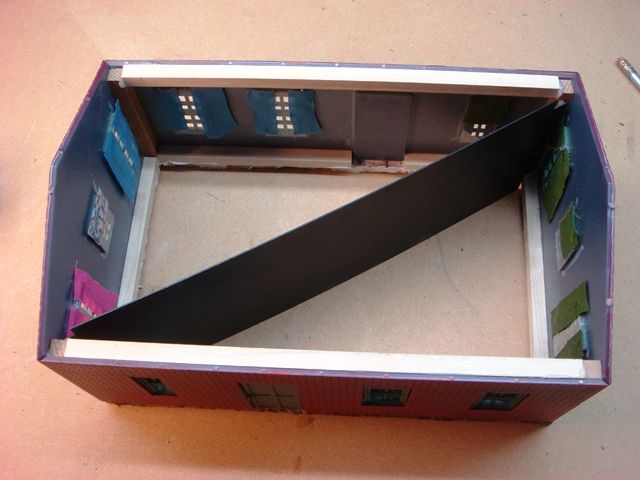
Tip #7 – Camouflage the fact that the structure is empty. Unless the interior is detailed, don’t allow a viewer to see inside of a structure. I use scraps of fabric to simulate curtains and drapes. I make pull-down window blinds from pieces of paper cut from manila mailing envelopes. I use pieces of black styrene to make interior view blocks.
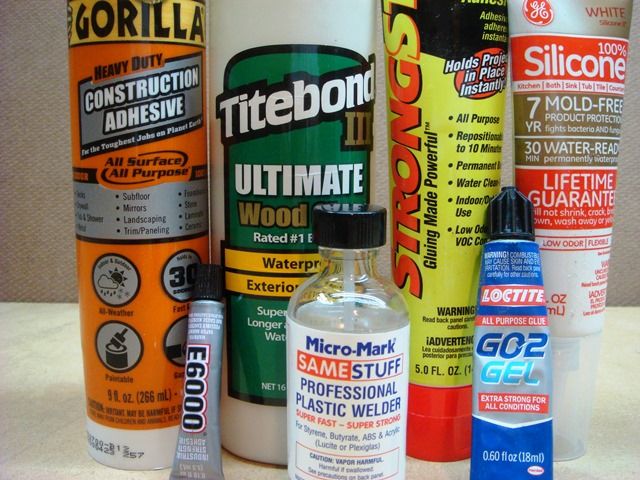
Tip #8 – Use the right adhesive for the material to be joined. Depending on what is being glued to what, I use a variety of adhesives. To assemble the styrene structure I use plastic solvent. I use silicone to attach wood braces to the interior of the styrene and to attach curtains and window blinds. I use either silicone or construction adhesive to attach the foundation to the building. I use construction adhesive to attach the foundation to the tile base. I use GO2 or E6000 adhesives for attaching door knobs and other exterior details to the structure. I use diluted Titebond III wood glue to attach ground cover to the base. The StrongStick adhesive in the photo was not used on the styrene kits. I use it to attach cedar shakes to a roof.
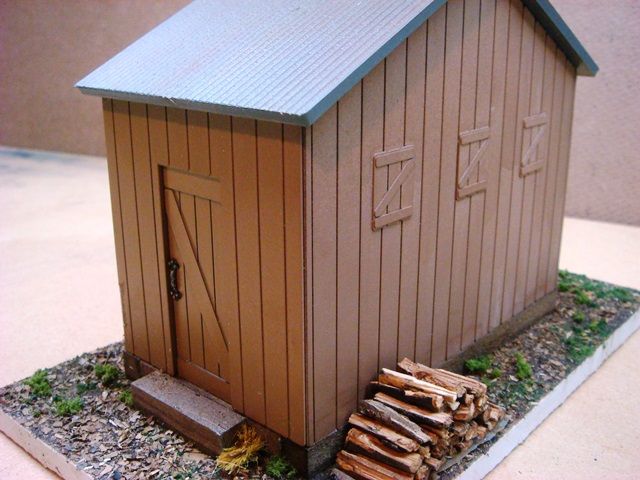
Tip #9 – Hide the base. I paint the ceramic tile around the foundation with diluted Titebond III wood glue and sprinkle on ground cover (real dirt, crushed-up leaves and twigs, ground foam, etc. I spray the ground cover with wet water (water with a drop or two of liquid soap added). I follow-up, if needed, with diluted glue applied to the ground cover with an eye dropper. This method also works well for making firewood stacks and debris piles. See my post on debris piles for additional info.) link to post on making debris piles
Tip # 10 – Pay special attention to the roofs. The roof is the most noticeable part of the structure to a viewer (assuming your layout is at ground level.) I use 500 grit sandpaper for roof peak caps and for flashing around chimneys. I also use this material to represent tar paper. I use gloss black acrylic paint to represent tar at the seams. Roof colors should be streaked, especially with soot below chimneys. Don’t forget streaks from bird droppings near the peak.
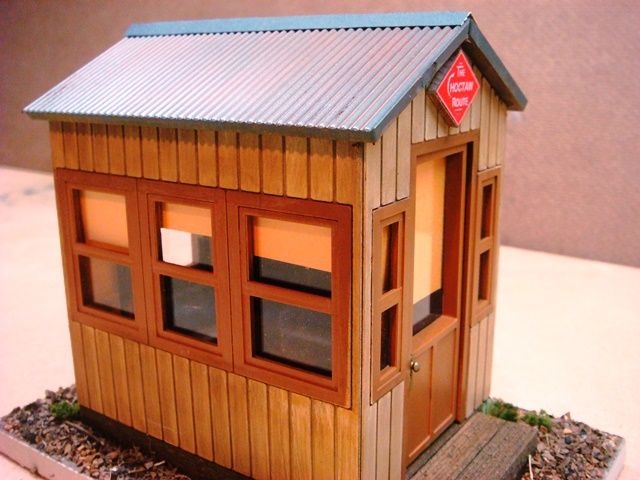
Tip # 11 – Personalize your buildings. Have any idea of the quantity of any given kit Colorado Model Structures has sold? I don’t … but I’m sure there are quite a few others out there besides the ones I have on my layout. Make your building unique so that it doesn’t look the same as the ones on your friends’ layouts. Maybe add a few details around the base to create a mini-diorama. I use signs and other details around structures to help viewers figure out the era I am attempting to represent (late ‘30s, early ‘40s in case you were wondering.) Let’s face it … there’s not enough time or money to fully populate an entire layout with details. But just a few items, located strategically at logical focal points such as structures, make the layout appear to be super detailed and help bring your modeling illusion to life. And remember – model weeds are your friend!

Tip #12 – Have fun … this isn’t meant to be a contest caliber model. Don’t take a lot of time agonizing over the structure; the goal is to get some buildings out on the layout quickly. You could always come back later and replace it with a super-detailed, scratch-built model … but I bet you don’t. In fact, after following these tips, you might decide these inexpensive kits look pretty good on their own!
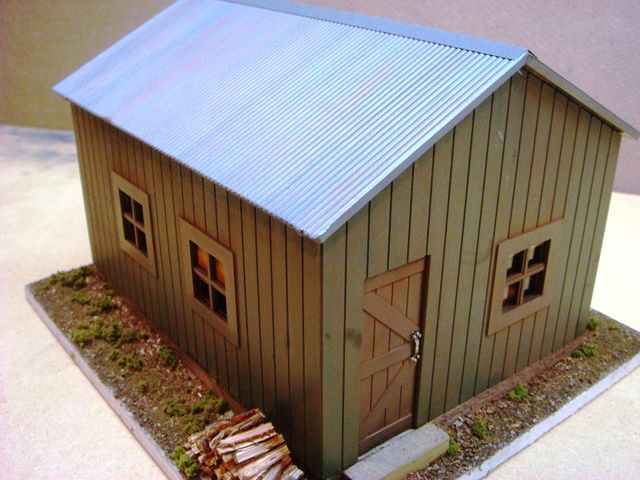
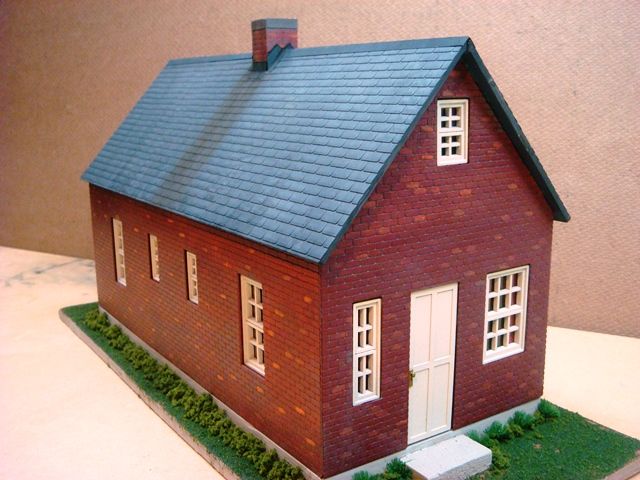
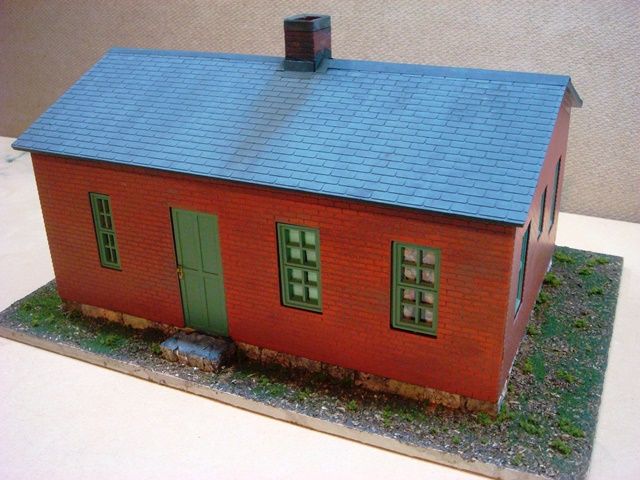
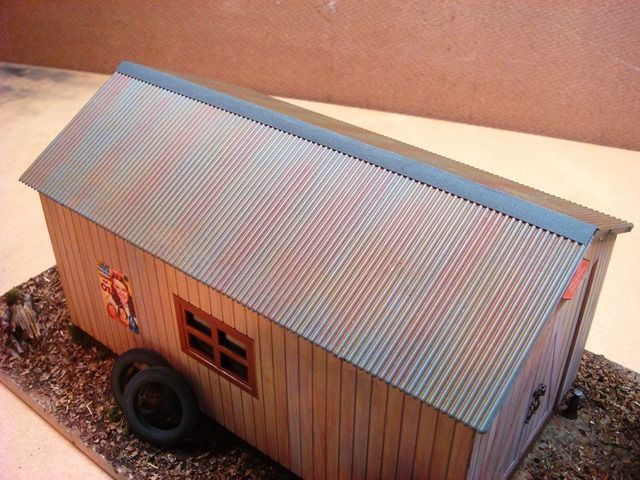
Here are a few styrene kits I put together recently that are ready to be planted on the layout:
Okay guys … planting season is just about here. Get busy!
Bob