Have a Mackbashing idea where I’m going to need help with a part if I go that route. Is there someone here who could make a steel plate 1/16 thick x 4 inches x 7 and 5/16; *{Edit - 7, seven, seven, seven, sixteenths!!!} & {Now looks like 7&1/2 is easiets to deal with}*with 1/8 inch radiused corners & a half inch hole dead center?
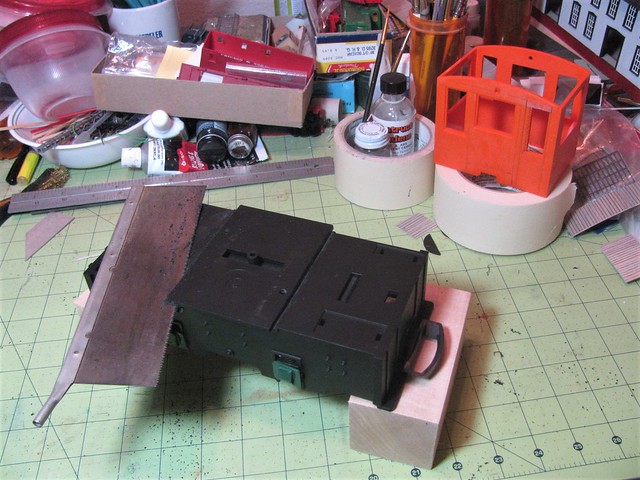
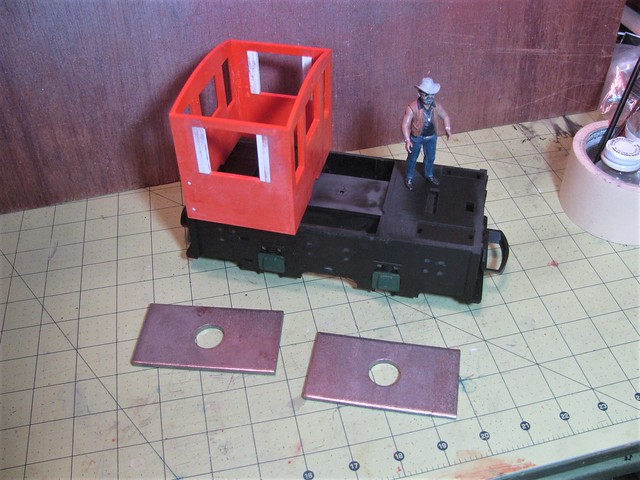
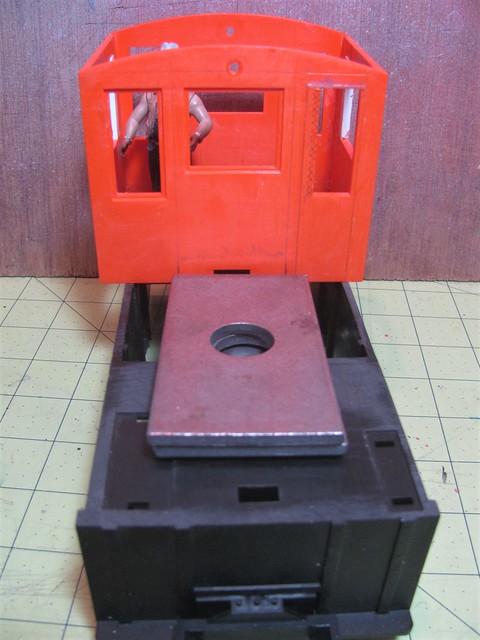
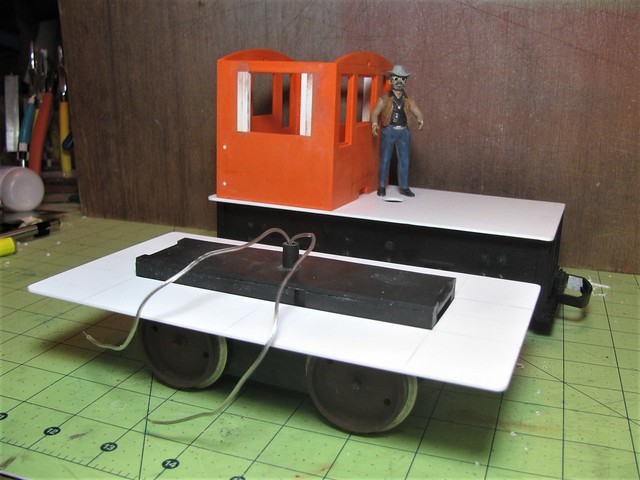
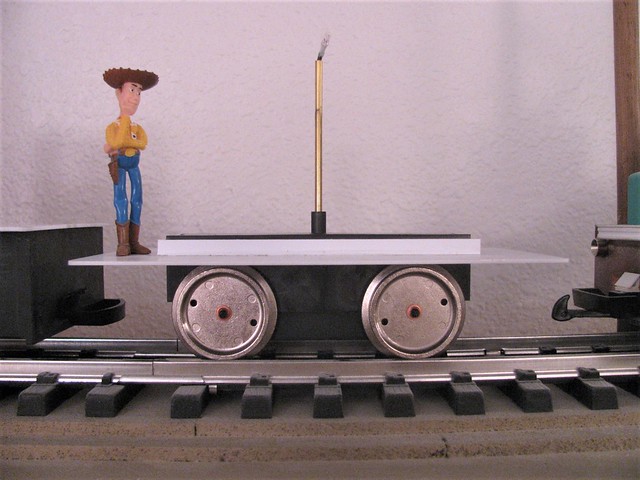
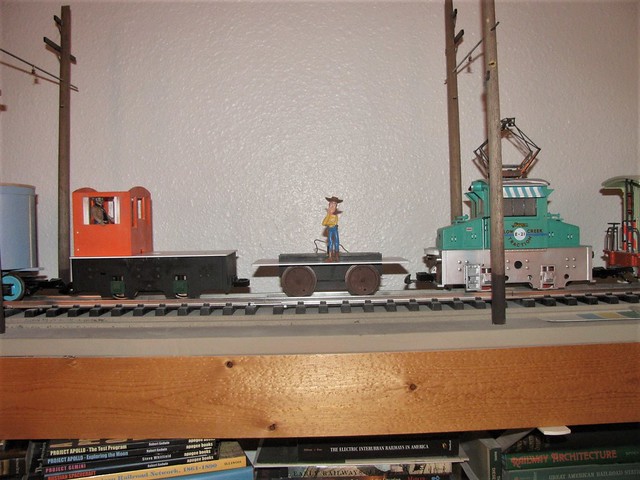
What I want to do is replace factory stock weights in cab with the steel deck. Which happens to be how the real deal critters from GE were ballasted with decks in different thicknesses. Stock weights are too wide to fit inside hood for the endcab beastie the thing is becoming.
Thinking about using AC to glue it to frame & pondering 4 countersunk screw/bolt holes out toward the corners.
Don’t know what size bolt yet other than a fairly short flathead machine screw kind of thing. Mechanical attachment as a longevity factor compared to chemical attachment alone.
Shipping would be a bite out of the wallet but I don’t know anyone in our population 8,300 county seat farm burg who has a machine shop to do that. I’d imagine there would be one but haven’t found it yet. Found a carpentry shop a couple years ago.
What I want to do is replace factory stock weights in cab with the steel deck. Which happens to be how the real deal critters from GE were ballasted with decks in different thicknesses.
Took a while to to alter stock with hand tools, but, hey, it was an insomnia night so why not!
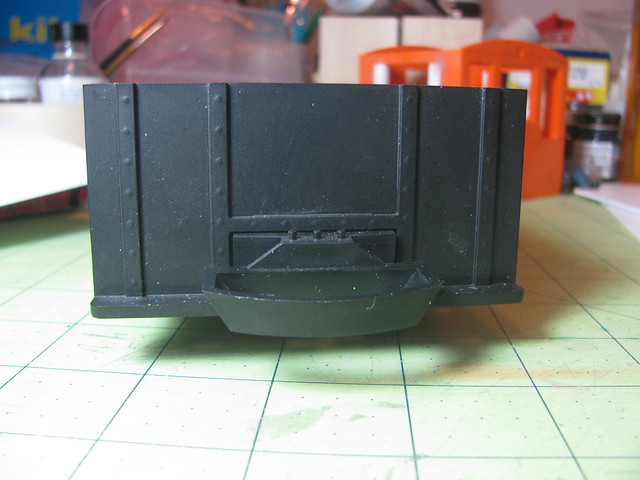
Loco itself is recent acquired green Mack. Orange cab is from a Mack purchased a few years back during the HLW random colors sale for bashing in to a 3-unit electric (which I need to buy the 2 pantographs for) with totally different body. Over time on the orange cab I shaved out the internal guides for the windows; removed all raised exterior details; rescribed one door; other side of cab will have center door, which involves reshaping center window & the window in what used to be the door.
Ya know, Mackbashing is kinda fun.

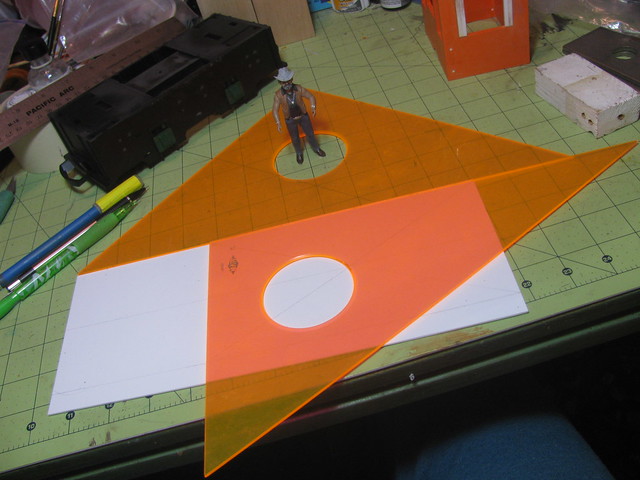
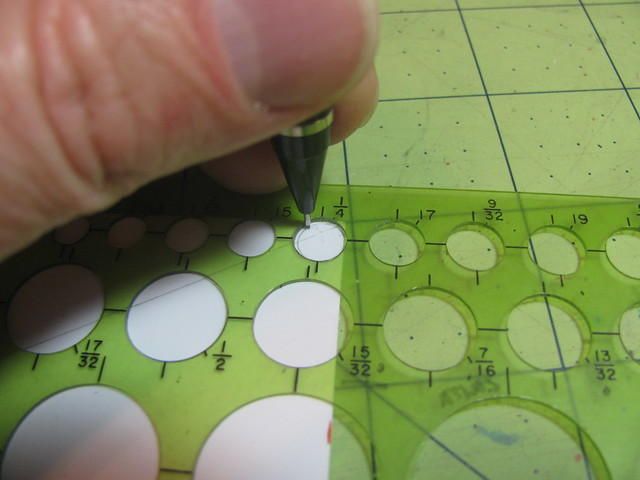
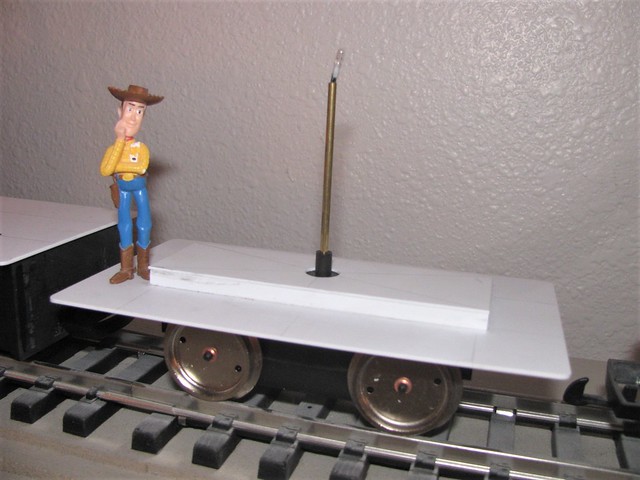
Cab windows were filled in with 1/8 square styrene from Evergreen to reduce them to 30 inches square in 1/24 scale. Because of draft angle required to get part out of mold the window sill was 1/8 thick but top is maybe 1/64 to 1/32 thinner.
Hand tools were used because between the high functioning autism and several neurological and endocrine situations I have difficulty with noise and vibration from power tools. But I do have a Dremel and a VSR drill on a cord because battery ones get too heavy quickly.
Had to stop and rest several times, but, hey, I got 'er done!
