Guys,
I’m out of decal set and I don’t want to drive 50 miles RT to get some. It smells like vinegar. Can I make my own?
Guys,
I’m out of decal set and I don’t want to drive 50 miles RT to get some. It smells like vinegar. Can I make my own?
OK. I used 2/3 vinegar, 1/3 alcohol and came up with my own. It worked. Sucked the decal down into the cracks. It was s Stan Cedarleaf decal. How it would work on the thinner “over-the-counter” decals…who knows.
I’ll have to remember that one…(http://www.largescalecentral.com/externals/tinymce/plugins/emoticons/img/smiley-wink.gif)
Whats the purpose of decal setter? I have always used water. You say sucked it into the crack, is that the key no surface tension like water?
When you put a decal on a wooden surface such as scribed plywood (Phil’s kits eg.) the decal film spans the the scribing. You take a sharp Xacto knife and carefully slice the dried decal along each scribe. Then you gently brush on the decal set and the decal settles into the scribe after it dries.
Decal set also shrinks your decal over rivets, and other irregularities.
Gotcha. makes sense. Add that to the list of excellent knowledge gained here
It also helps to remove any trapped air under the decal, so the clear film doesn’t turn “silvery”. I also noticed that it smells like vinegar, but I figured it had to be more complicated then that.
I put a layer (thin puddle) of the decal set down before I slide the decal onto the model, then I position the decal and carefully press it down with a napkin, or soft cloth, working from the center out. This hopefully squeezes out all of the air bubbles and most of the glue. After the decal is affixed to the model, I coat the surface with another thin coat of the setting solution. The goal is to get the decal to settle into the model’s detail like it was painted on, not just stuck on. And the way I do it works to settle the decal into the models features.
I am not saying my way is the only way, or the only right way, but it works for me.
I like the idea especially with such an easy home brew. I have always used water but on very smooth surfaces. And once I slide it on I try to push air and water out also. It has always worked but I am in a new world with trains. Cars were easy. This is cool glad it got posted.
Remember Stan’s suggestions: Put a gloss coat on before you decal. This will help the glossiness of the clear decal areas. Then when you are done do a clear satin finish or Dullcoat. The edges of the decal will magically disappear!
After the initial drying, I pop any bubble with an Xacto knife point. The decal set enters the “hole” and it will seal. As far as gloss coating wood, I don’t use it. I wet sand the paint with 600 paper and it smooths right up. Then apply warm water with a drop of Dawn dish soap to the area and the decal slides around nicely.
Lou Luczu said:
Remember Stan’s suggestions: Put a gloss coat on before you decal. This will help the glossiness of the clear decal areas. Then when you are done do a clear satin finish or Dullcoat. The edges of the decal will magically disappear!
That’s how I have always done mine, gloss coat then deal, then what ever top coat sheen you’re after. For one thing it does blend the decal in but also is smoother for positioning it.
John Bouck said:
. Then apply warm water with a drop of Dawn dish soap to the area and the decal slides around nicely.
I gotta remember that one, too!..
The dried decal. Notice how it isn’t sunk into the scribed wood.

Gently slice the decal with a SHARP xacto blade. Slice every scribe. Right thru the letter and the clear areas.

Gently dab on the decal set. DO NOT brush it back and forth. You will destroy the decal. Notice the film dissolves instantly.

After it dries, if it needs another dose or air bubbles popped, then you do it and add another coat of set.
After pics to follow later today.
Decal set has dried. Looking for bubbles and any other repairs.

Found a couple bubbles on the E. You could use a big needle but I grabbed the knife to puncture them. Another coat of set applied.

Yea, getting decals to go down and not get silvery on wood can be difficult. But you are showing that with the right technique it can be done.
John Bouck said:
OK. I used 2/3 vinegar, 1/3 alcohol and came up with my own. It worked. Sucked the decal down into the cracks. It was s Stan Cedarleaf decal. How it would work on the thinner “over-the-counter” decals…who knows.
My, My what we don’t learn from the “outback”… Great discovery, John… Thanks so much for the “tip”… (http://largescalecentral.com/externals/tinymce/plugins/emoticons/img/smiley-cool.gif)(http://largescalecentral.com/externals/tinymce/plugins/emoticons/img/smiley-cool.gif)(http://largescalecentral.com/externals/tinymce/plugins/emoticons/img/smiley-cool.gif)(http://largescalecentral.com/externals/tinymce/plugins/emoticons/img/smiley-cool.gif)
BTW, John… What proof and what type of alcohol did you use??? Denatured? Rubbing? Jack Daniels, dry gin or cheap vodka??? (http://largescalecentral.com/externals/tinymce/plugins/emoticons/img/smiley-tongue-out.gif)(http://largescalecentral.com/externals/tinymce/plugins/emoticons/img/smiley-tongue-out.gif)![]()
![]()
Stan,
I’ll let you know tomorrow on the Alcohol. It’s out in the shop in the fridge. I wish it was Jack Daniels. But alas, I had to stop sipping over 25 years ago do to stomach problems.
BTW, I’ll be getting in touch soon. I need some more decals.
I am a cheep bast… person, I drink Jim Beam, its cheaper then Jack…
Stan, 70% Isopropyl alcohol. (30% water) is what it says on the bottle. I don’t know if my mixture is perfect: (Less Vinegar, more alcohol for example.) But I’m happy with it.
Did you notice that on the tiny expensive bottle of Decal Set, the label doesn’t state the ingredients. I wonder why? (http://www.largescalecentral.com/externals/tinymce/plugins/emoticons/img/smiley-laughing.gif)I thought it was supposed to by law in case a child swigs the bottle, you have information for the Poison Control Center.
http://www.mikeyuhas.org/albums/2016/20169360.php
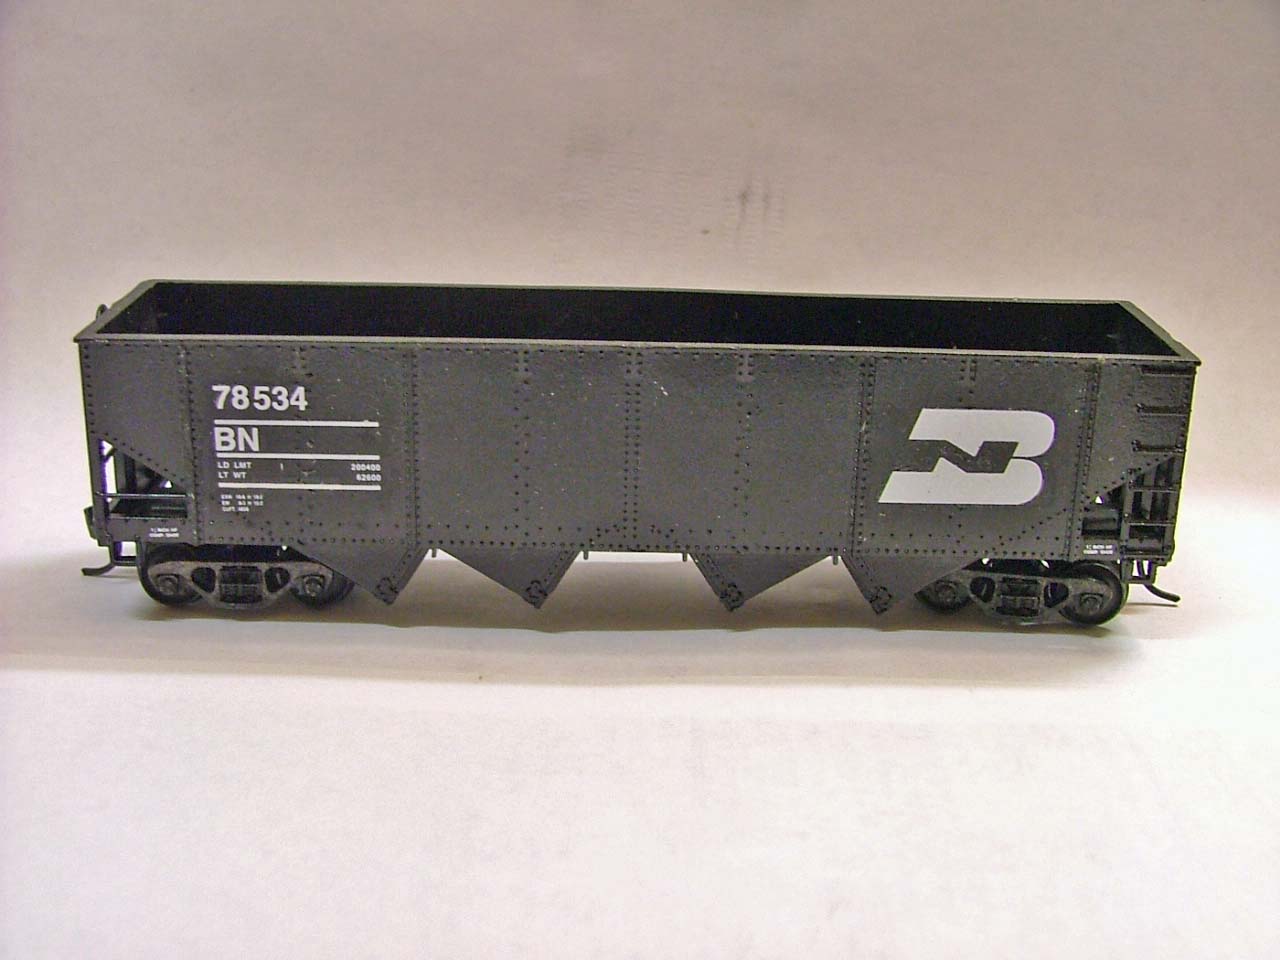
No decals? There is a prototype for everything they say.