Large Scale Central

New Deck Girder Bridge for Indian Hill

The original bridge at Indian Hill was a simulated through girder made from a 3/4 plywood deck and 1/4" luan plywood sides with several coats of paint. It served me well for over 10 years, but rot has begun to take it’s toll and a falling branch took out a section of the side last fall.

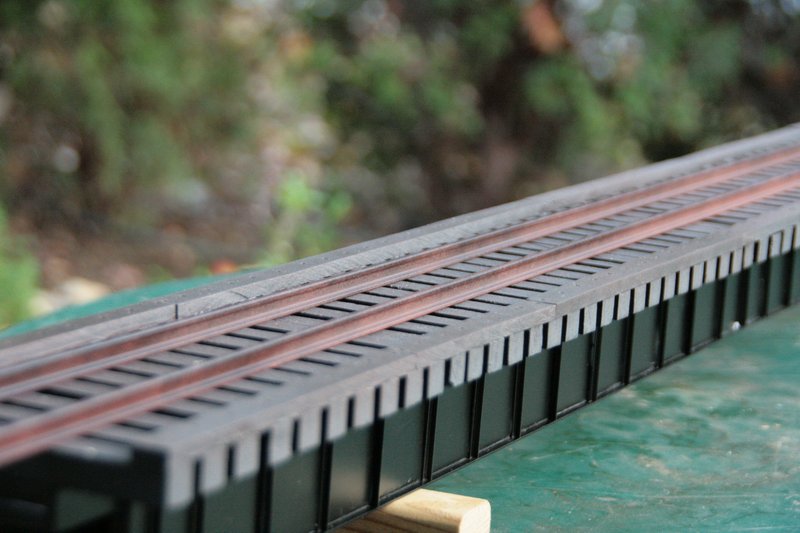
I’ve decided to replace it with a deck girder bridge of the same design I used for West Es-cap’e several years ago. On the West Es-cap’e bridge, the bridge ties and guards were cut from PVC. This time I’m going to try Red Cedar. Recently at work I had prepped and painted three Red Cedar 5x5 posts for a sign install. Lucky for me, the posts I made were all too long. Two by about 20 inches and the other by at least a foot. The installer cut them in the field and brought me the scraps.

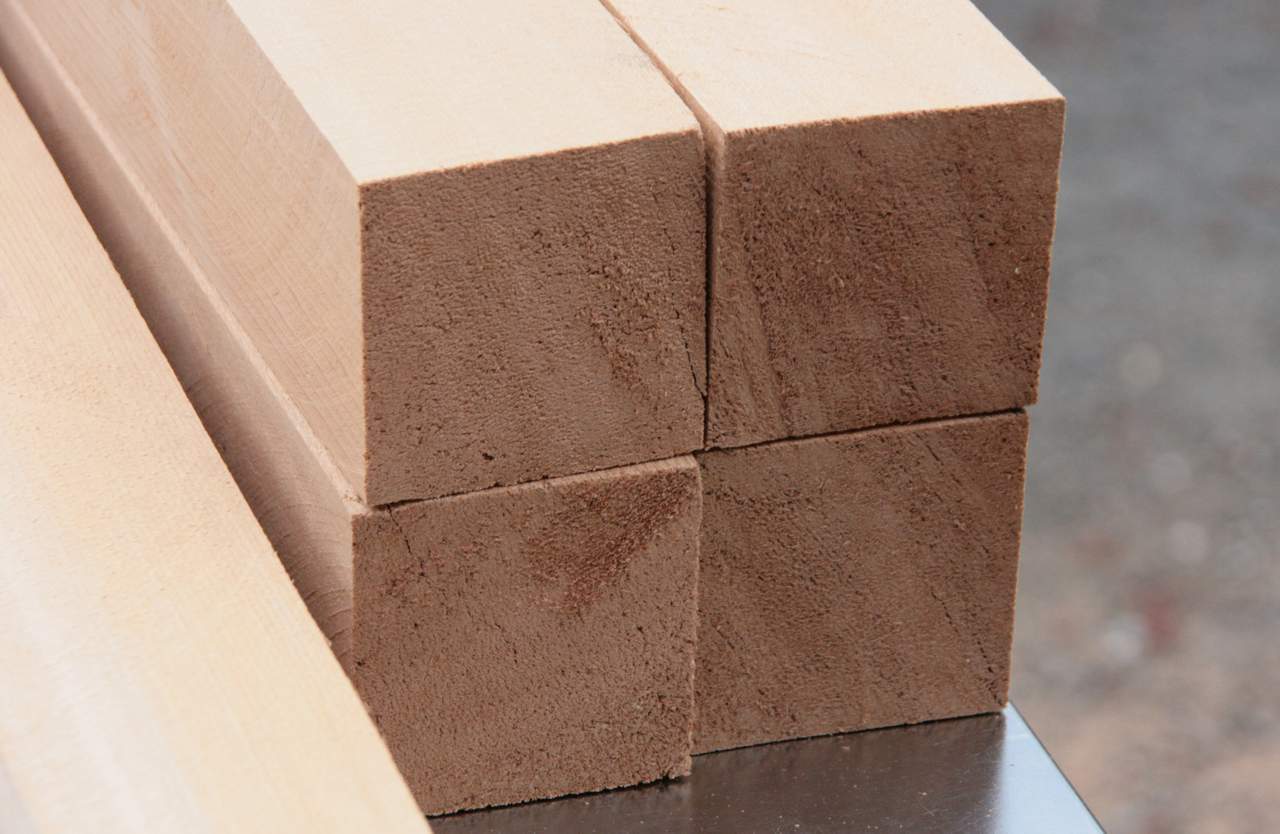
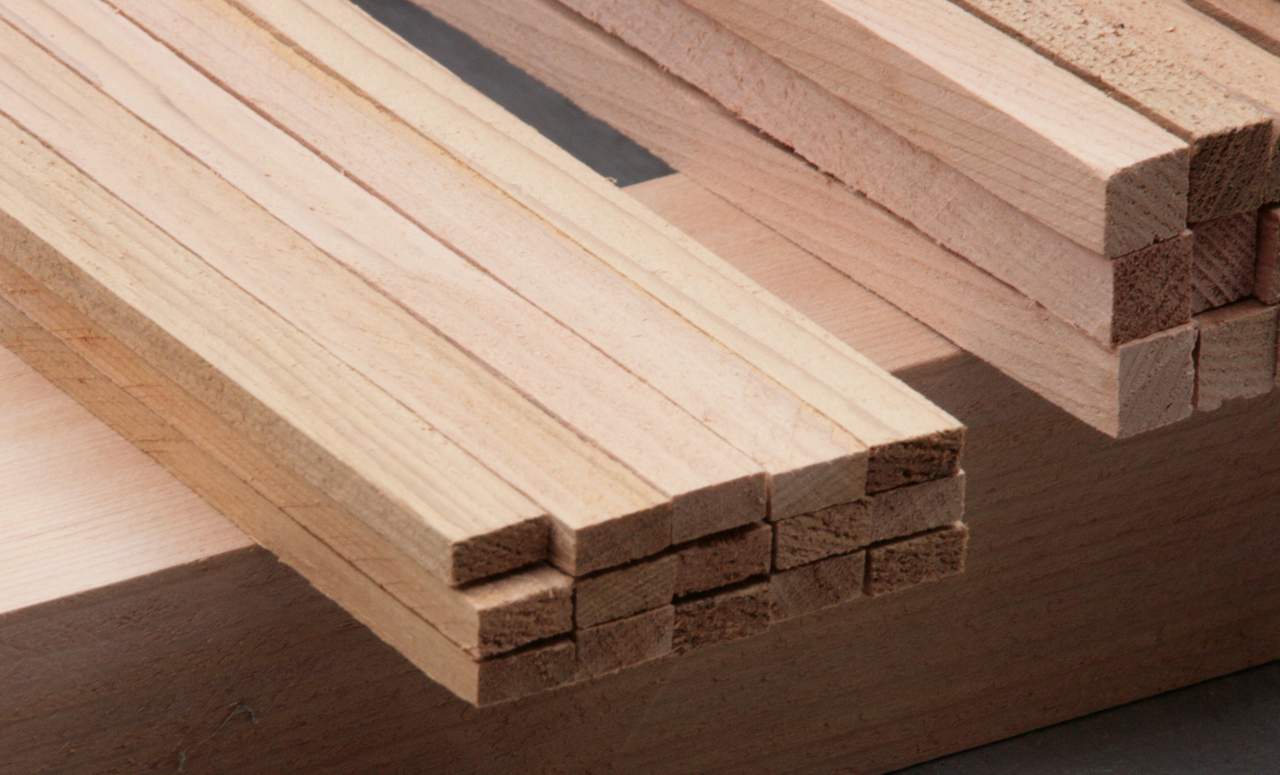
Today, the CVSRy Wood Shop was in full production turning these large chunks of Red Cedar into manageable pieces, bridge ties and guard timbers. First, the 5x5 chunks were quartered by running the through the table saw 4 times. The the two painted edges of each quarter was ripped off. Here’s the result…

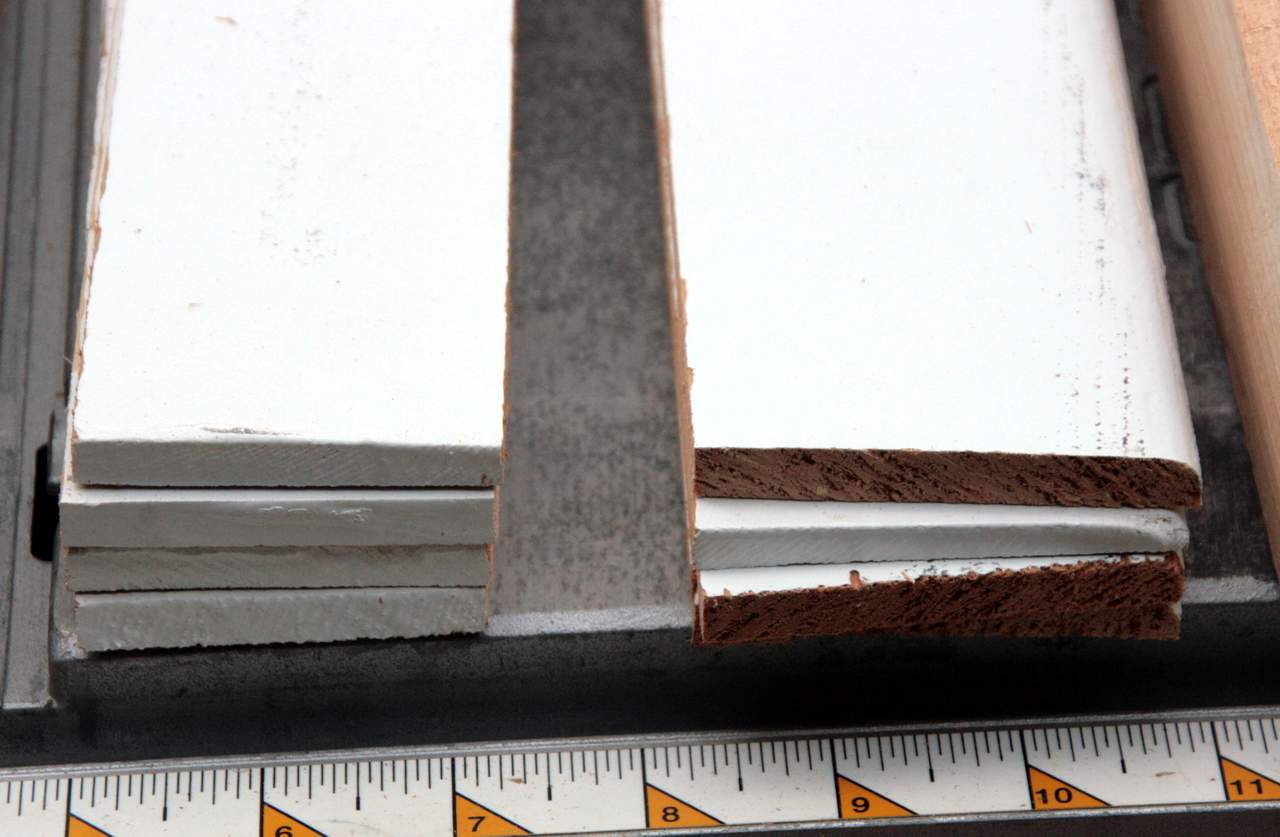
Then, several quarters were sliced to 12mm thickness. Sample slices are at the left of this photo…

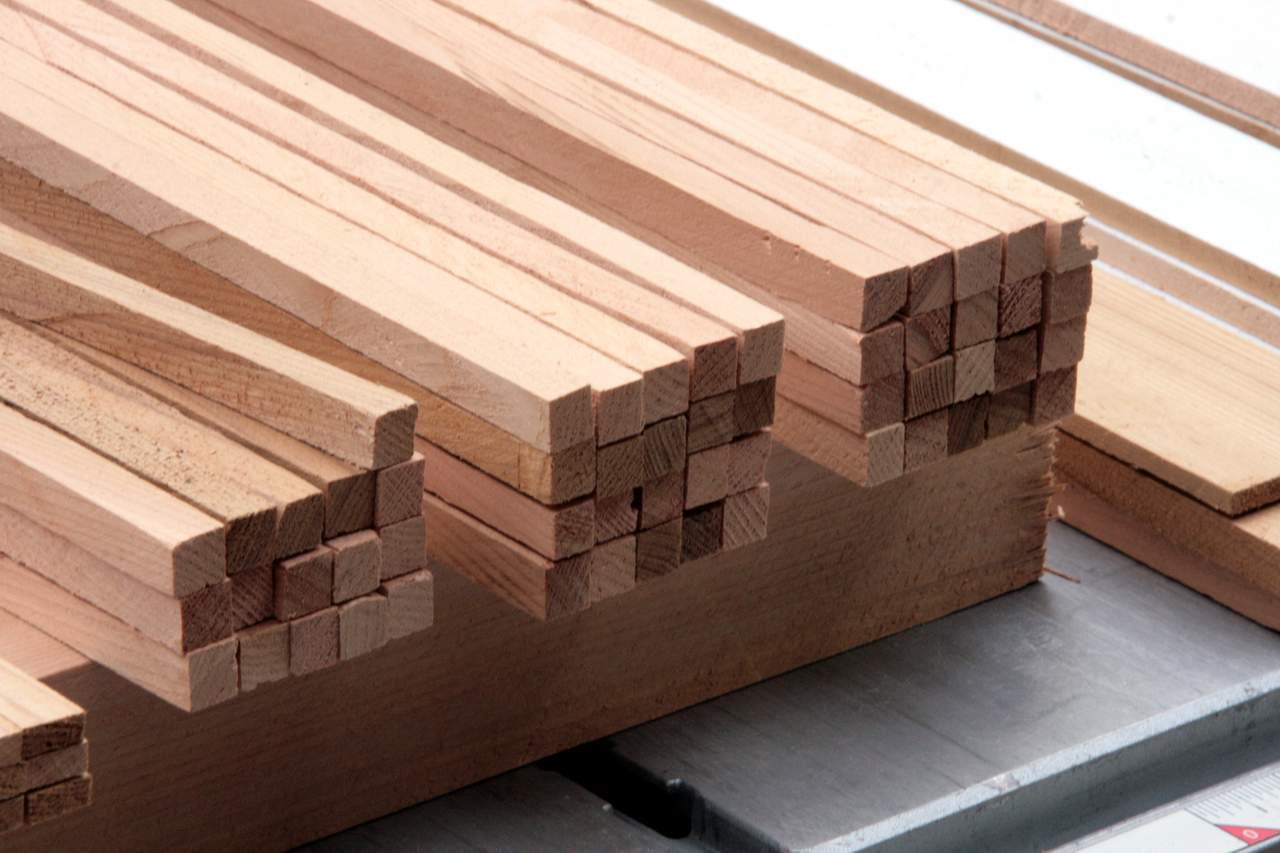
The slices were then ripped to 12mm square sticks…

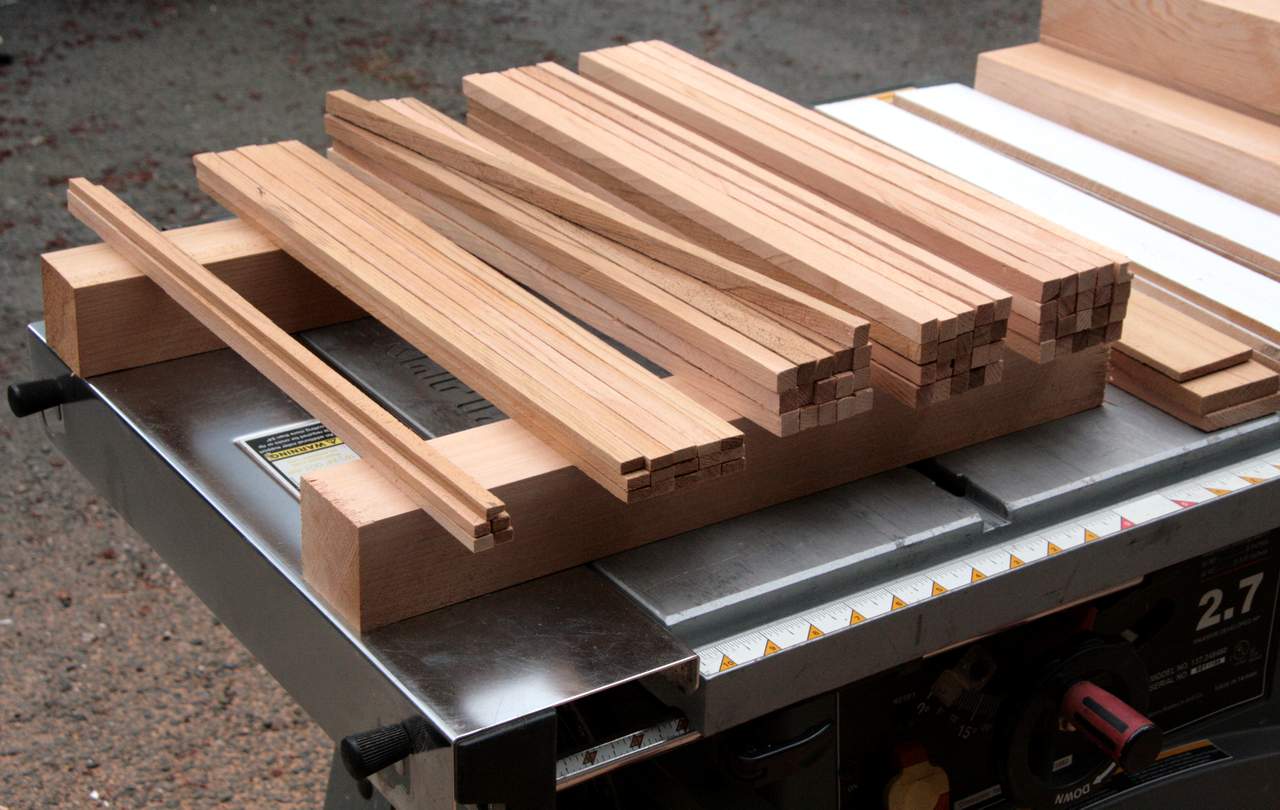
Next, another quarter was sliced a bit thinner to be further ripped for guard timbers…

As you can imagine, this created quite the pile of sawdust…

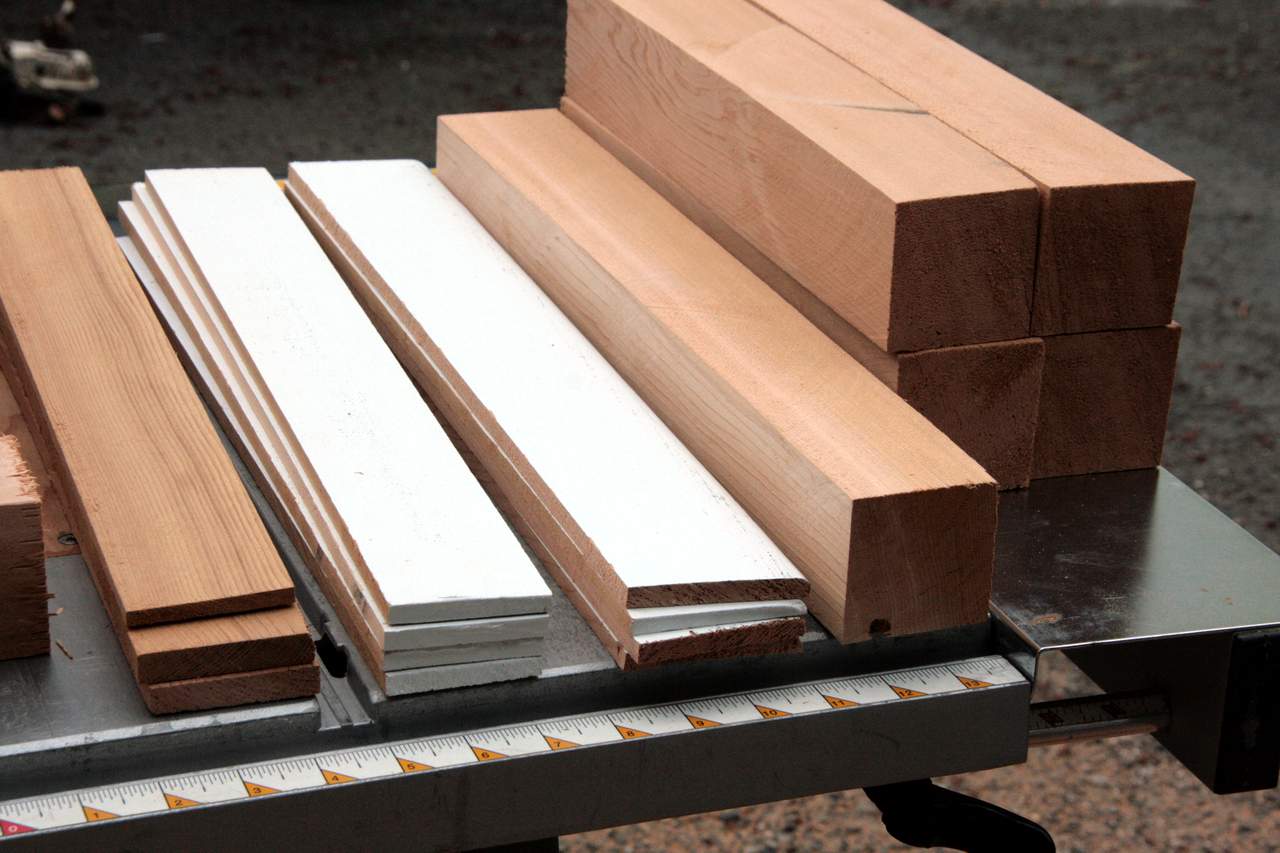
There were a few smaller size sticks left over that I’ll use somewhere later shown at the left of this photo…

Then I set up my chop saw to cut the tie sticks(shut up Rooster) to length, 4 at a time…

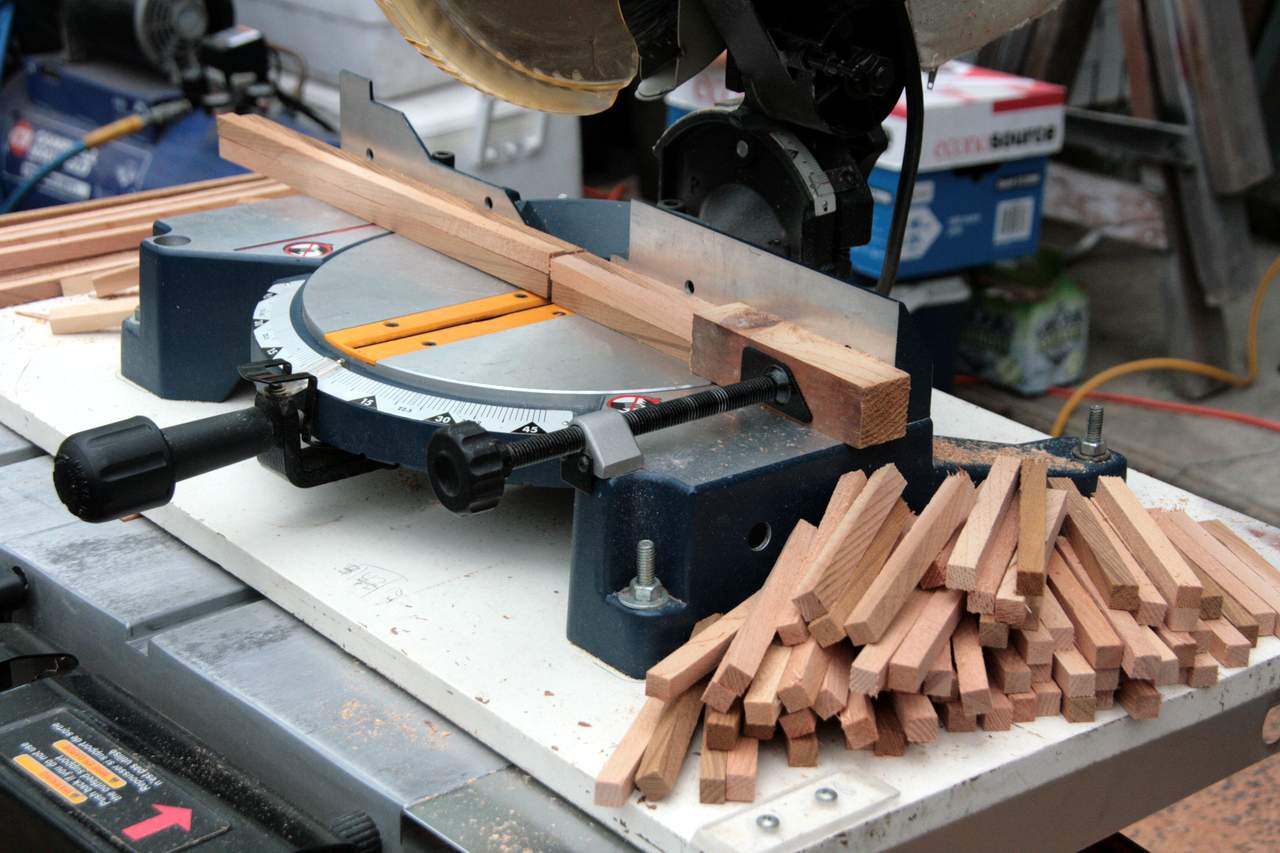
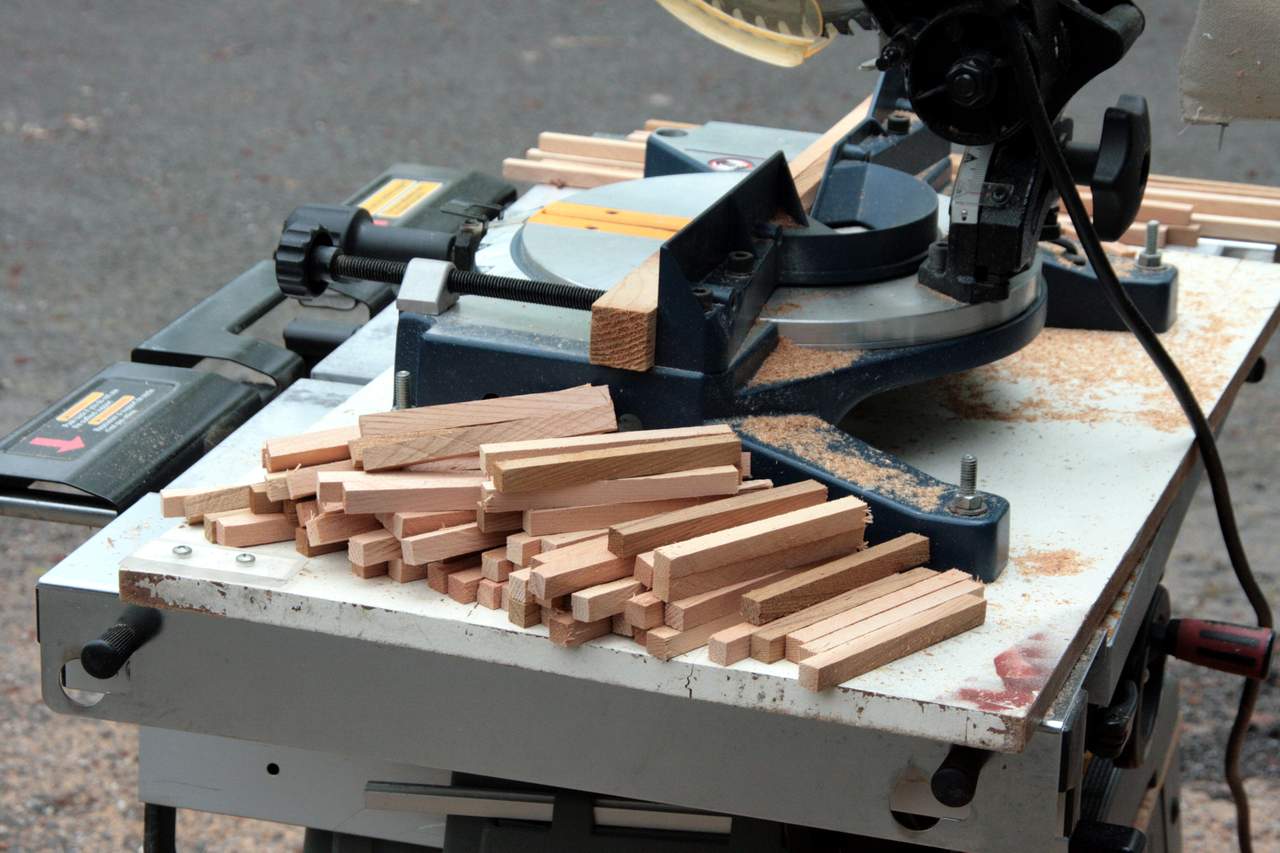
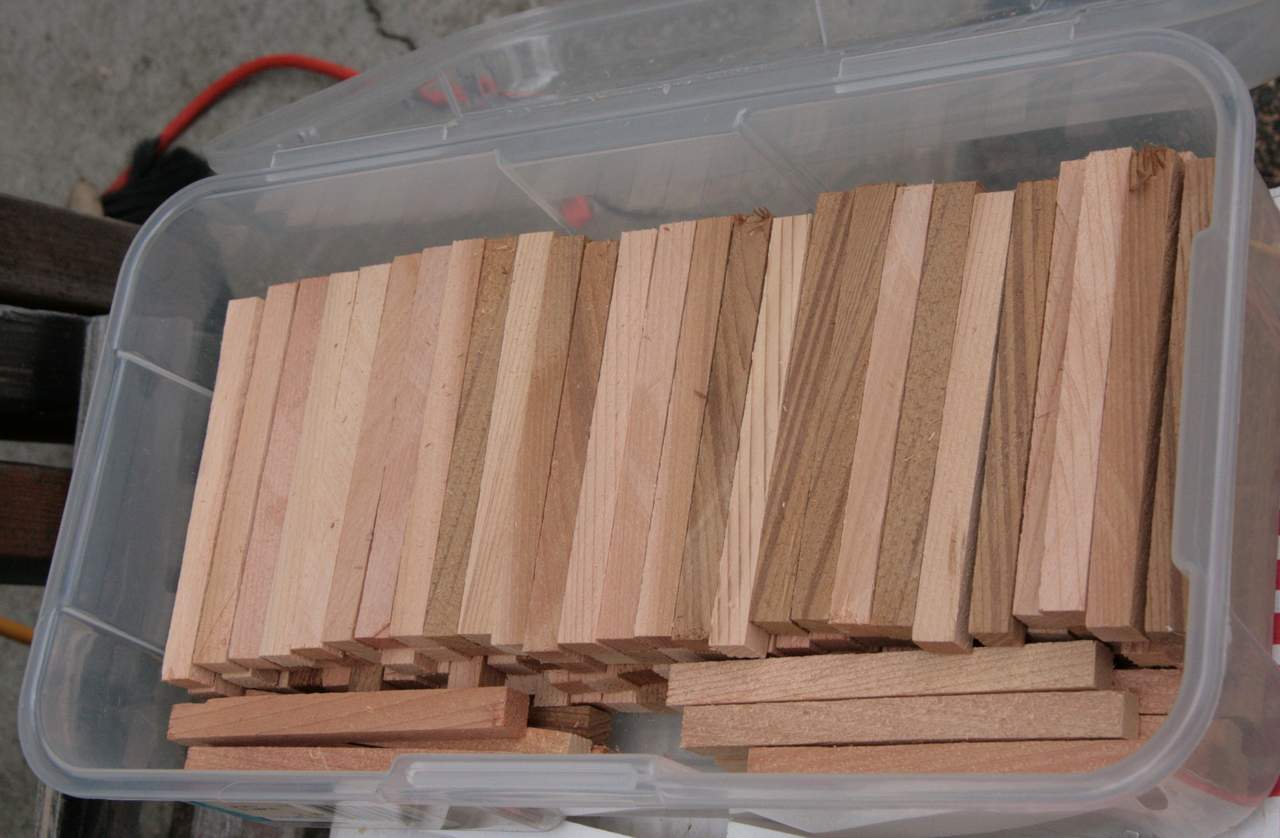
After a few hours at the saw I had enough bridge ties and guard timbers for the eight foot bridge…

Next, I’ll start preparing the 2" square aluminum tube to simulate a welded girder.

Awesome. can’t wait to watch this

Nice start Daktah. I’ll grab a chair and beer for this one

Nice cutting John, Obviously you’re smarter than I since you pulled your saw out of the garage before making the mess. Great that you got such nice wood to start with. Seems to be lots going on around the CSVR this year.

Thanks! Here’s a preview of what it will look like when done. This is East Es-cap’e Bridge just before install…

Build thread here

Very nice John …why did you tell me to “shut up” because you spelled thai incorrectly?

1 Like

Yes David (http://www.largescalecentral.com/externals/tinymce/plugins/emoticons/img/smiley-smile.gif)

BTW - Reviewing the old thread it seems I am still spelling the name of my previos bridge wrong. According to Dory in ‘Finding Nemo’ it is ES-CAP-E. I still like it spelled Es-cap’e. It is pronounced with a comic french accent ESS-COP-EH.

The new bridge name is much simpler to spell. Indian Hill (http://www.largescalecentral.com/externals/tinymce/plugins/emoticons/img/smiley-cool.gif)

Uh … Native American Hill?

1 Like

You are doing what I do when my wife asks what I’m doing - “making little pieces of wood out of big pieces of wood.”

John Caughey said:

Uh … Native American Hill?

Oh, goody, named after me. I was born here, that makes me a Native American! (http://largescalecentral.com/externals/tinymce/plugins/emoticons/img/smiley-laughing.gif)

Lou, at that point in the conversation, my mom usually just shakes her head and walks away.

Lou Luczu said:

You are doing what I do when my wife asks what I’m doing - “making little pieces of wood out of big pieces of wood.”

I usually brag ‘I’m making sawdust!’

Wow! Them’s a lotta sticks. Your bridge should be beautiful, Jon. As for your patience, persistence, carpentry skills and table saw technique, let me just say I have neither the skills nor enough fingers to attempt a project like that. In fact, every time I see a saw rev up, I think of a neighbor, a retired United pilot, who can longer count to 10 because…well, you get the picture. Ouch!

Nice work. I think you need a sawmill for the layout now.

Joe, 2 words; push stick.

Joe, I took 17 stitches in the ends of my index and middle finger from a plywood blade when I was about 15. Never forgot that lesson. Now I am just VERY careful.

Feather boards are hugely valuable. Both flat on the table and on the fence. In fact you can put them on the fence both in front and behind the blade. Also a zero clearance plate for the table. All of these can be made from scrap material, no excuses. Another thing to you can do is make a push handle that is wide and run it through the saw so it grooves it then you can push on both sides of the blade.

Devon Sinsley said:

Feather boards are hugely valuable. Both flat on the table and on the fence. In fact you can put them on the fence both in front and behind the blade. Also a zero clearance plate for the table. All of these can be made from scrap material, no excuses. Another thing to you can do is make a push handle that is wide and run it through the saw so it grooves it then you can push on both sides of the blade.

I have all of these home-made accessories including a zero clearance throat plate that I made from plywood. I didn’t use the feather boards on this project (probably should have) because they don’t attach easily to my cheap Sears saw.

I do use push sticks; one in each hand and always keep my eyes on my hands and the blade while cutting. By the time I was ripping the last few sticks I was getting tired, which is when accidents happen. If I ever feel that way again I’m walking away from the saw to take a break. I LIKE my fingers. I’ve had a close encounter with the stopped blade on a chop saw that took a chunk out of my hand. Don’t need to get to know a moving blade at all!

1 Like

Joe Rusz said:

Wow! Them’s a lotta sticks. Your bridge should be beautiful, Jon. As for your patience, persistence, carpentry skills and table saw technique, let me just say I have neither the skills nor enough fingers to attempt a project like that. In fact, every time I see a saw rev up, I think of a neighbor, a retired United pilot, who can longer count to 10 because…well, you get the picture. Ouch!

Thanks Joe. If my math is correct, I’ll need 160 bridge ties for the 8 foot bridge. Each stick yields three so I needed 53.33 sticks. I cut 56. That is a lotta sticks (http://www.largescalecentral.com/externals/tinymce/plugins/emoticons/img/smiley-cool.gif)

I’ve been working with power tools since I could hold them. Have always respected them and although I have had a few close calls with kick backs, I’ve never been cut by a moving blade. I plan to keep it that way. I’ve been making scale lumber on this saw for about 10 years. It’s far from perfect. but if I take my time setting up I can get consistently straight cuts even from this cheap saw and fence.

Trying to decide on finish for the ties. I have some real creosote that I could paint them with (YUK) or I could soak them in used motor oil (almost as Yuk), or paint to match the previous bridge.

I might just leave them natural - they will turn gray in a year or so.

Checked out the 2" tube today. I had to cut some at work for a job - The tube I have now is slightly different from what I used at E. Es-cap’e. This one has a slight bit of interior shape on two corners, but it cuts easily with a general purpose blade. Might make filling the abutment end a bit trickier, but I’ll adjust!